January - December 2020
Work continues in Jan and Feb 2020 to get Blue Bess running
smoothly and therefore, based on expert advice, new floats and
carburettor gasket are fitted. Much effort is directed at
cleaning-out all the fuel passage-ways in the castings.


This seems to get the car idling better, but not reliably
enough to drive the beast. Another phone call to the MACster
reveals that I should have adjusted the float height before
putting it all back together again. Duh. Anyway, this is
undertaken next.
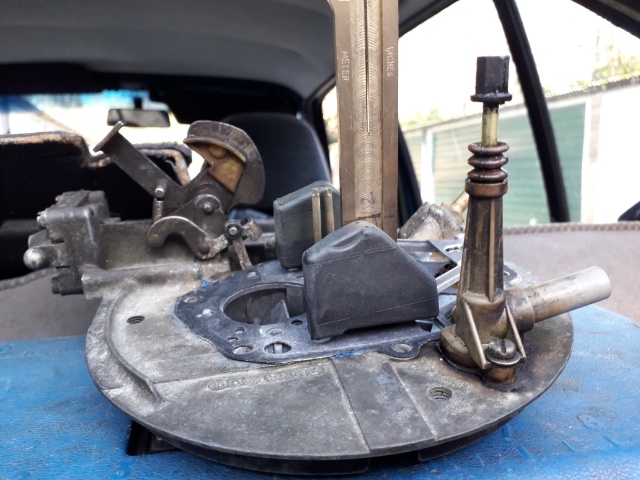
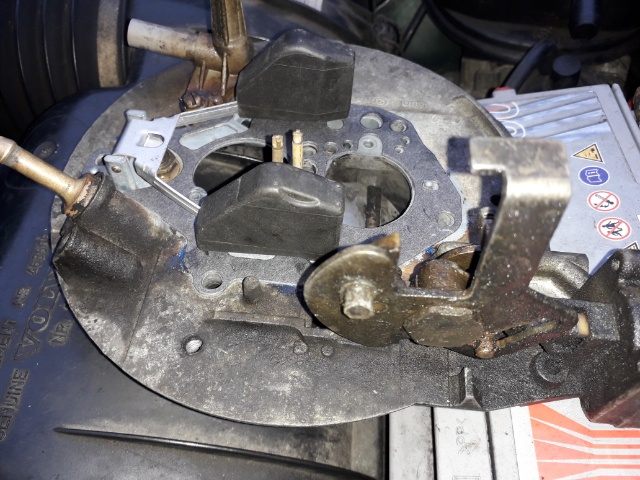
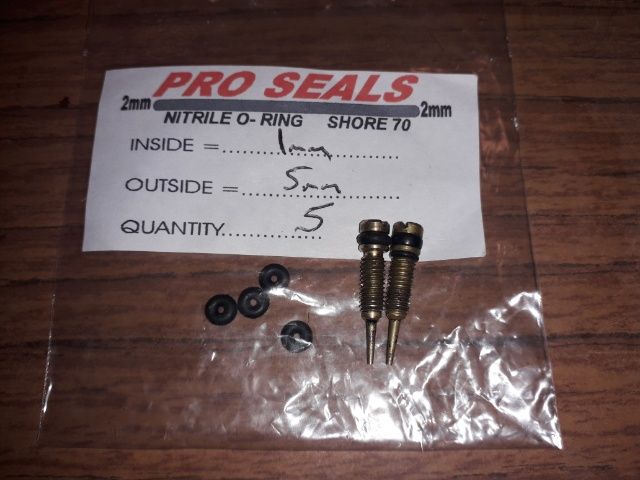
So as recommended, adjusted the float height to 34mm (+/- not much), as shown above, put it all back together and it made no difference at all! Idling is still fairly rubbish. Another phone call to the MACster suggested that the rubber ring on the CO adjustment screw should have a rubber O-ring on it - mine had long gone missing. I tried to replace it with an old one from a spare carby but it just broke-up when I tried to remove it. A visit to the local car-spares shop produced a new O-ring which is similar, if a bit wide!! It came from a Ford Fiesta carb overhaul kit.
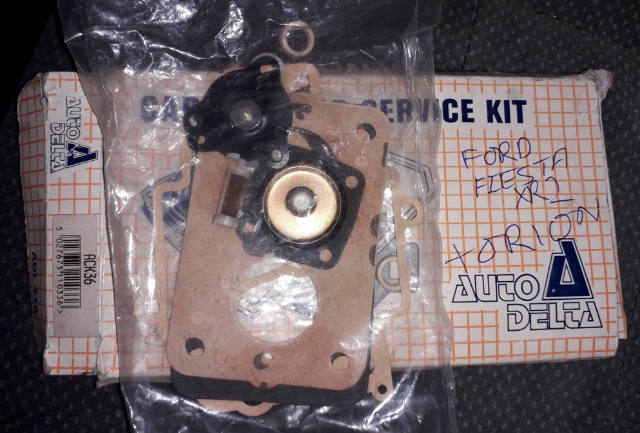
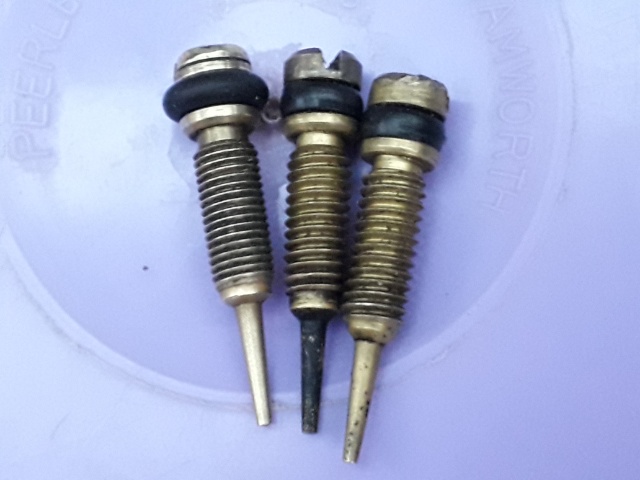
The new O-ring can be seen on the left of the spare screws in the above right picture. Note that the spare carby screws have a different thread, which is an absolute pain since it means that I can't simply swap the screw for a spare one. Anyhow, after trying to run the car with the new O-ring and making many adjustments with the brass-screw blowing-out and getting lost numerous times, it is clear that it is still not working properly and another phone call to the MACster suggests that it might be because my O-ring is too wide, thus preventing it from fitting in its hole and making CO adjustment impossible. OK, so my next plan is to simply make a home-made O-ring with a needle and thread!! We'll see if it works, but there's a bit of pandemic in the way so it will have to wait a few months, sorry!!
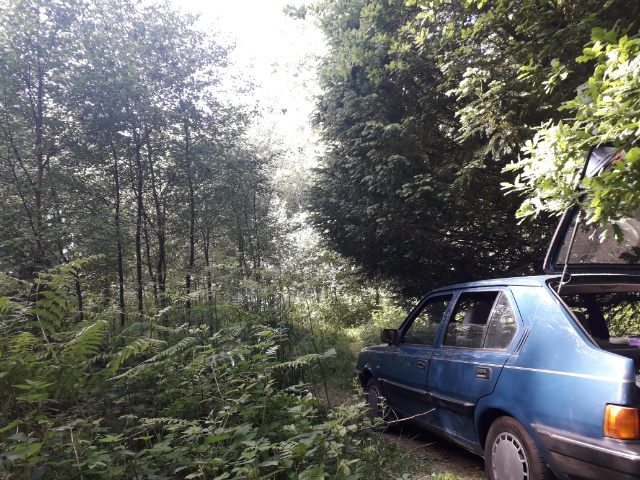
Well, now into June 2020 and the naughty old pandemic has subsided a bit so I can get back to the bog again with Deep Blue to catch the end of Spring!

Second half of June and the shops are opening again, so I will take this as a hint that I can start making trips to my 300's in storage and get back to fixing Blue Bess. The trouble is that during the pandemic, the decorating bug has really bitten and its difficult to get away from those tasks, so it may be a few more days before I am on the case again. Meanwhile, stuck at home, I am doing a bit of work on the Moggie.
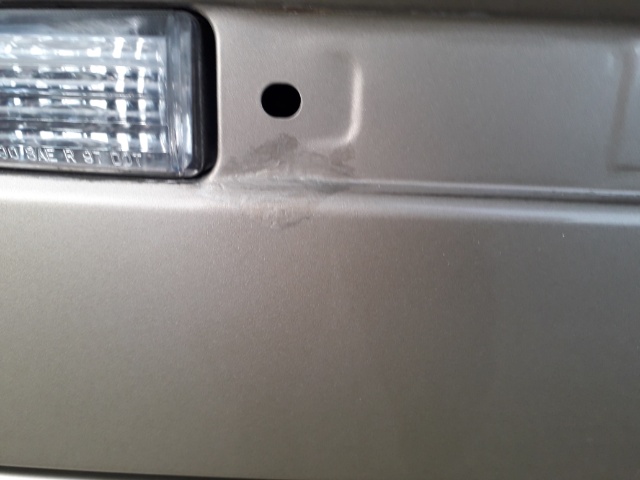
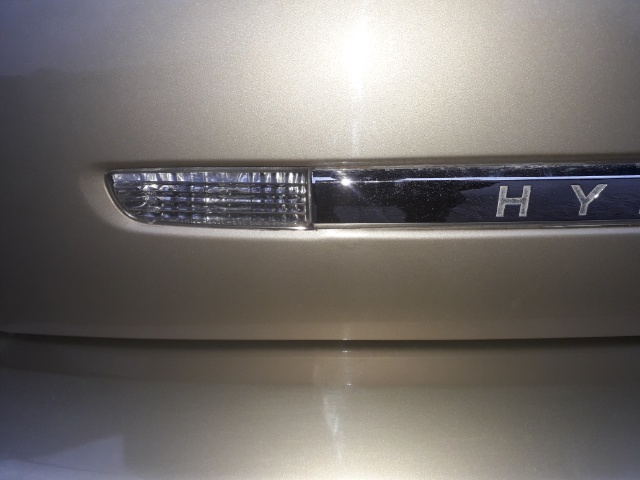
Have done a bit of work removing some rust from the back of an old Hyundai, which was an experiment because I was sure it would be a disaster due to the metallic paint. However, repeated use of rust remover jelly, brillo pads, judicious painting with zinc primer between rub-downs with wet-and-dry, use of cellulose putty and several brushed-on coats of thinned touch-in paint from the bay, again with rubbings down between, have given reasonably good results for an amateur!!
OK, so into August now and just psyching myself up to get back to the 360. I've been trying to get the right O-ring for the brass CO adjustment screw and I think I have the right size now, after a fair amount of trial and error using the screws from my spare carbies (which have a different thread).

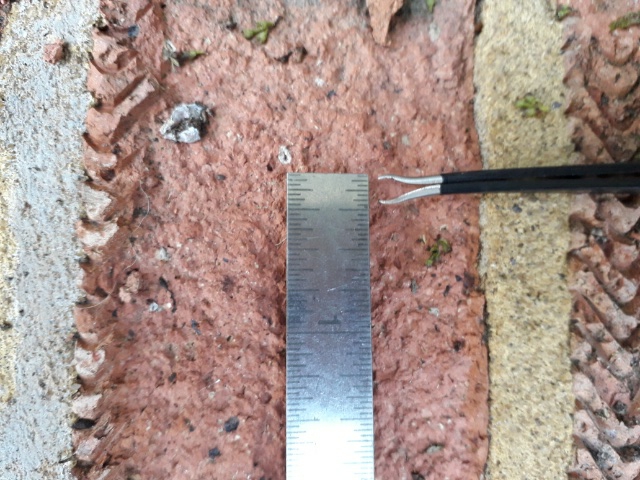
It looks like the ring has to be made of 2mm thick rubber with an inner diameter of 1mm and an outer diameter of 5mm. Then it stretches over the brass pin, and will be slightly squashed by the hole it goes into, to what I think will be the right size!!
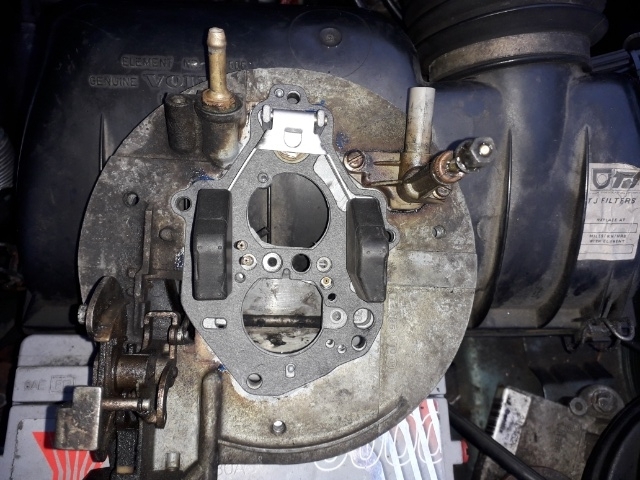
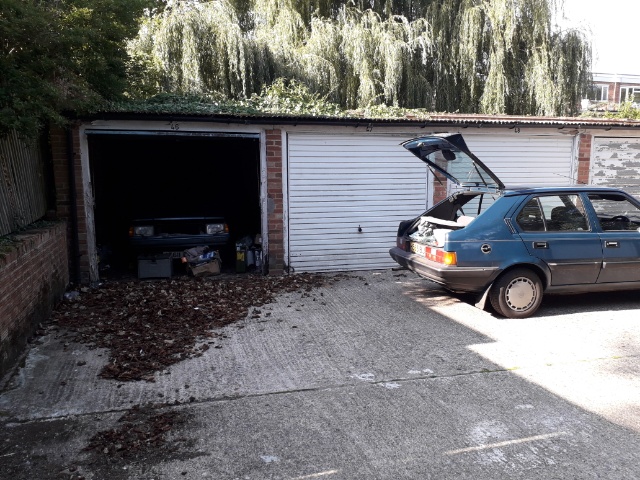
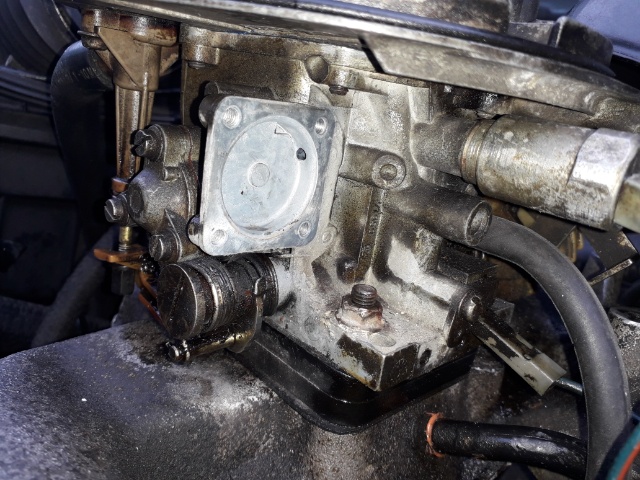
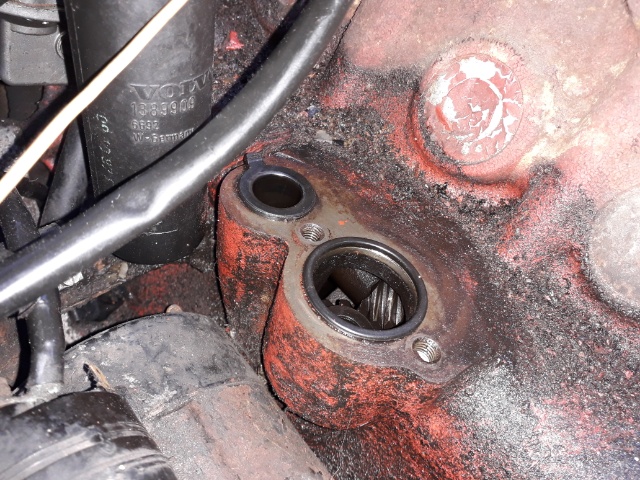
Didn't really get back to work on the 360 till mid-September and found the garage fairly well submerged in leaves. I had a bit of a fiddle trying to remove the brass screw since the Ford Fiesta O-ring was too big for the hole it has to fit into. However, removal was effected with an expertly-honed set of eye lash tweezers, as shown below.
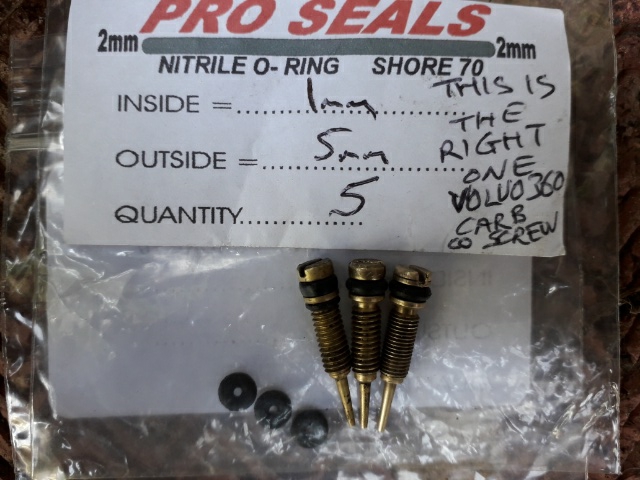
All the brass screws are shown below, emphasising the difference in thread, along with the correct size of O-ring.
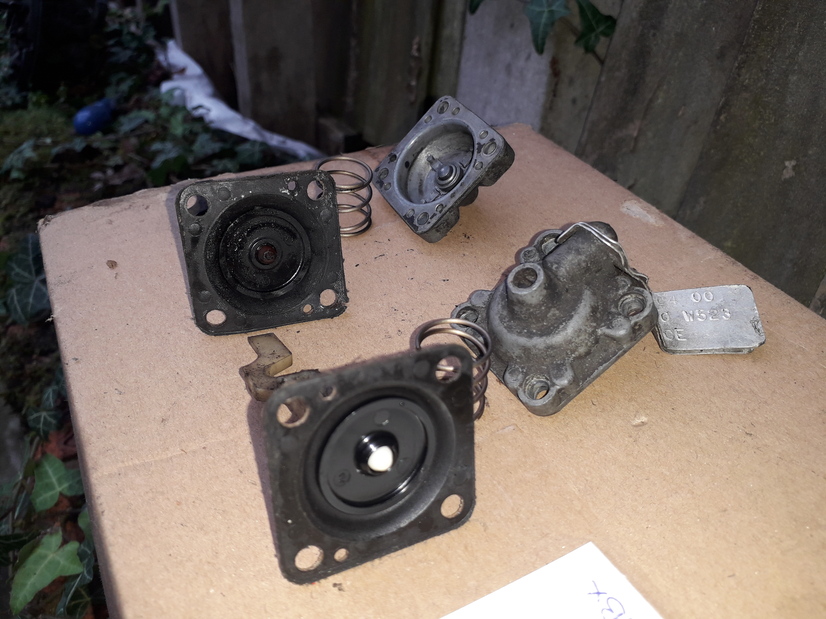
I then cured a couple of fuel leaks and had it all running reasonably well, but found that idling was not reliable. Eventually the car was put back into everyday use in early Oct 2020 but very quickly had to go back to the garage due to stalling issues. I then convinced myself that there must be trouble with the diaphragms in the carb and erroneously came to the conclusion that this one was stuck. A second check confirmed it was actually moving OK but removing the cover plate revealed a slightly split diaphragm and I stupidly broke the plastic rod. However, one of the spare carbies has a much better diaphragm and this was used as a replacement.
Still there is trouble with the idling. A test lamp was placed in series with the idle solenoid showing that it comes on when the ignition is switched on and stays on regardless of the engine speed. Apparently this is the correct behaviour, but before I was certain I tested a couple of other Solex relays that control the solenoid (black box on the inner nearside wing) and they all behave the same.
I then cleaned-out another diaphragm along with the flame traps and vacuum lines from the engine to the inlet manifold which were given a squirt through with brake cleaner and a soak in white spirit.
Everything back together now and the car started first time from cold with no choke!! It has never done that before in the 16 years I have owned it so things must be going in the right direction!!
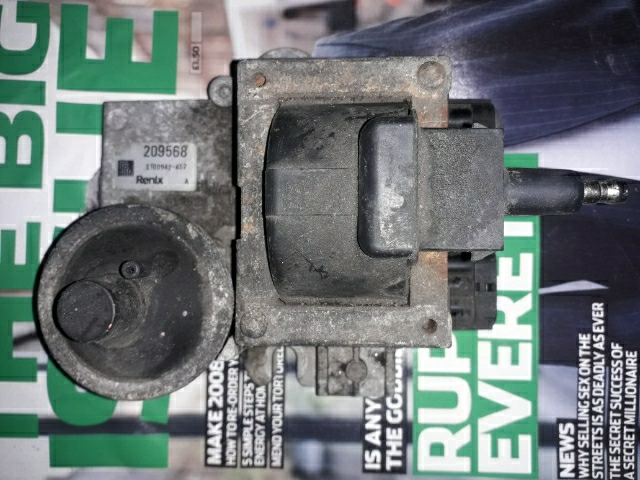
Anyhow, the idle is still problematic due to it settling randomly at one of two tickover speeds (either 300 or 1100 rpm), neither of which is right. A check with a timing light shows that the advance is about 5 degrees when it settles at 300 rpm (i.e. almost stalling) and about 20 degrees when it idles too fast at 1100 rpm. Attempts to rotate the distributor to get a better timing advance duly grind to a halt. A phone call to the MACmeister suggests that the low-speed advance is grossly wrong for a 360 which needs about 15 degrees i.e. I have the wrong renix unit!! Duh, so that might well be the source of all my problems. Anyhow, I have found lots of things wrong with the carby that have been put right. Its just that putting them right has not solved my main problem. Anyhow, hopefully there will be longer-term benefits for having a better carburettor.
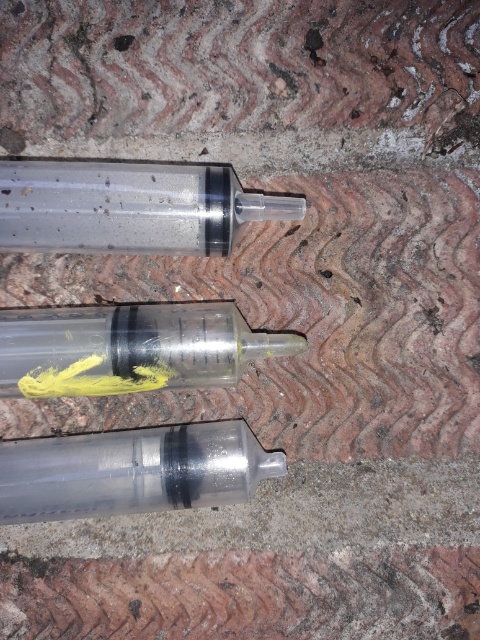
It turns out that the renix unit I need most is a 414 with 15 degrees advance at idle, but a 406 or 407 would do. The closest I have is a couple of 411's (which have 11 degrees advance), one of which is what the car came with, although this model is meant for the injection 360. Still the advance is better than the 412 I had on the car (5 degrees) so it is fitted and there is an improvement but its still not really reliable enough for everyday use. Hence, another call to the MACmeister suggests one more clean-out of the carb would be worth a try, so off the top comes and, as suggested, a couple of old syringes are put to use squirting meths through the brass tubes and channels in the carby lid and the narrow plastic funnel-shaped thing with a plunger going through it is removed for a clean-out, too. One of the syringes is cropped at the tip for fitting over the brass tubes and another is filed so that it has a conical tip for squirting through narrow holes. This is all a bit more reliable than relying on a carb-cleaner aerosol jet.
OK, so its all put back together, given a re-tune (I mean absolutely standard tune, of course, as given in the Volvo service manual, Mr Insurer) and its fine. It can be driven without stalling at corners. Great. What could be better, at last!! Hence, it is put back into everyday use for trips to the spooky bog. Autumn it up.
That was October 2020, but now we're into Nov and Yo! I've managed to get a 407 renix on the bay for £20!! It should have an advance of 15 degrees at idle and 24 degrees at 2500 rpm. The big issue with the 411 currently fitted is that the advance at idle is only around 11 degrees, although it appears less than 10 degrees with my timing light. Just waiting for the garage to sort the MOT so I can get this renix unit tested on the car.
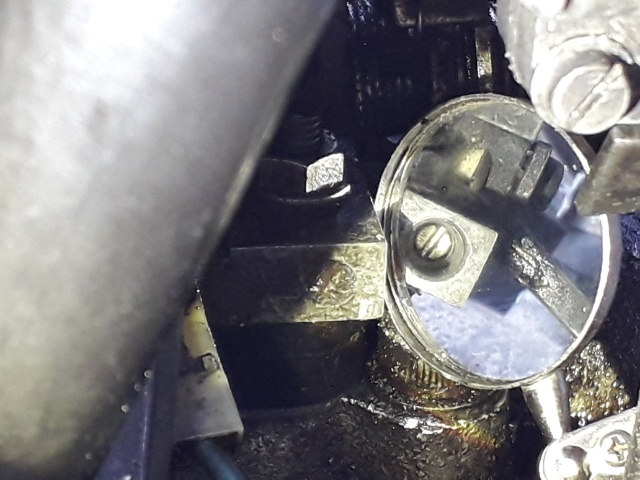
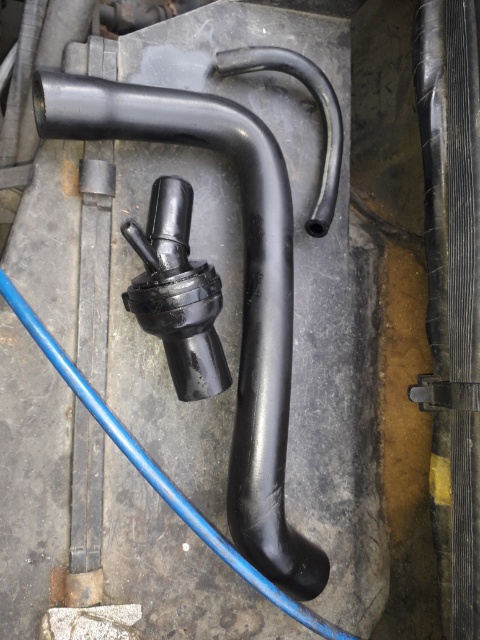
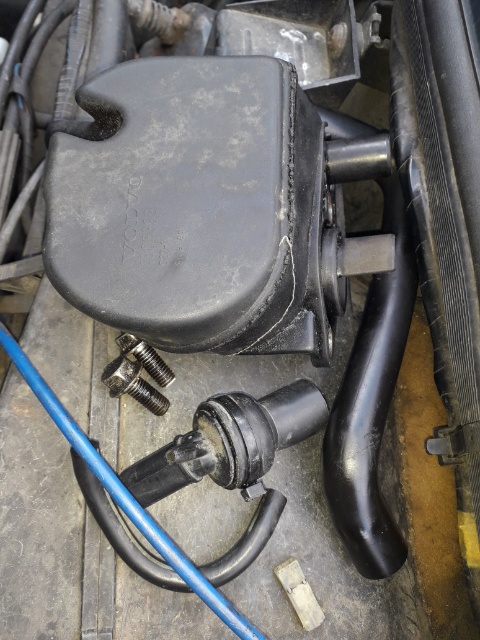
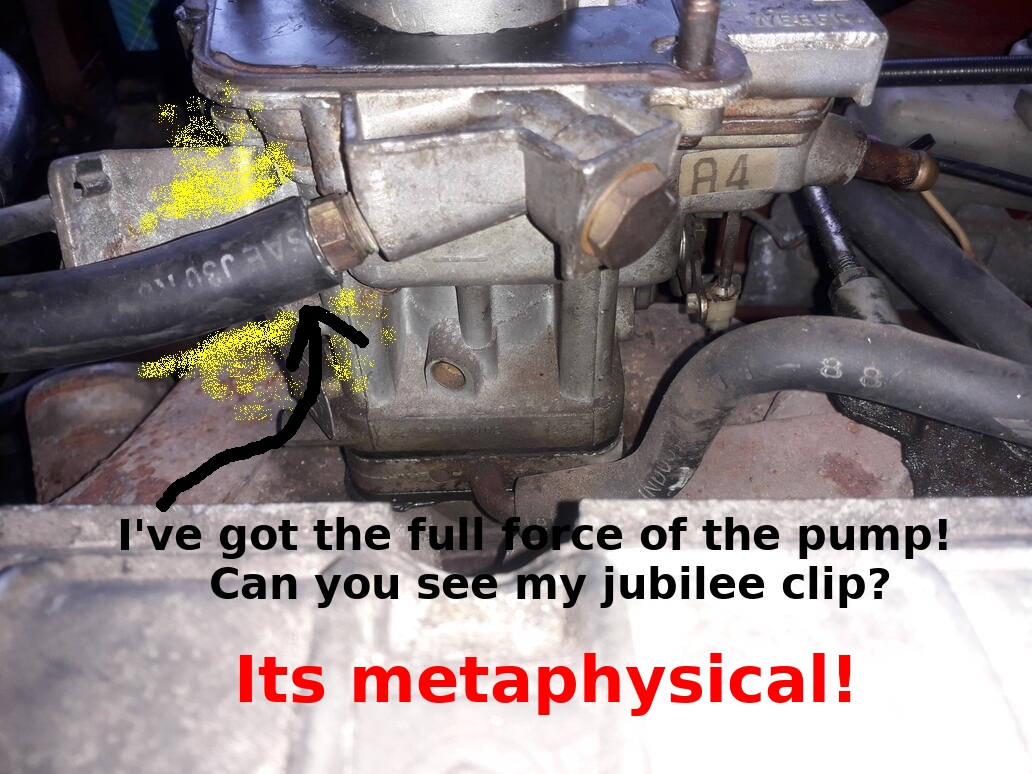
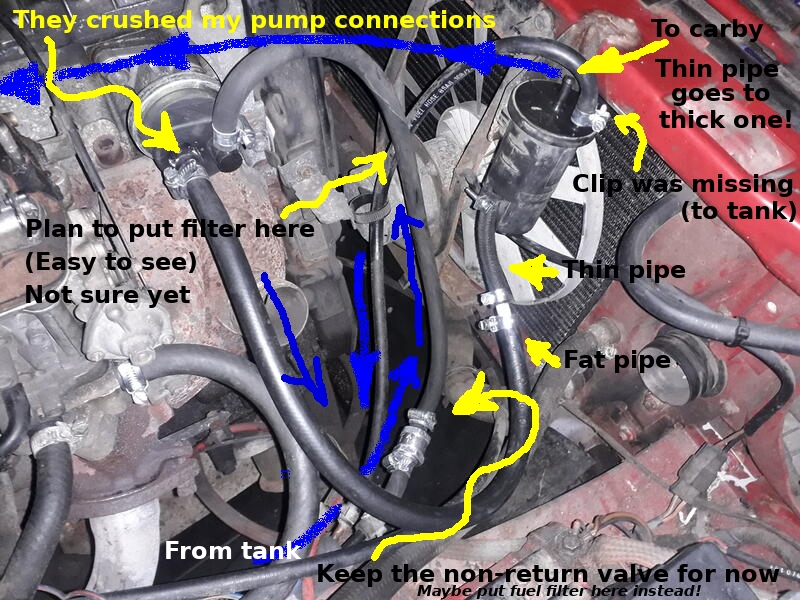
I'm now onto the red 1.7 (1988) which has a Weber 32 DRT carburettor. Last year it got a sudden cutting-out issue on the way to its MOT which the garage spent a lot of time on, by rebuilding the carburettor, etc. They eventually sorted it out just before the lockdown by fitting a non-return valve, as shown, and I've not done anything to the car since, except recharge the battery. I don't know the system well enough to judge, but there would seem to be some issues with the way they left it, not least the full force of the fuel pump going into the carb without a jubilee clip on the hose and without any return to the tank. The vapour separator (which I gather normally splits the fuel from the pump between going to the carb or back to the tank) seems to be doing abso nothing right now. I would like to get it back to the original system and then sort out what was really causing the cutting out. Seems right for a plan?
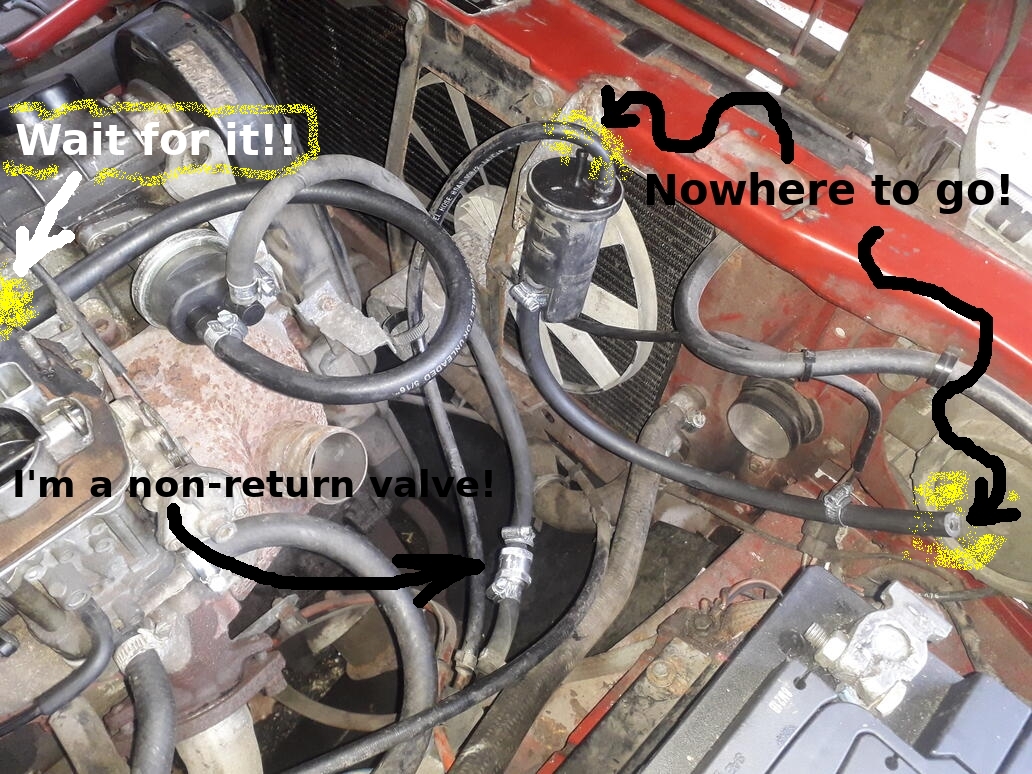
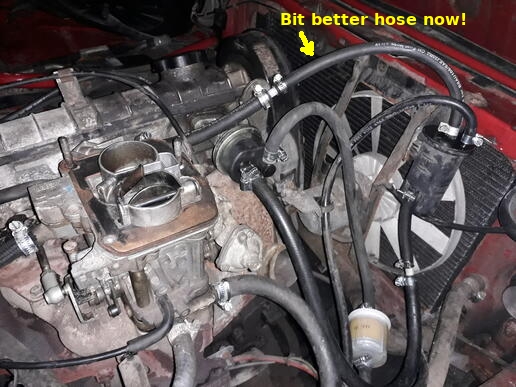
Below shows the new pipe going from the pump outlet to the separator and a few sketchy plans about what to do with the non-return valve, etc. What I really needed at the time was a picture confirming how the pipes on the separator should be connected. Eventually one of the MACmeister's is found on the mania site and my problems are solved.
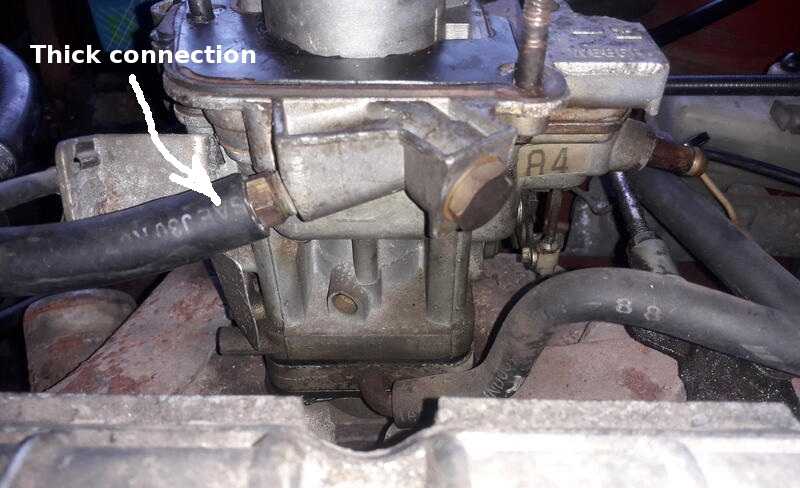
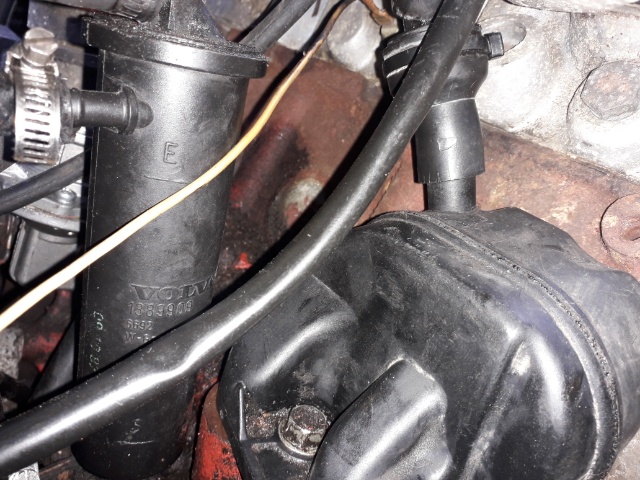
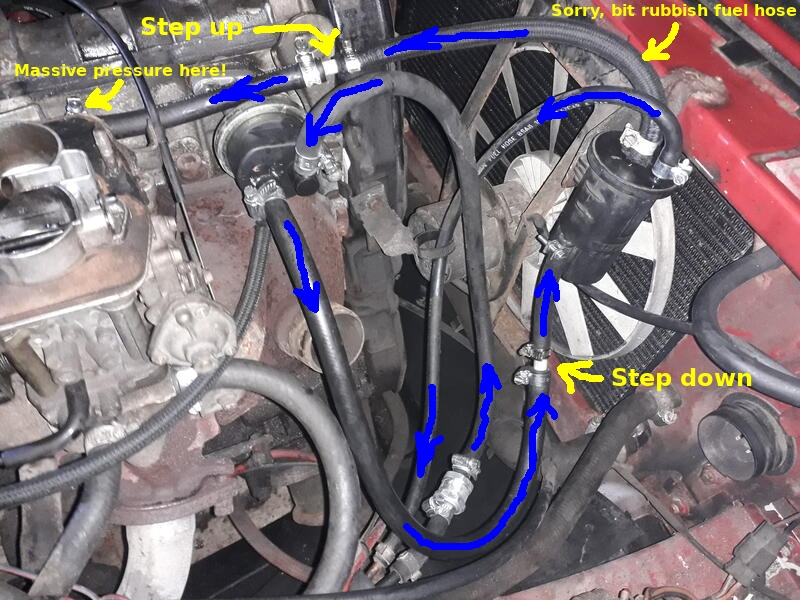
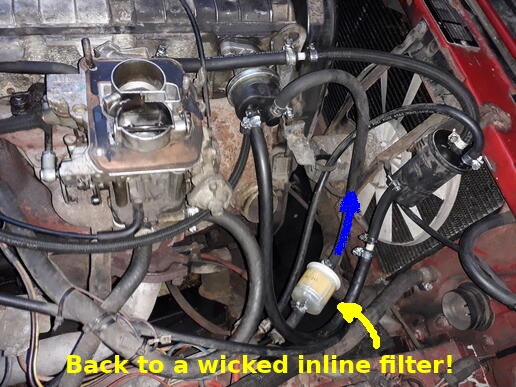
I put the connection in between the separator and the carby. After curing a couple of leaks, it seems OK! In the new setup shown below, there is a step-down in pipe diameter going from the pump to the vapour separator and then a step-up in hose width going from the separator to the carburettor, which has a massive brass inlet pipe. The carb is a Weber 32 DRT which is unusual for a 340, I think, but more usual for Renault 5? I vaguely remember the garage saying they thought the carb was not getting enough fuel and that is probably why they bypassed the vapour separator. Anyway, it got enough fuel coming back from Wales with the old setup, so I doubt if that was the problem!! Indeed, what was clear from one of the leaks is that despite all the steps-down and steps-up in hose diameter, there is still a whumping great pressure going into the carbie, so lack of fuel can't really be an issue, arf!
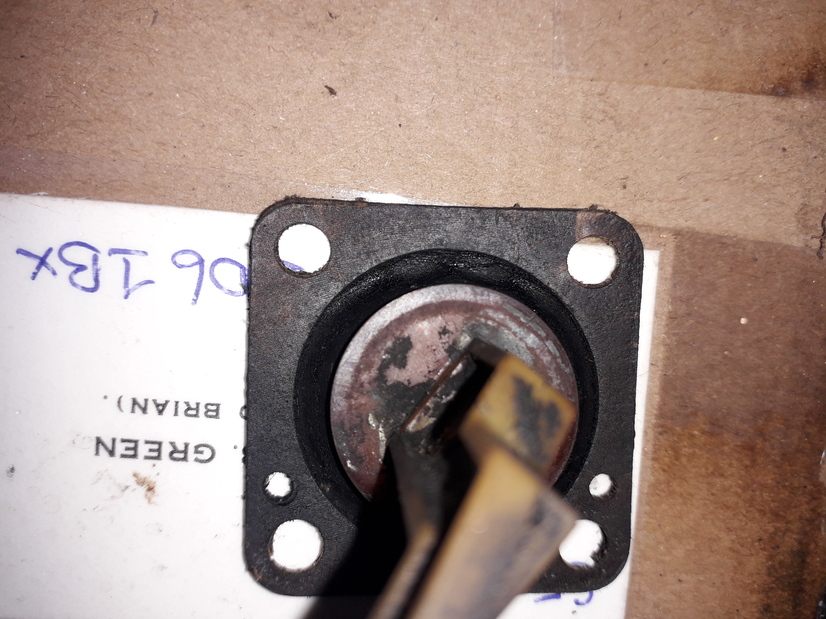
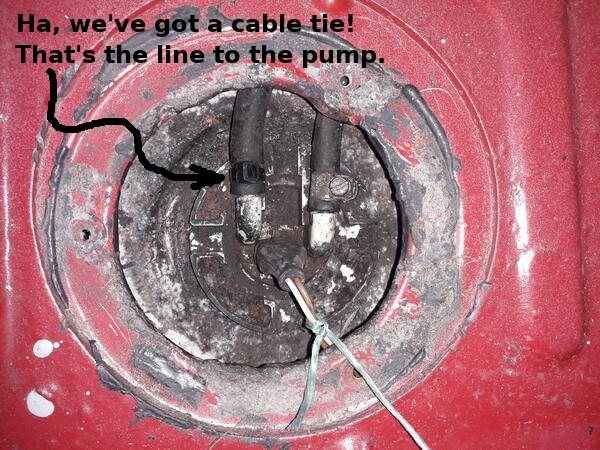
I have my suspicions about the connections to the fuel overflow tank at the back and also to the fuel sender itself, so the latter was removed for a clean-up. I also rubbed in some Oyltite because there were some cracks at the connection to the hose from the pump. There is also a distinct lack of a filter on this fuel sender, but I read that is OK because it gets blocked easily so as long as we put a filter where the non-return valve is, we will be OK (hopefully).
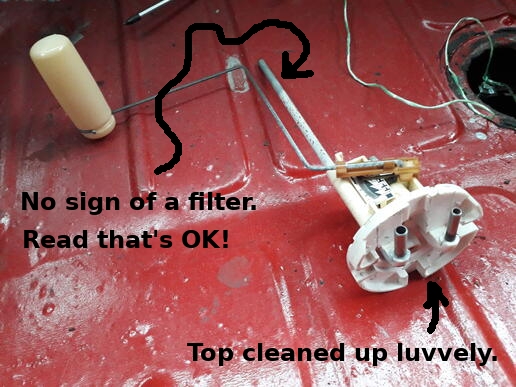


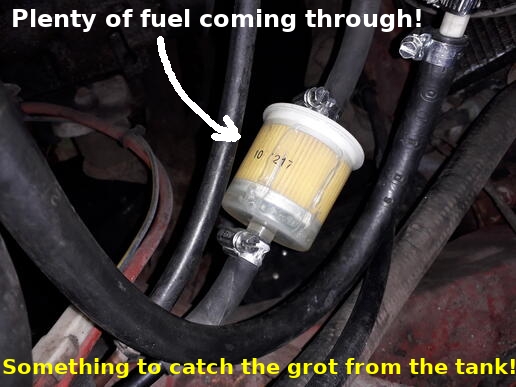
Now, with a new-looking fuel filter in place it starts!! Petrol can be seen bubbling merrily through the filter as the engine idles away.
OK, so we've undone everything the garage did to it over the 6 months it was in their possession and now we need to cautiously test it to see if the stalling problem recurs. However, that could be interesting as the MOT ran out 6 weeks ago, arf, and the rear brakes are binding due to lack of use in the lockdown!!
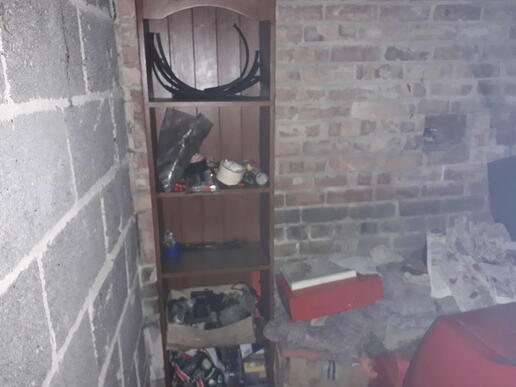
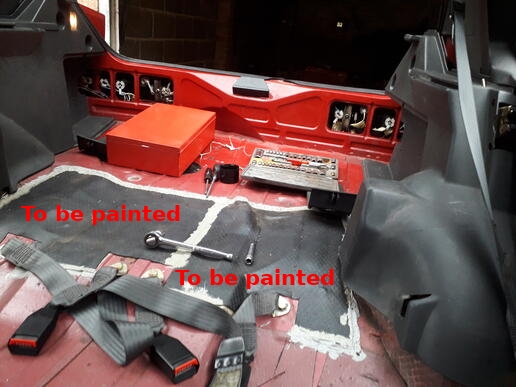
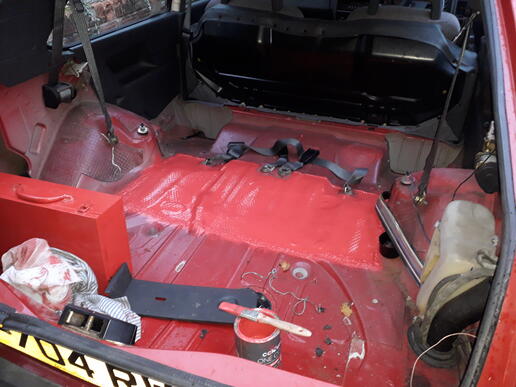
Now into Nov 2020 and what I need to do now is to check the connections around the petrol filler and overflow tank because I have this idea, probably wrongly, that if something was connected wrongly there, it might cause the sucking-back effect which the garage referred to. Removing the trim panels inside the boot will also allow me to finish painting the floor. When that's done, I'll be onto the rear brakes. Finally, another achievement today - someone dumped a great-looking cupboard by the dustbins at the garage, so I've got a new storage accessory for the Ness-cave.
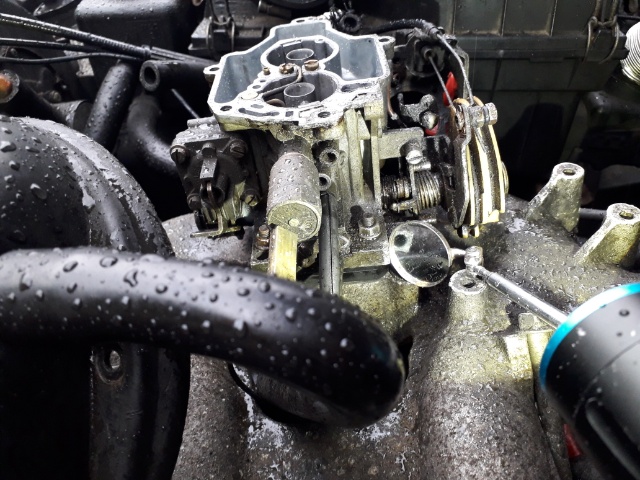
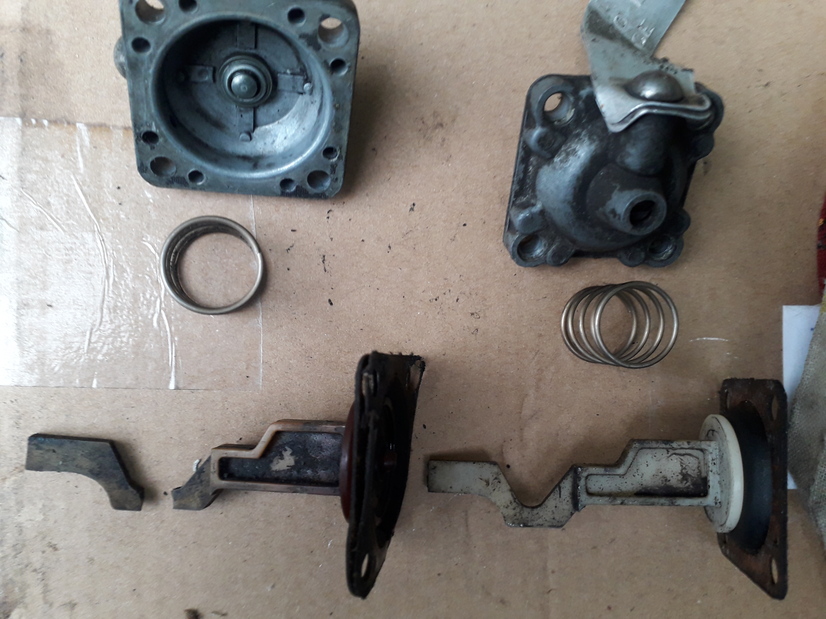
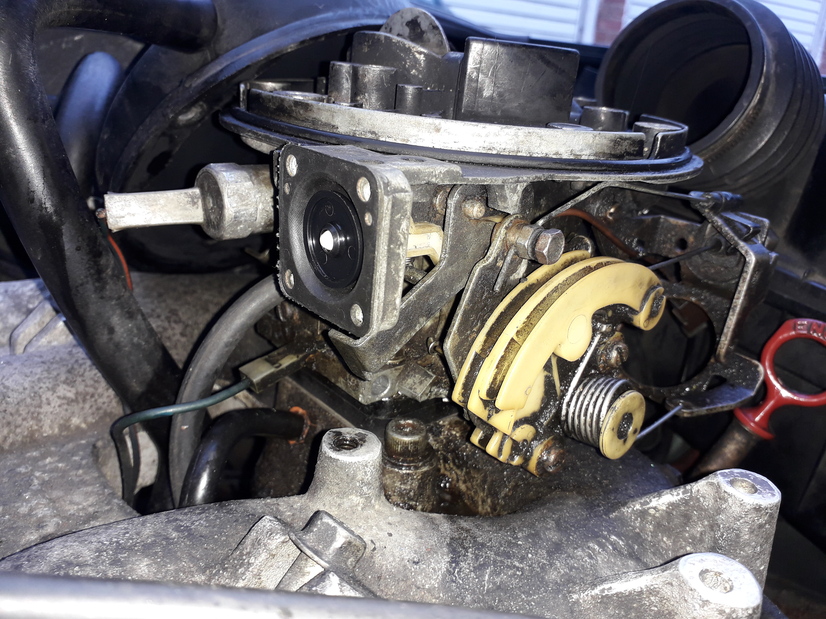
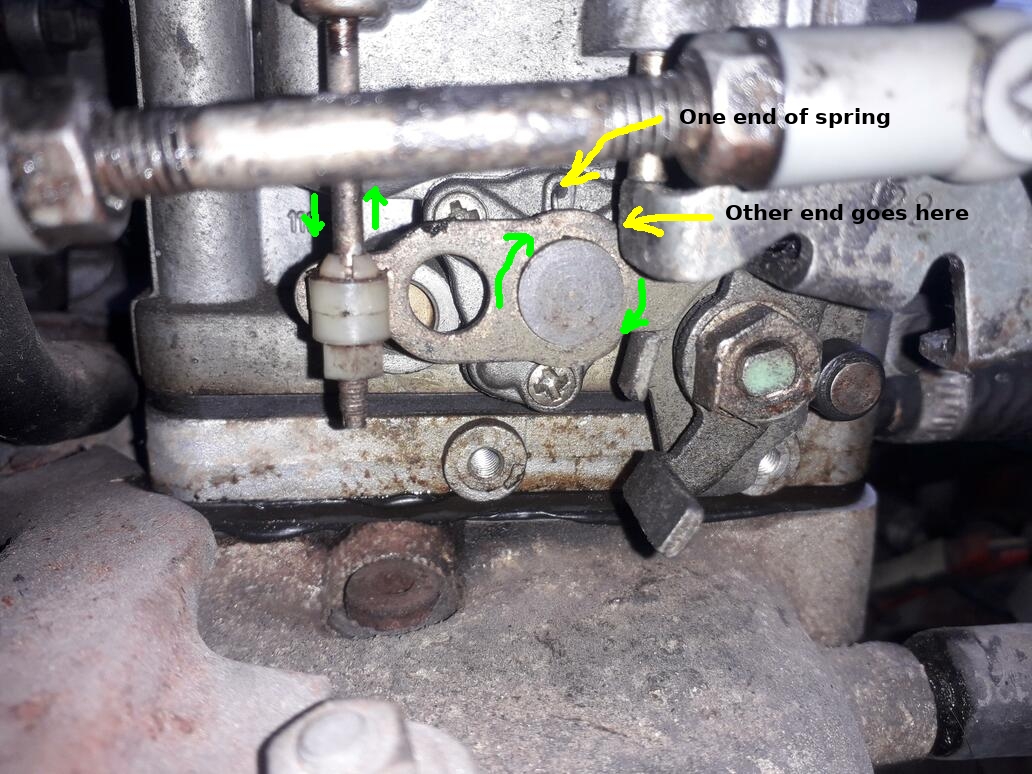
One thing that has been niggling my mind is that when I looked at the carbie, there was a cam that was wobbling about like a see-saw (green arrows) with nothing obvious connected to it. Hence a call to the MACmeister was needed to focus my thoughts and I am thinking that there is a spring which is hooked over the cam which is meant to hold it down on the right-hand side as viewed in the picture below left.
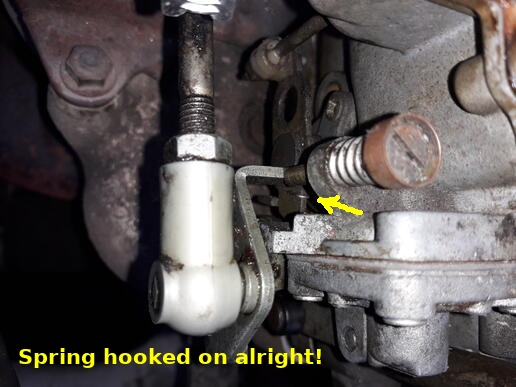
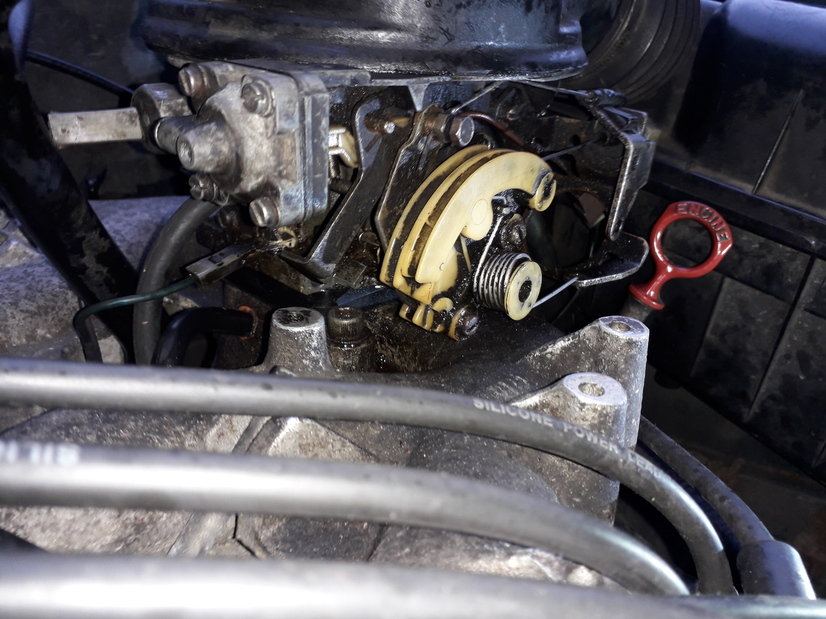
Having confirmed that the spring is hooked on at both ends, its all a bit of a mystery why this cam should just wobble up and down and not be driven at all by any movement of the throttle or choke. An email link from the MACmeister to a video showing the correct operation of the plunger on the side of the carbie allowed me to see what needed doing. I had to take the top off to see what was going on fully and it became fairly clear that an adjustment of the nylon nut at the base of the plunger was about the only thing that could be done. Fortunately, this worked.
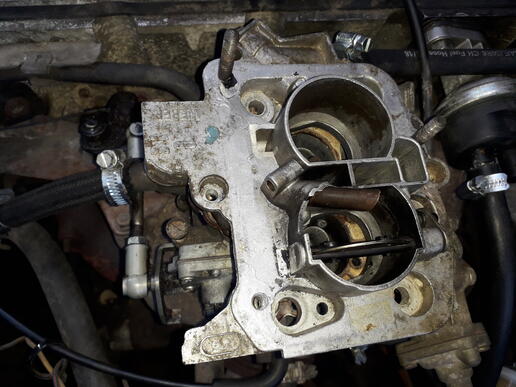
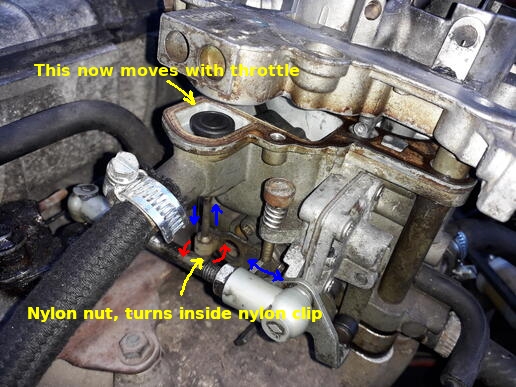
The plunger now moves up and down with the throttle, as can be seen here and the engine seems to run abso fine, with a bit more torque at idle. I also had the chance to replace one of my dodgy new hoses.
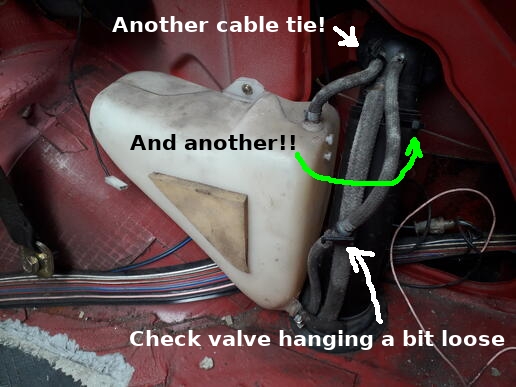
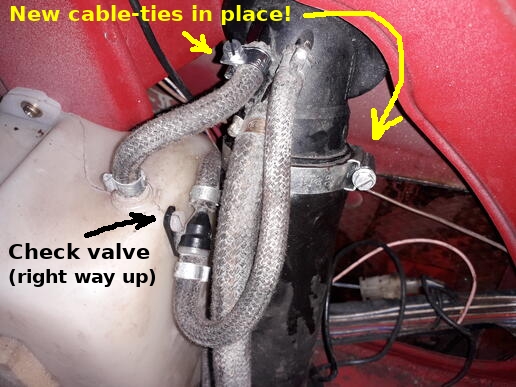
Regarding the overflow tank at the back, a few more more cable-ties doubling as hose-clips were to be found as shown below and were replaced.
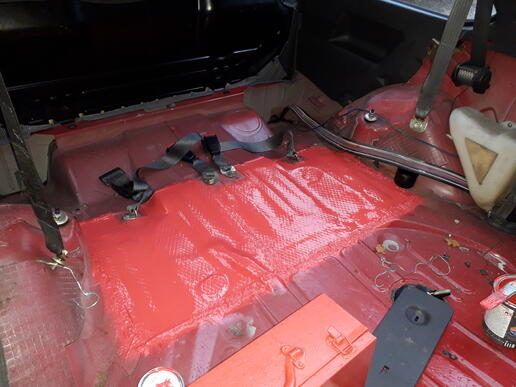
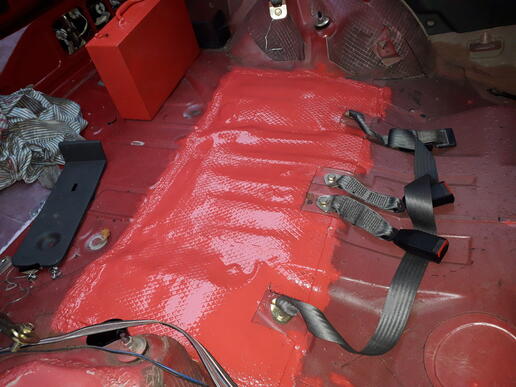
I wanted to give the black sound-deadening patches left by the welders a bit of red paint so that they would merge in a bit better with their surroundings, colourwise. However, I did not fancy getting into the realm of interior spray-painting, given that I could end-up with overspray in horrific places like the headlining, seat belts and cushion covers, etc. So you may curse me forever more, but I gave it a quick brush-over with B&Q Strawberry one-coat gloss *tremble* !! I will try to get a better colour match somehow during or just after the lockdown, although this part of the floor is never normally visible.
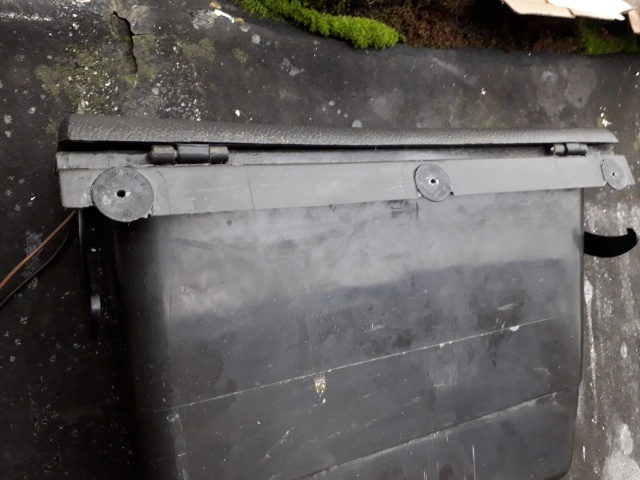
Mid-late Nov 2020 and its time to repair that 360 glovebox. Requirements: a glovebox with broken screw holes at the bottom, three old trim-clips, some wood-glue and a hacksaw.
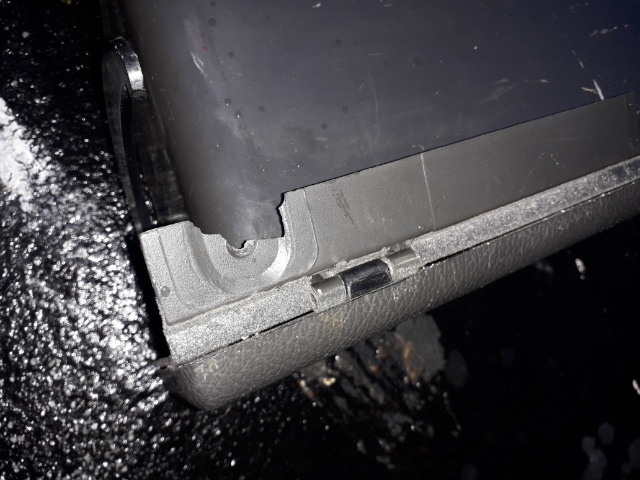
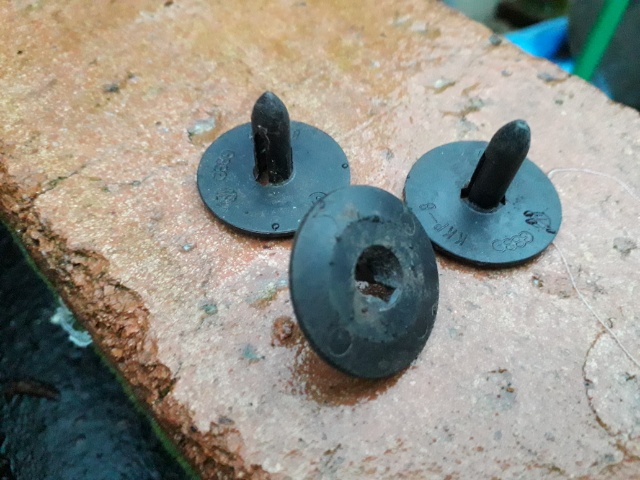
Use hacksaw to cut off the knobs on the trim clips and superglue into place, aligning the hole in the clip with the screw hole in the glovebox. The convex faces of the clips match the shallow dips around the screw holes. Bulk-up the glue a bit on the other side for good measure, and leave overnight to set.
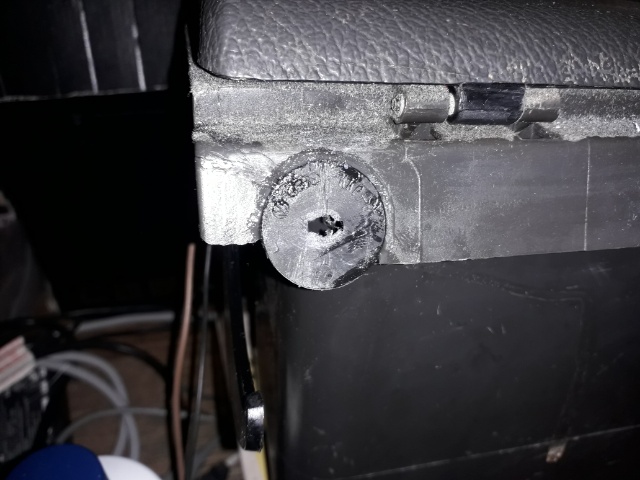

Hey presto and it can go back on the car. Remember not to tighten the bottom screws too much, just in case.
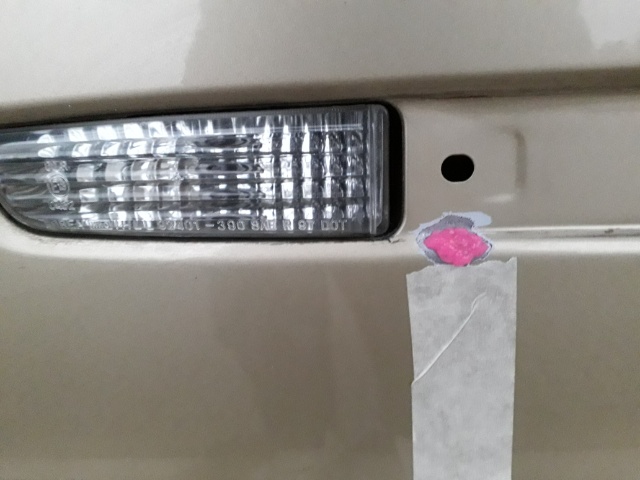
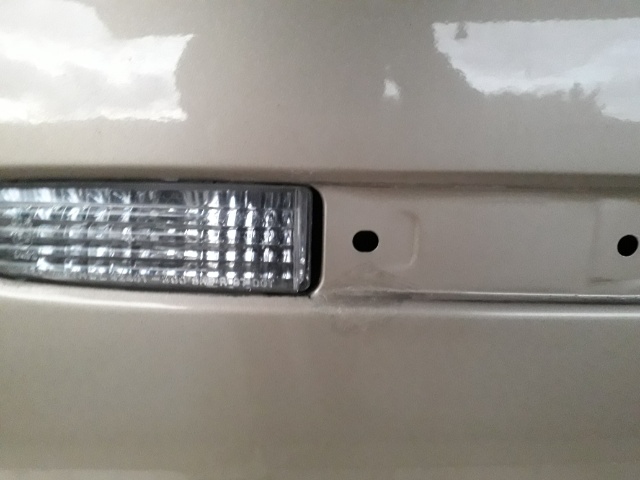
In the last available pre-lockdown day, I checked the garages were OK, stowed a few bits carefully inside the car, removed the sidelight for repairs over the coming days, wished someone a merry christmas and refitted the air filter housing at the front. It seems to run OK, as can be seen epically here, although perhaps a bit rattly. Later, I found and consumed a can of Scrumpy Jack, left over from the last lockdown, to celebrate the onset of the new one. I then spent some time hunting for the slow-setting glue I intend to use for the sidelight repair, which involved stumbling about in the shed half-drunk in the dark with the neighbour's fireworks going off over my head, looking for Captain Tolley's Creeping Crack Cure.
I can't remember how many lockdowns there were before Christmas so some of this might be in the wrong order. Anyway, how terribly interesting Jon, but what matters is what's next!