January - December 2015
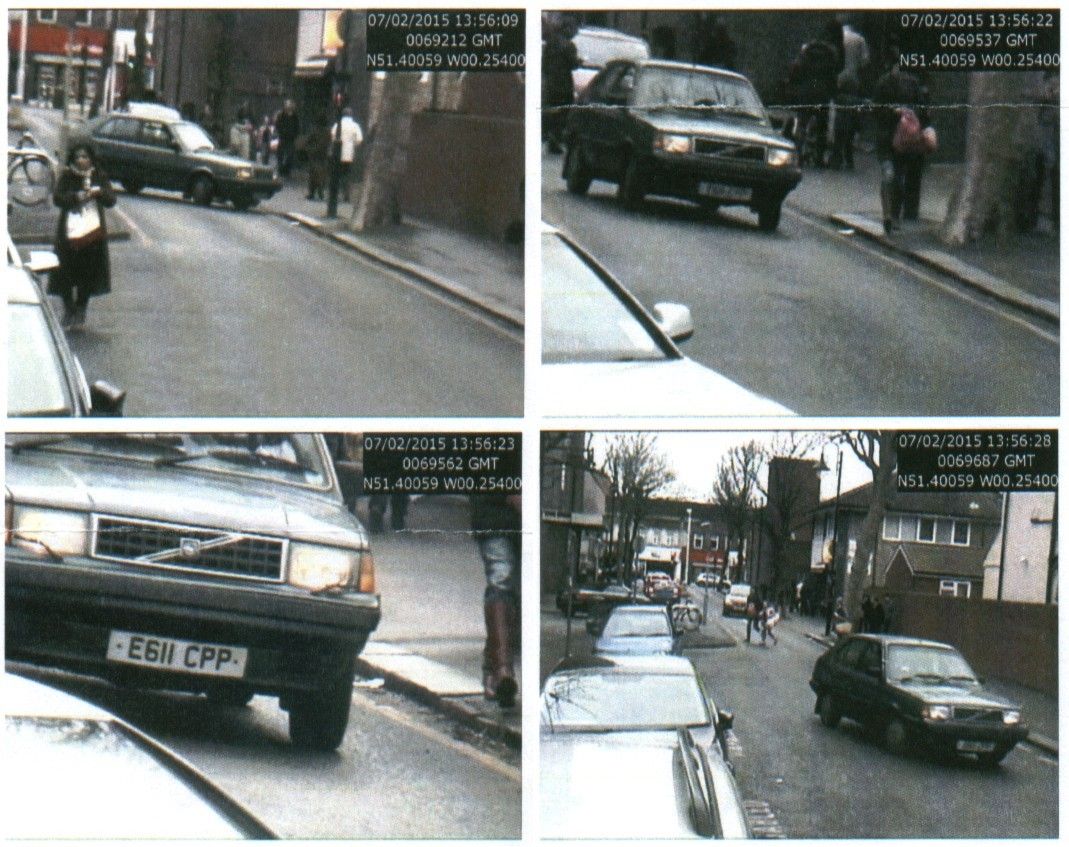
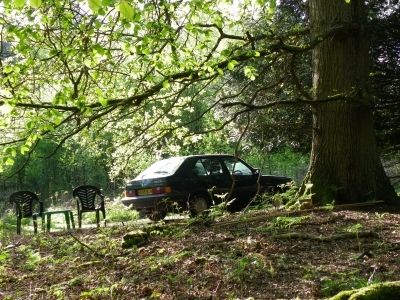
The original Blue Bess 360 has been used as reliable transport
throughout the early months of 2015 - so much so that she was
photographed and fined for disobeying a no-right-turn sign -
nothing to do with me, never.
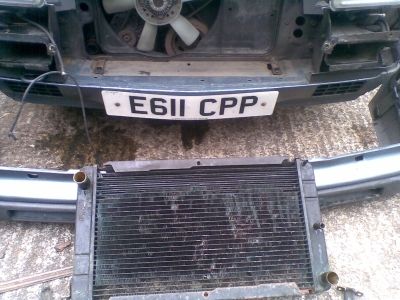
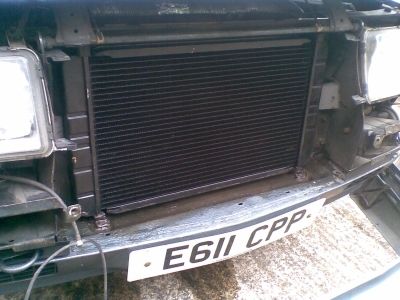
Being slowly fired and retired this year takes my mind off keeping this site up to date, but since Blue Bess developed a radiator leak last year, the amount of radweld-type fluid that had to be put into the coolant and the general inefficiency of the radiator means that she needs a new one (radiator, that is). Hence she is returned to the garage and the deep blue 1.7 is used in her place - in fact, now that the drier, warmer weather is with us, its a perfect time to be driving the newer 1.7. Spring it up, man.
Meanwhile, the new radiator for the 360 just about fits into its slightly rusty place and on running the engine, it seems to work fine, with a bit of new antifreeze for good measure.
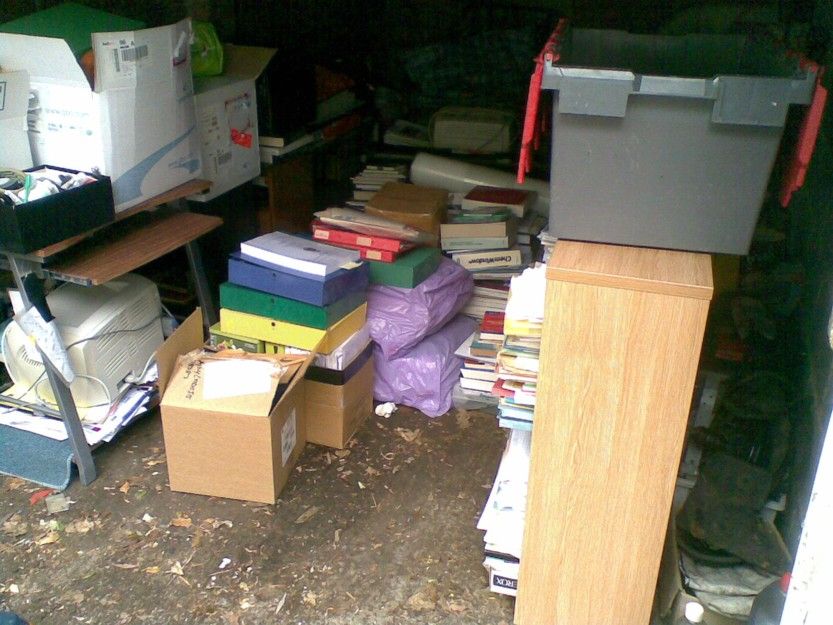
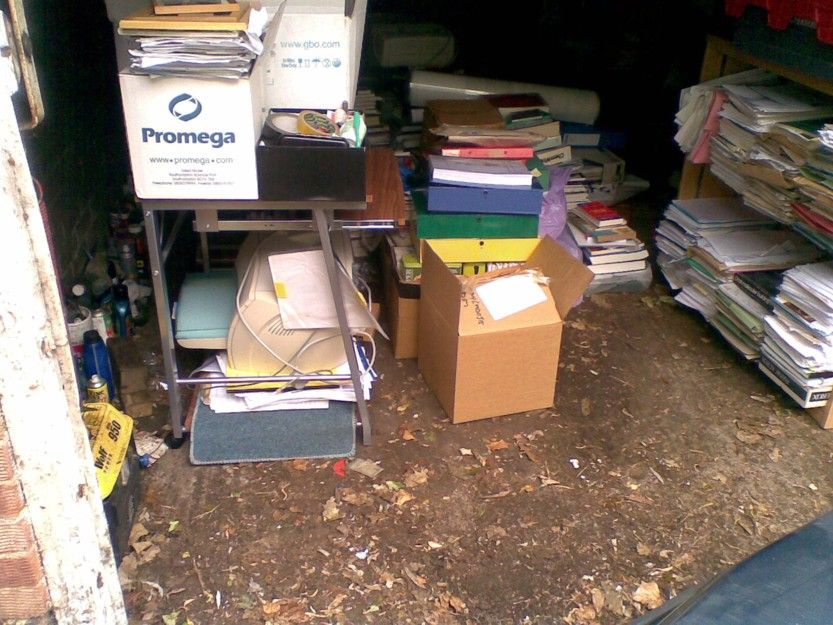
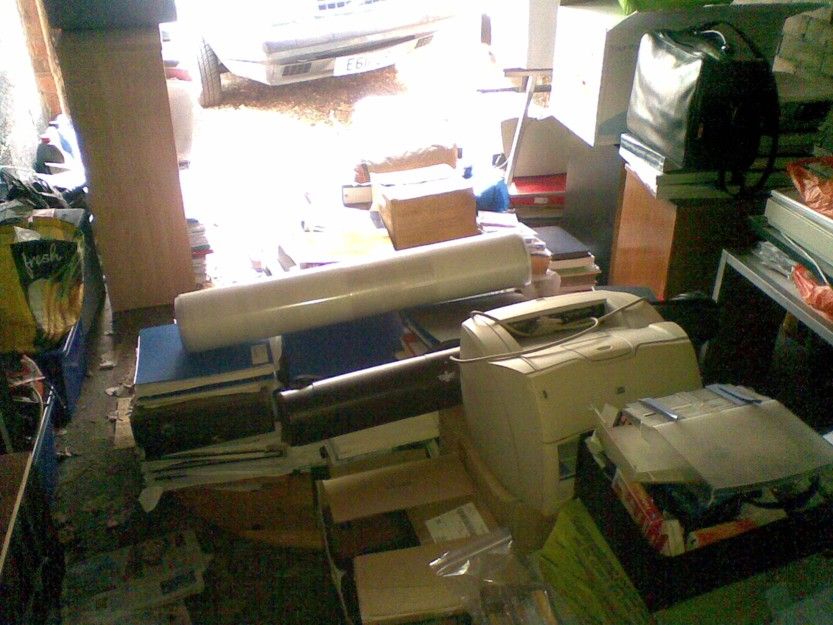
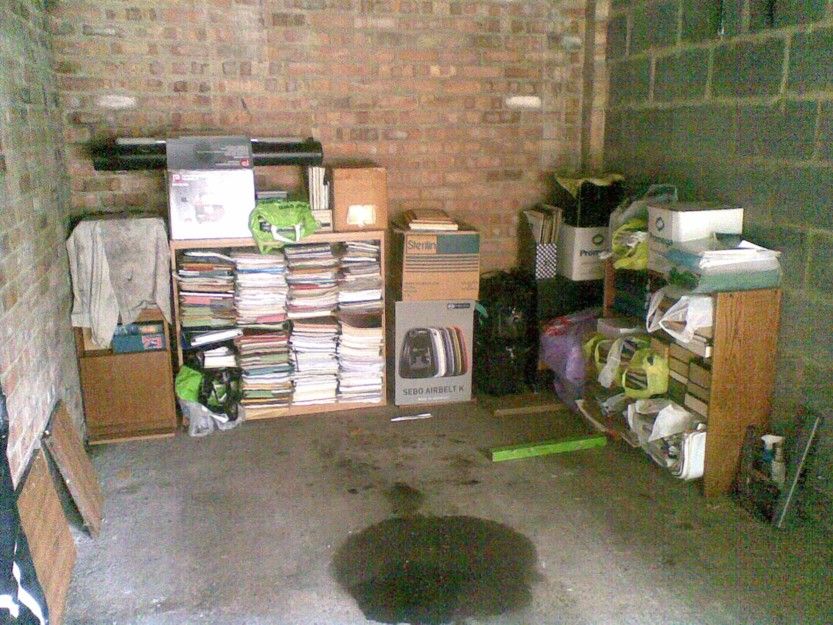
In late May 2015, being evacuated from my office means that tons of work-related junk has to be stored in the garage that was formerly housing the 360 and therefore the car is returned to almost daily use with its brand-new radiator which seems to work fine. Something like 6 weeks are then spent sorting out the all the paraphernalia that has been collected over the last 30 years and cutting it down to a reasonable amount that can be stored discretely at the back somewhere.
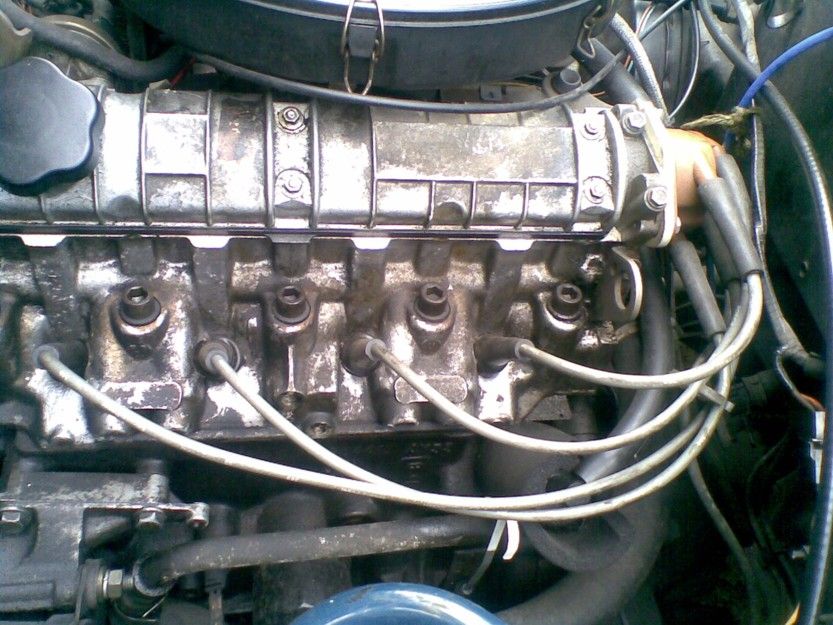
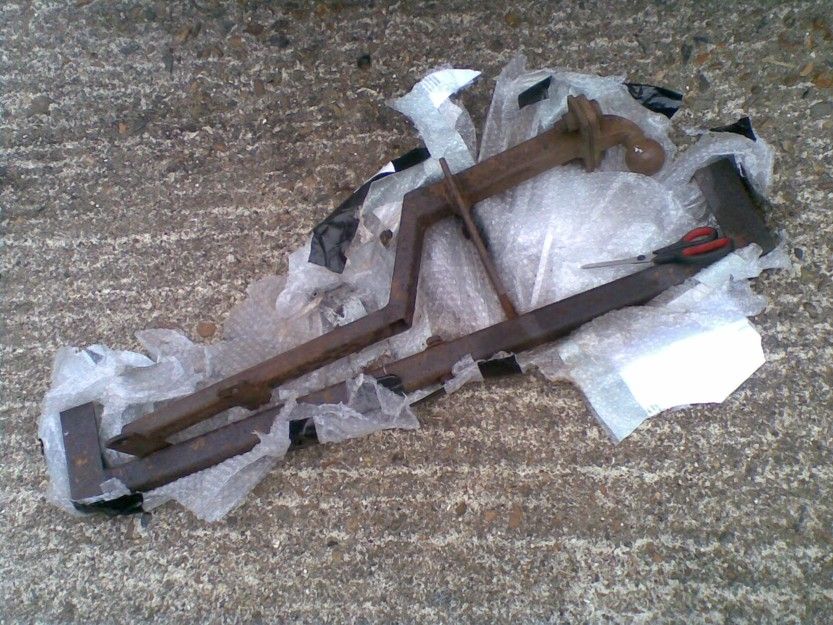
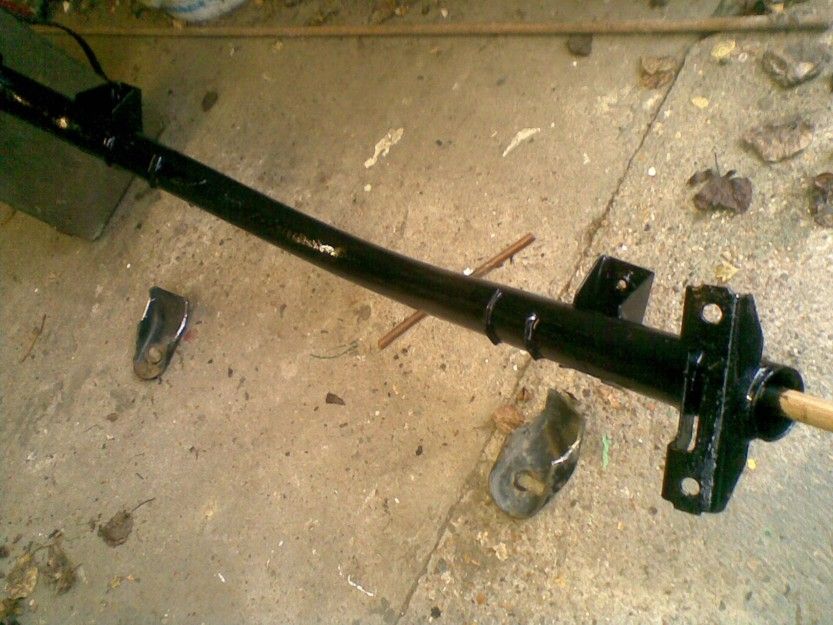
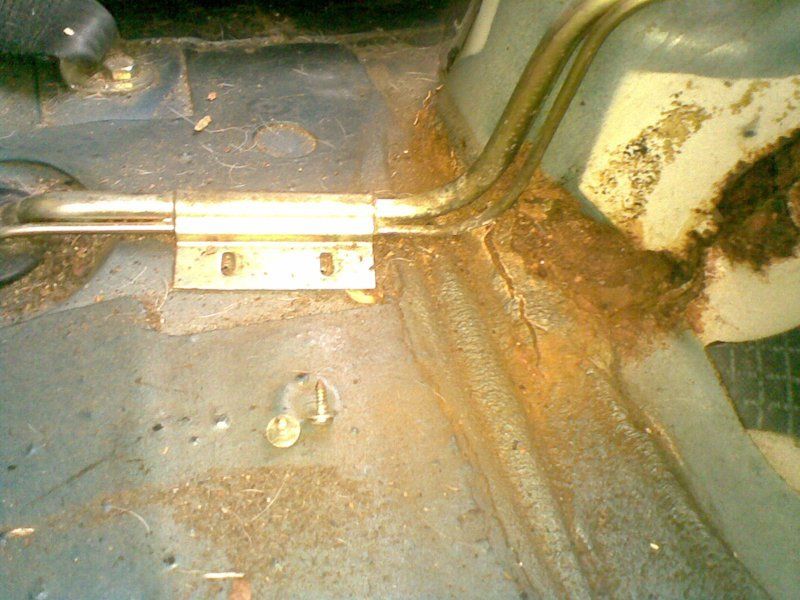
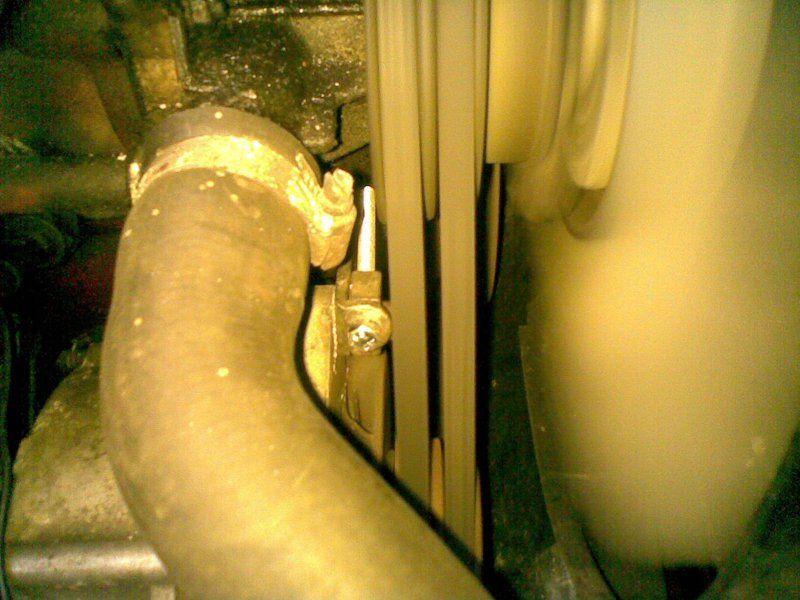
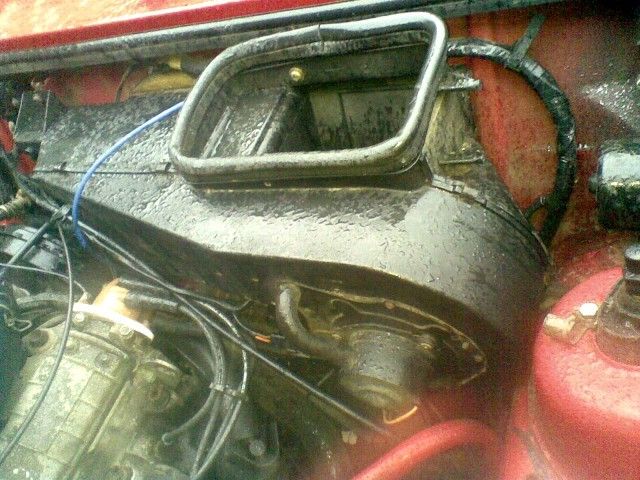
Now that I am supposed to have a lot more time on my side, all of it is spent trying to tidy-up the house and thus very little is spent looking after the Volvos but for some reason I took this photo of the 1.7 engine and another of a tow-bar which was acquired from the internet (thanks derksine).
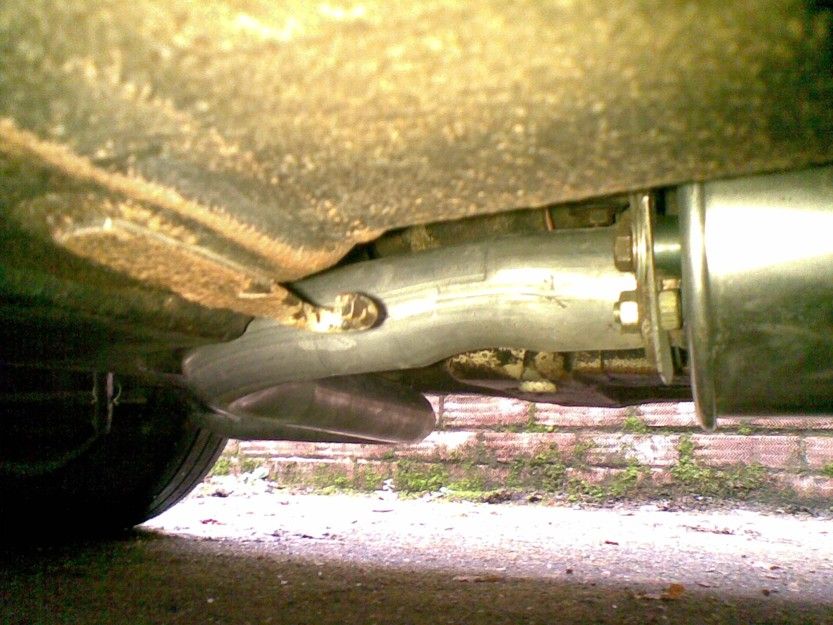
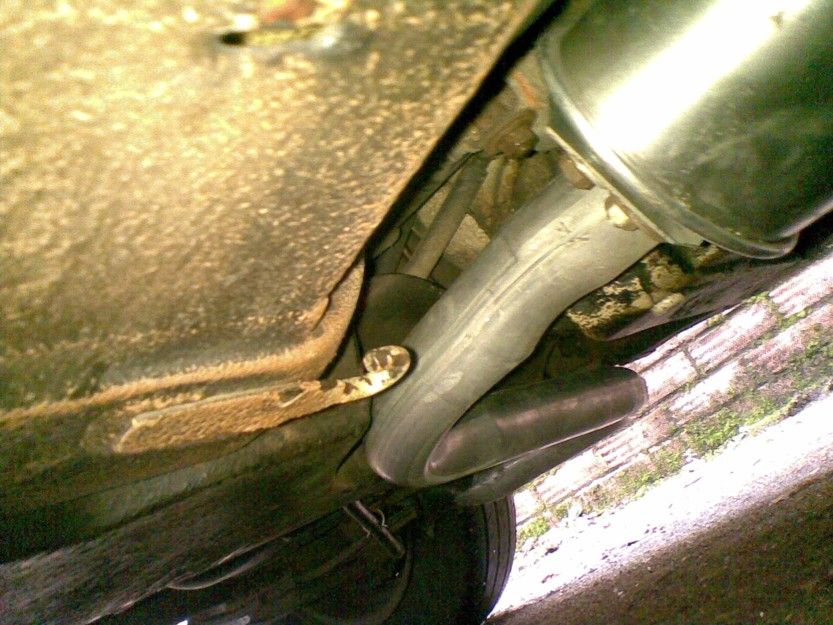
However, arrival of the Autumn also brings an ever-louder exhaust noise from the 360 which needs attention. The problem was due to a broken centre-section which was eventually replaced with some creative fixing due to an oddity in the separation of the bolt-holes in the silencer which did not match the mounting plate. Nedless to say, it seems to be coming back together again and not leaking too much. Some effort was put into making sure that the new pipe was fitted well into the rear heat-shield and the hanging-down bit of the Heath-Robinson fixing-plate has been cropped to keep it safe.
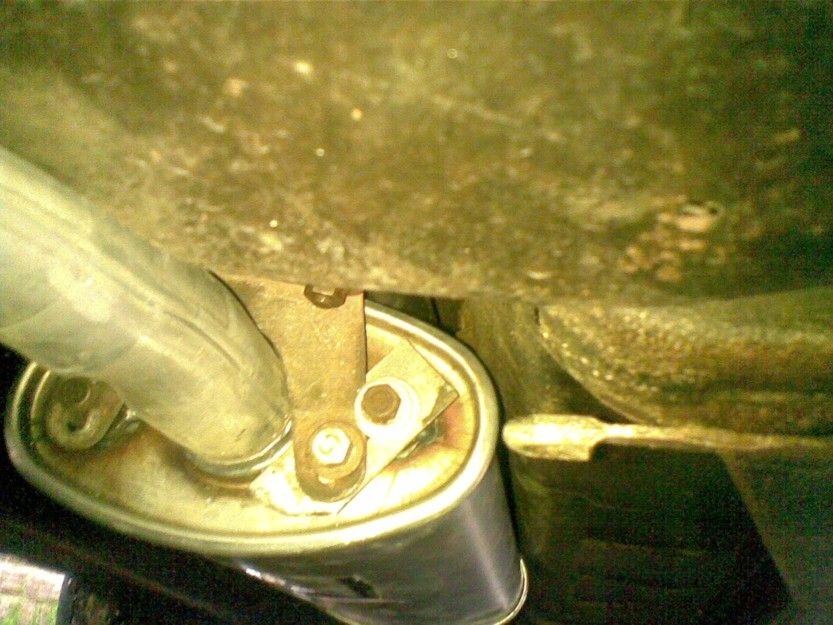
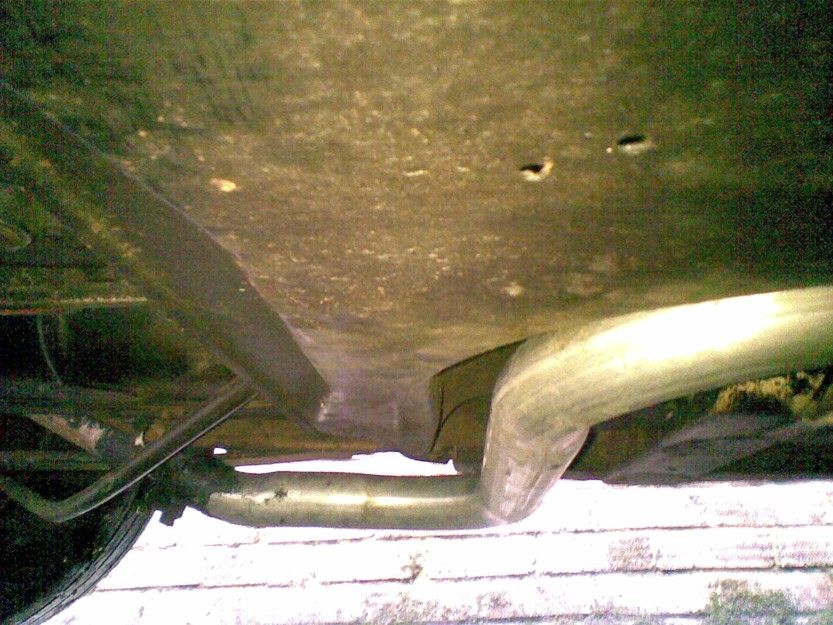
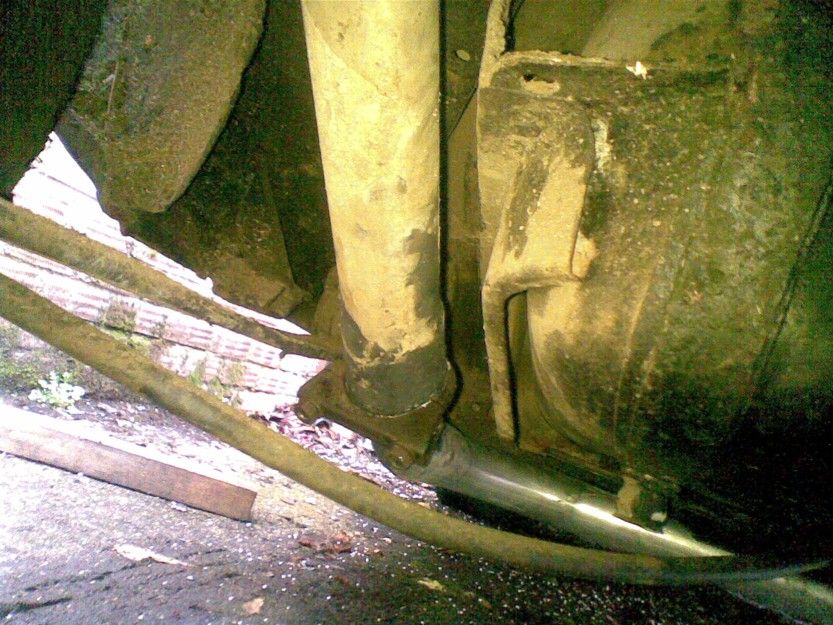
A few more checks on the mounts and the routing of the pipe were undertaken as well as leaks being fixed, etc.
October 2015 and one more servicing job is done by bleeding the brakes and the car is given a clean and a polish as well as new front nearside mudflap.
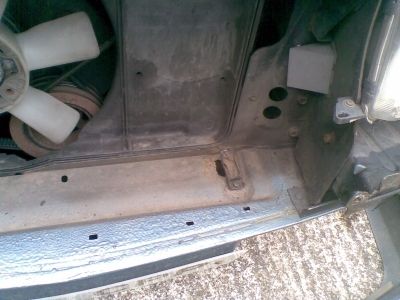
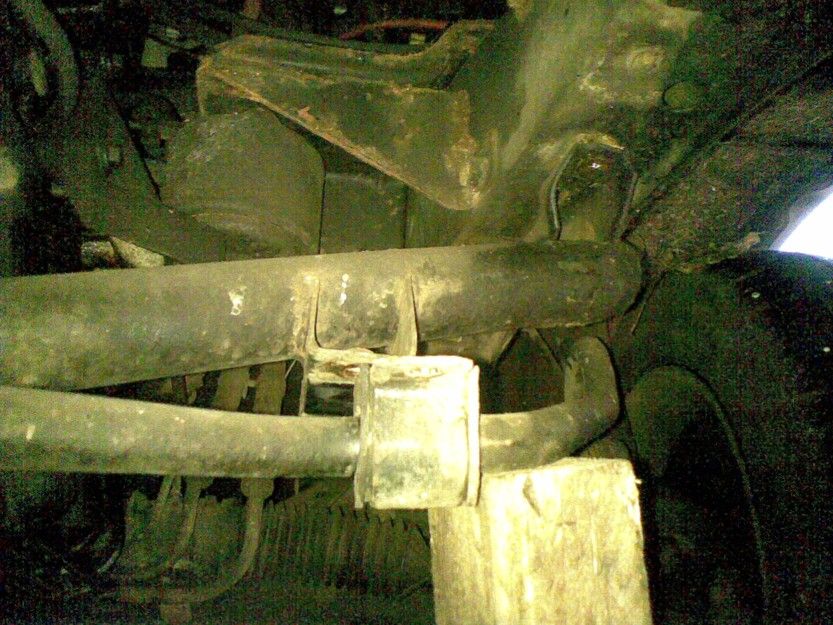
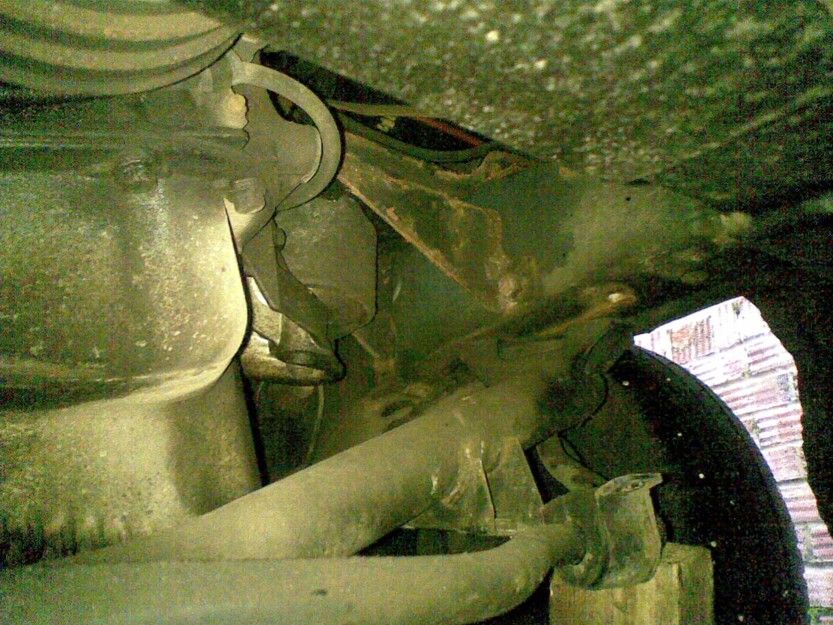
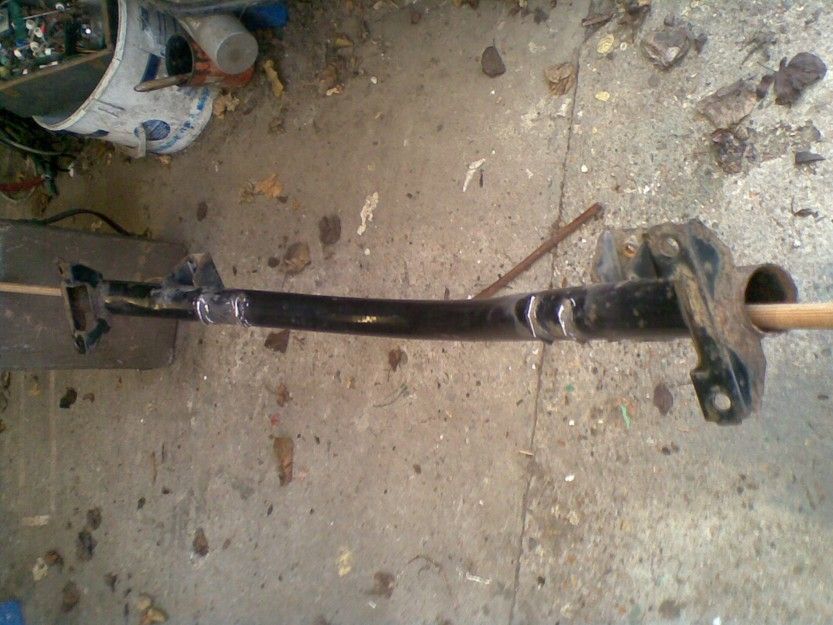
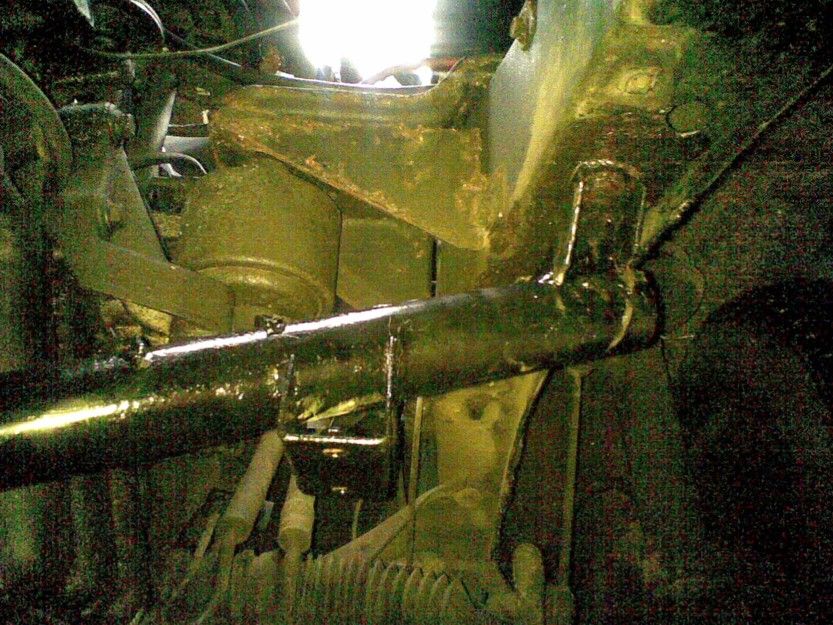
Early Nov 2015 and we are almost ready to go again. Or at least that was what I thought until I remembered that I had spotted a large part of the front cross-member was missing, as the pictures below should show.

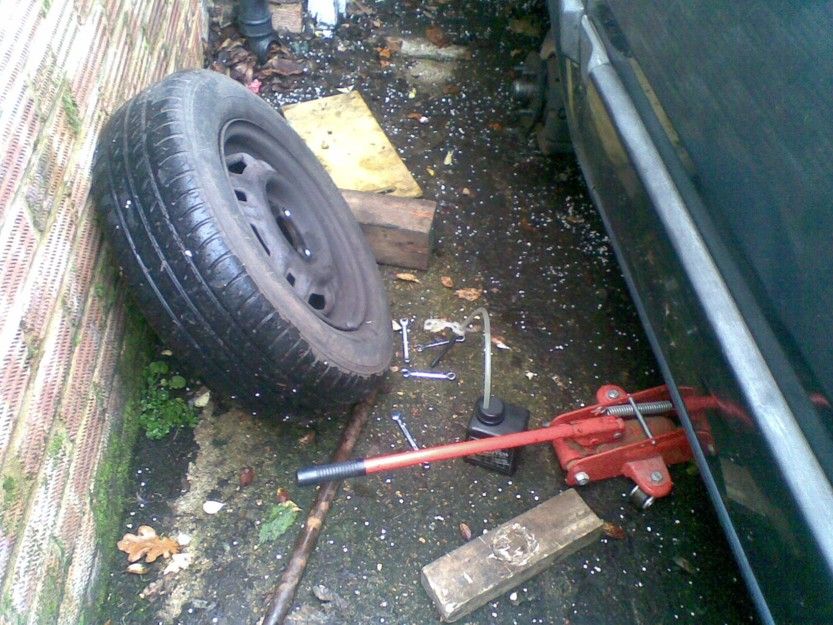
Hence a new 340 cross-member was procured from the internet and the old one, which was fairly knackered, was removed in preparation for a trial fit of the 340 one which will probably need to have the engine mounts removed from it.
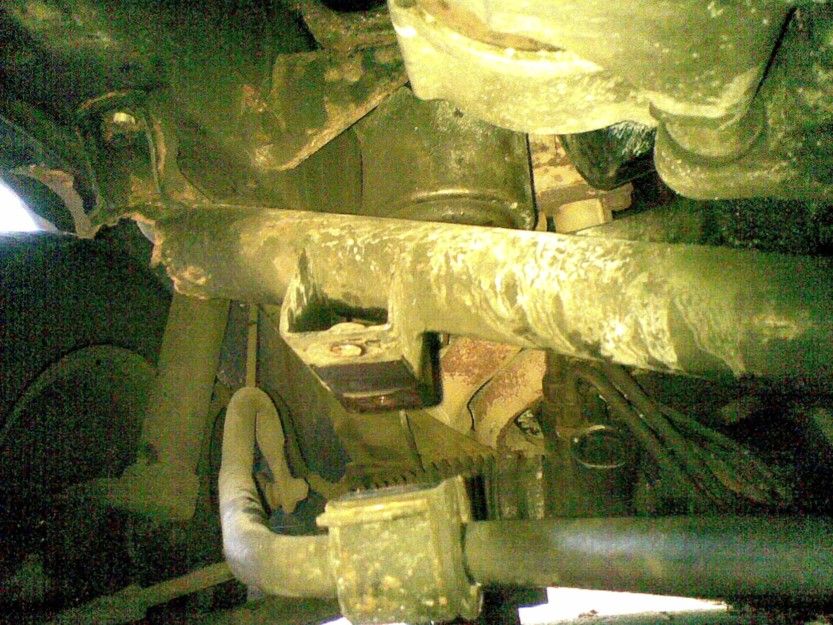
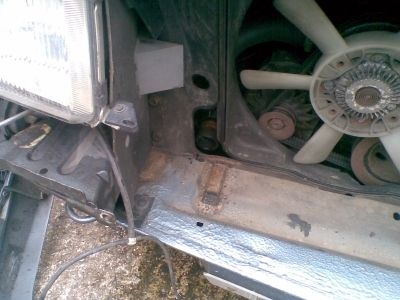
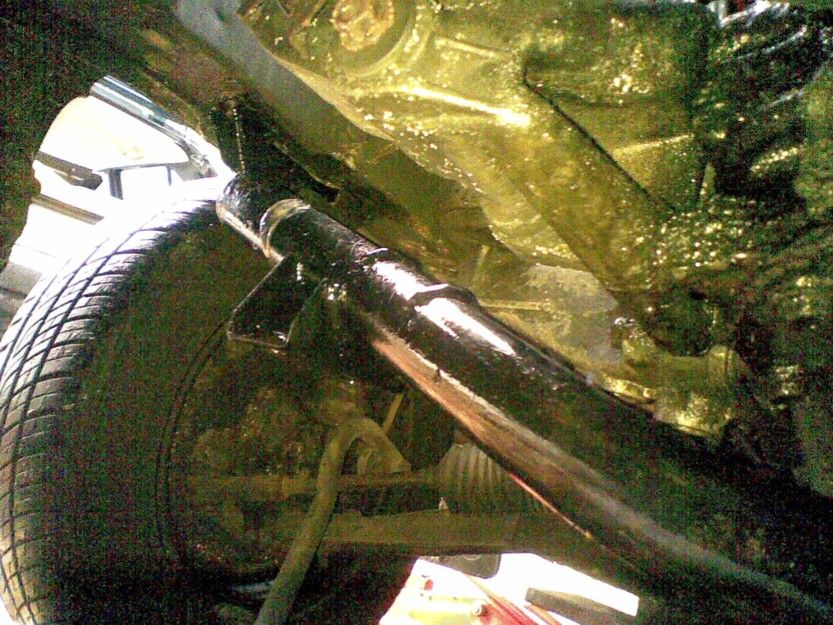
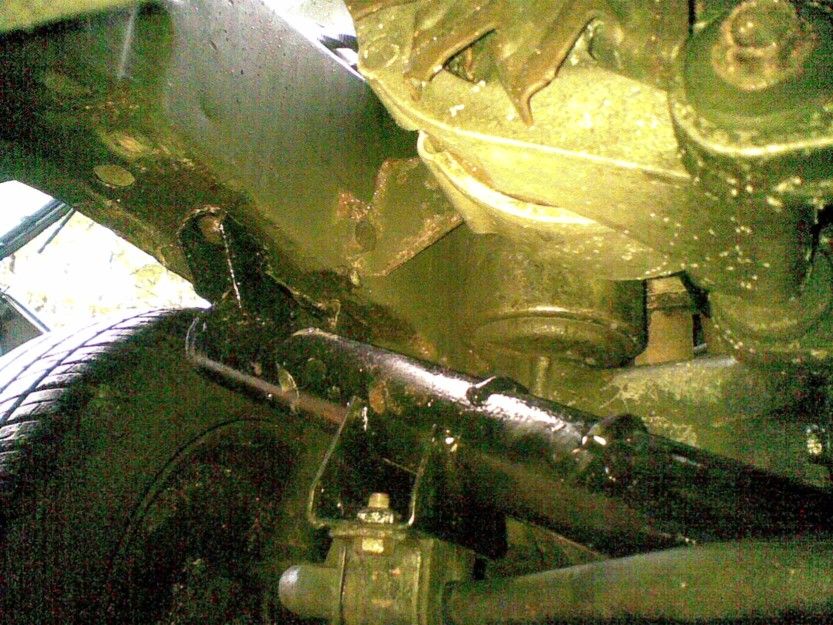
The new old 340 cross-member is offered-up against the underside of the car and it is clear that the 340 engine mounting brackets on the cross-member will need to be cut-off for clearance with 360 engine mountings. Hence the Dremel is called into action, as is a bit of smooth black Hammerite.
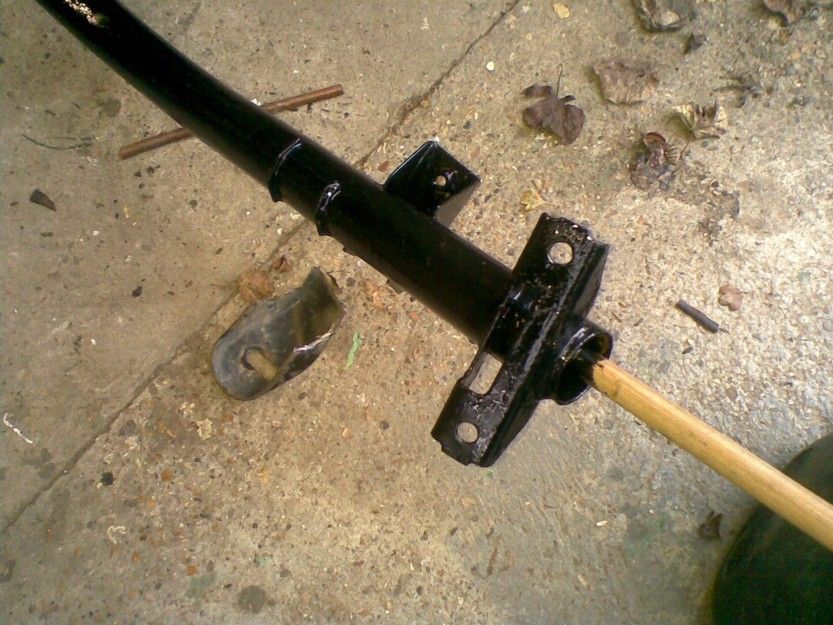
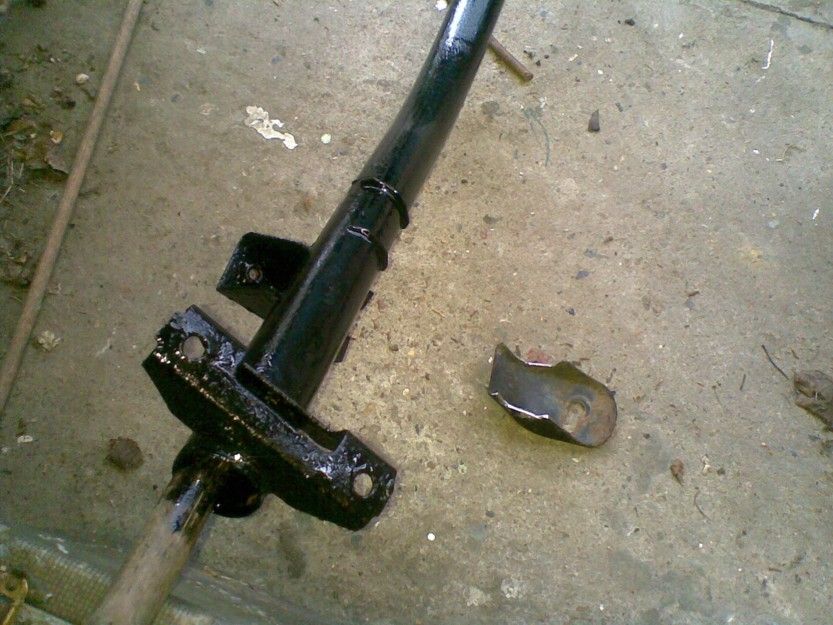
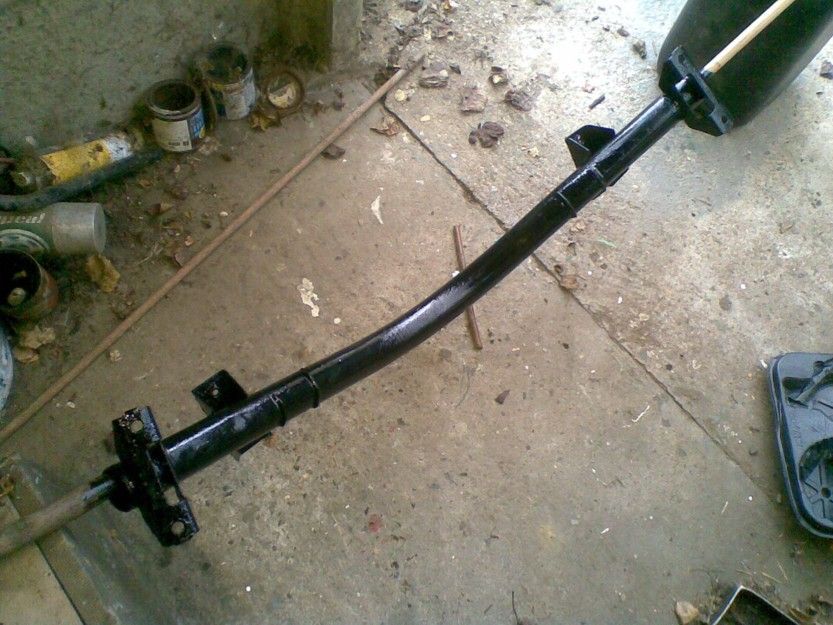
The newly-painted cross-member is then fitted to the car and the bolts tightened to what feels like the right torque. The anti-roll bar mounts also seem to just-about fit, too, which is very good news.
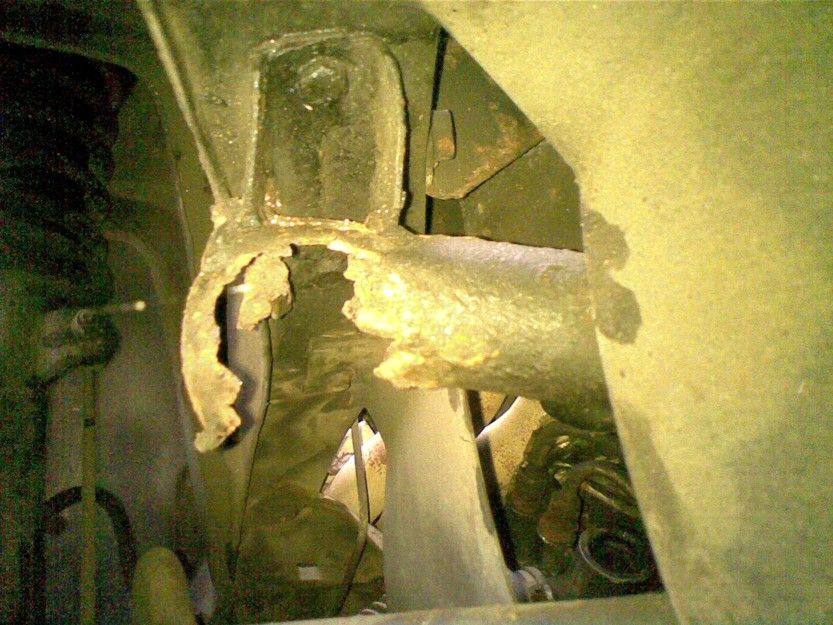
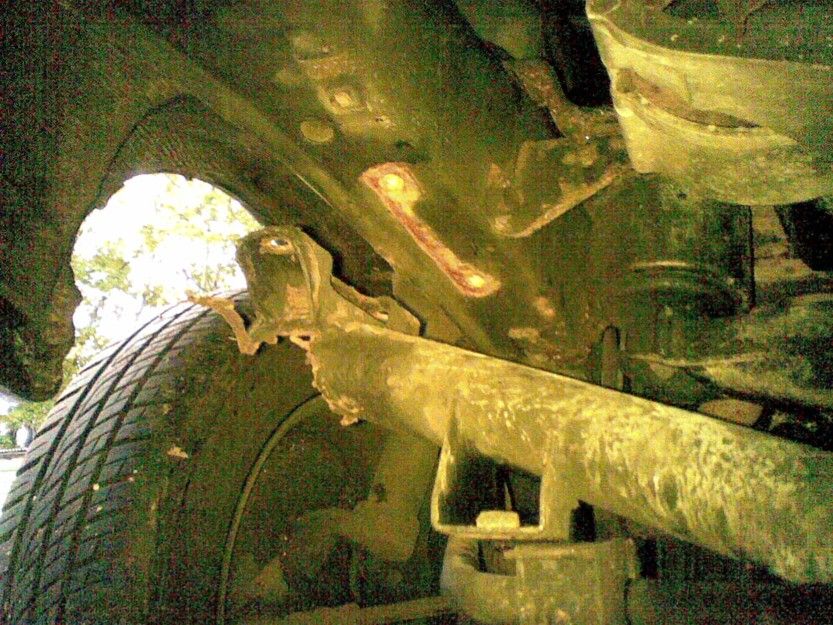
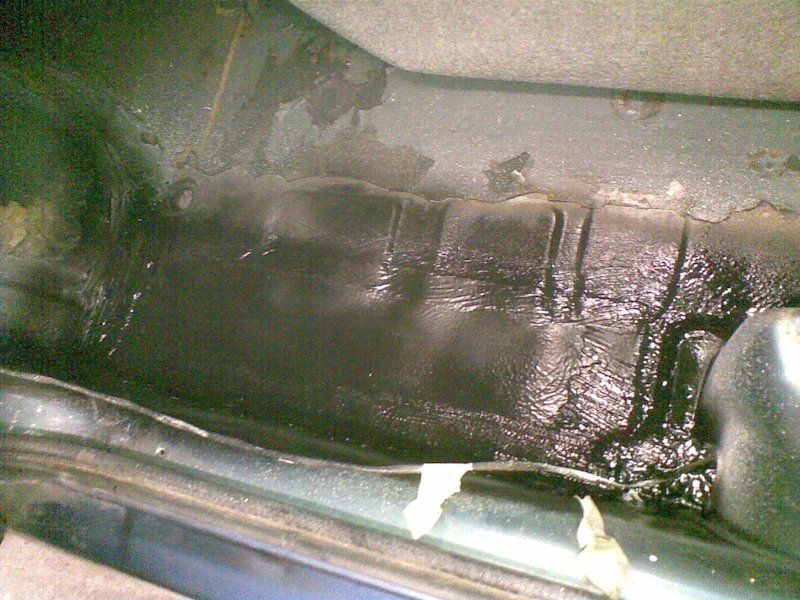
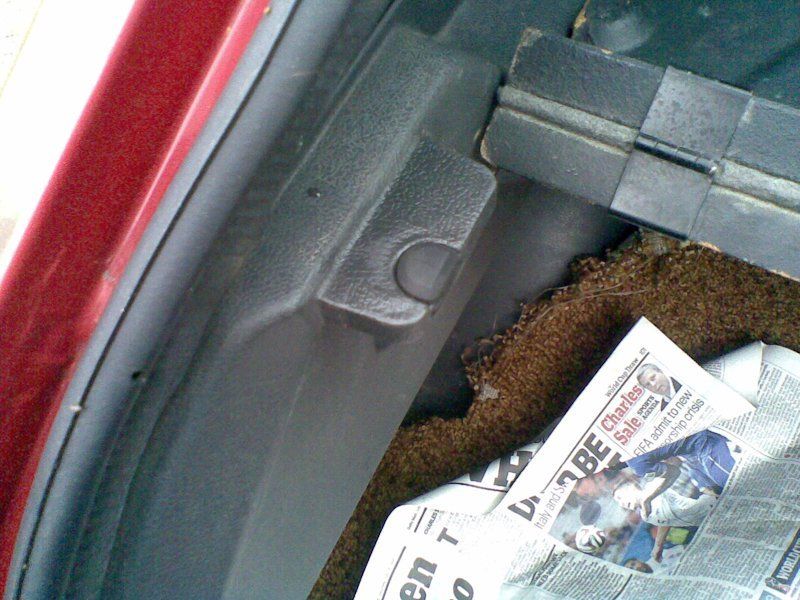
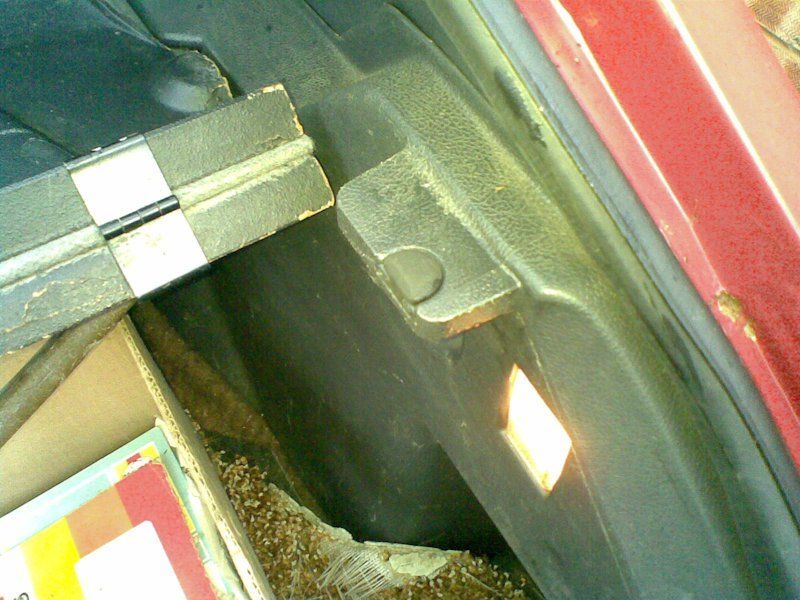
A day or so later, the bolts are torqued-up to the correct setting (22 Nm) and the under-engine shield re-fitted. While attempting to cure the intense smell of petrol which emanates from the boot area of the car, the inner wheel arch trim panels were removed and this revealed a major amount of corrosion around the rear shock-absorber tops. All of this is proof that there is nothing like having all of your problems coming home thick and fast at the same time.
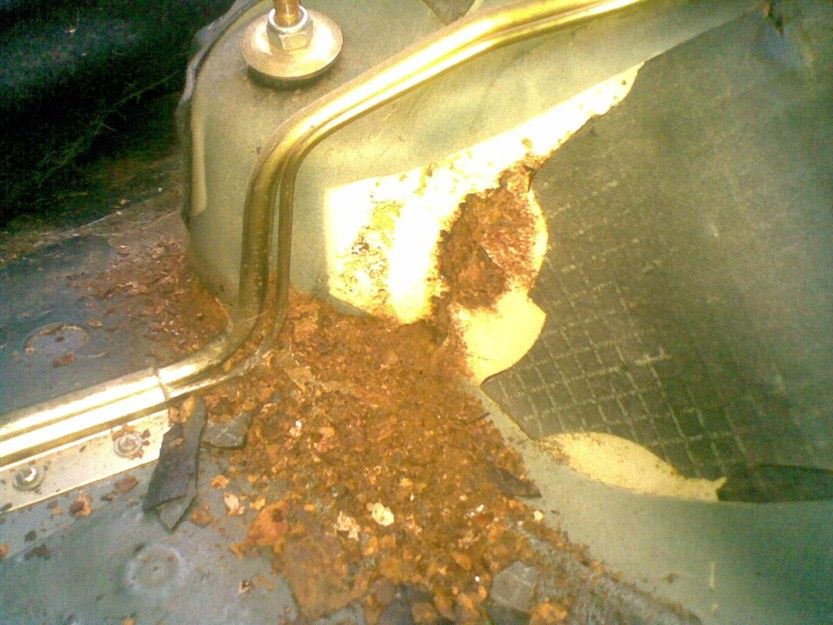
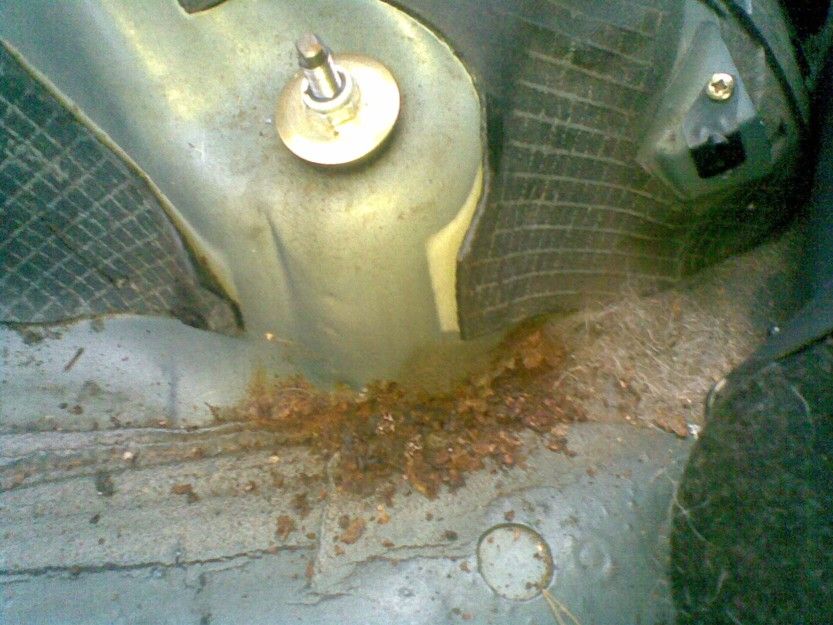
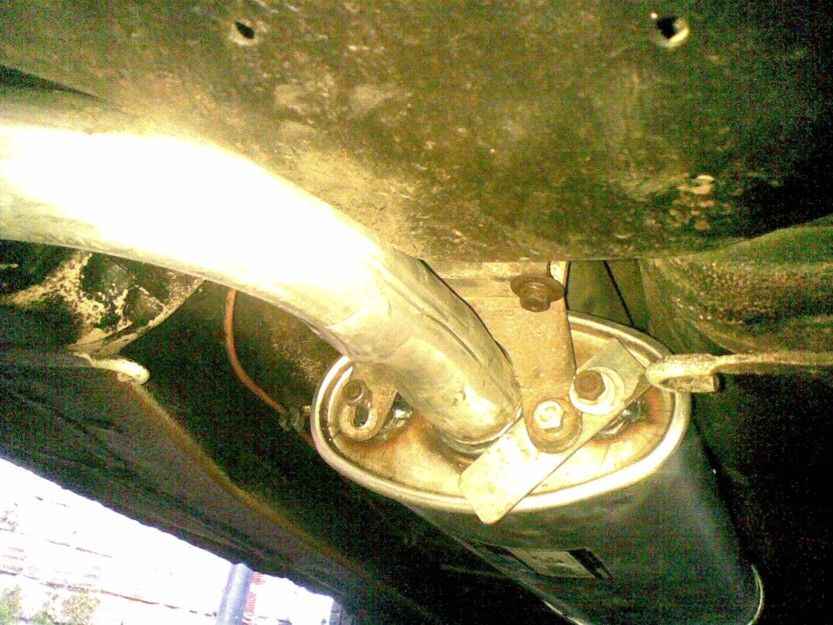
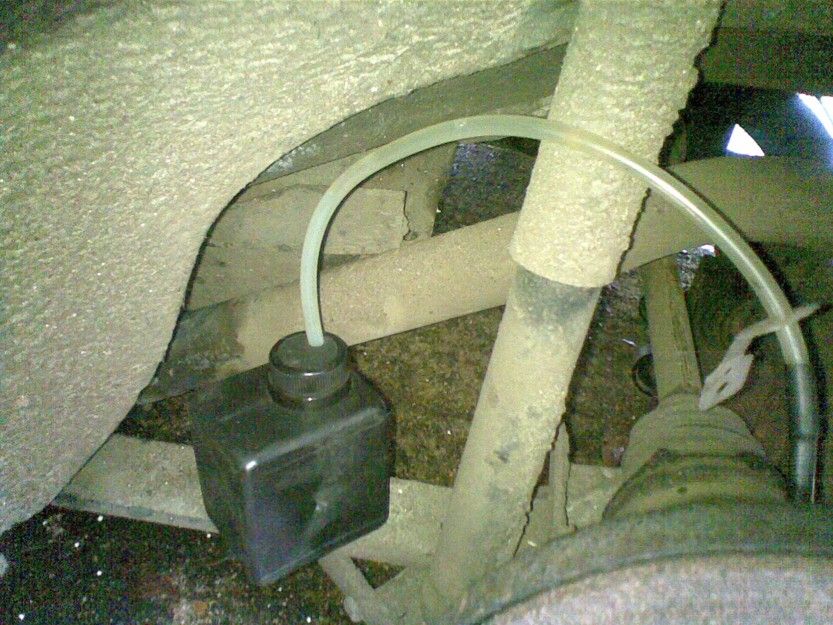
Thus, the car is booked-in at the welders to have this little issue resolved. In the meantime, the front cross-member is blanked-off at both ends with some rubber caps and a generous dose of waxoyl underseal and, of course, the leaky little fuel hose in the boot is replaced anew.
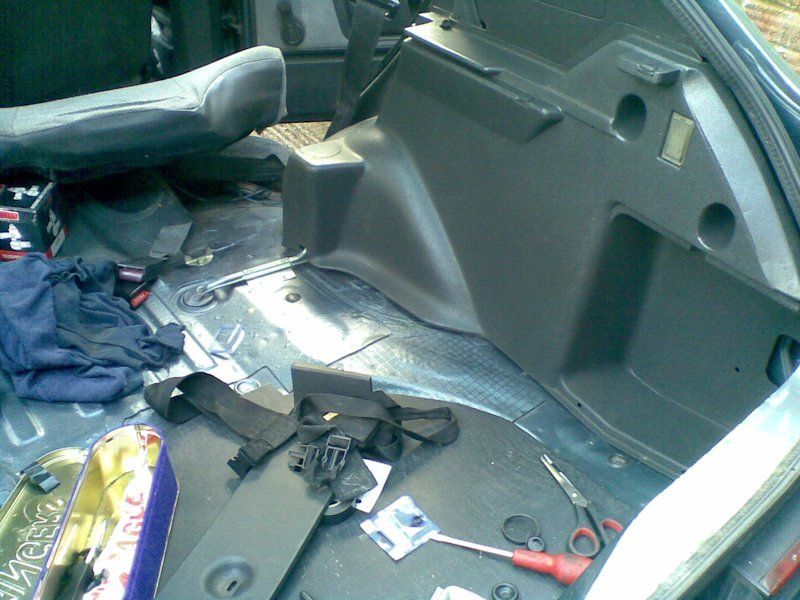
A bit of clearing out the the boot area by removing trim panels and the rear seat back-rest should free-up enough space for the welder to repair the dodgy old bits of rust which are perilously close to some fuel pipes, so these are freed-up, too. In addition, the alternator tensioning device is re-fitted in place of the temporary jubilee-clip arrangement which has been in use for about a year, with some noticeable belt-slippage in recent months. Its the end of Nov 2015 and the car is safely delivered to the welder.
Meanwhile attention is directed at the dark blue 1.7 which seems to be having some difficulty opening its electric windows. Hence a bit of chalk-dust is brushed into the window runners which helps a bit and, a day later, some silicone grease is squirted in, too. The results seem pretty good, so while everything is being awesomely welded up on the 360, its time to generate a few wish-lists so that I can focus my future efforts on what really needs doing.
Volvo 340:
- Fix speedometer which jitters at low speed.
- Get the seat-belts re-sprung.
- Change the rear springs.
- Touch-up door bottoms.
Volvo 360:
- Align the steering wheel.
- Tighten the gear lever - i.e. sort the spring on gear box selector plate.
- Touch-up door bottoms.
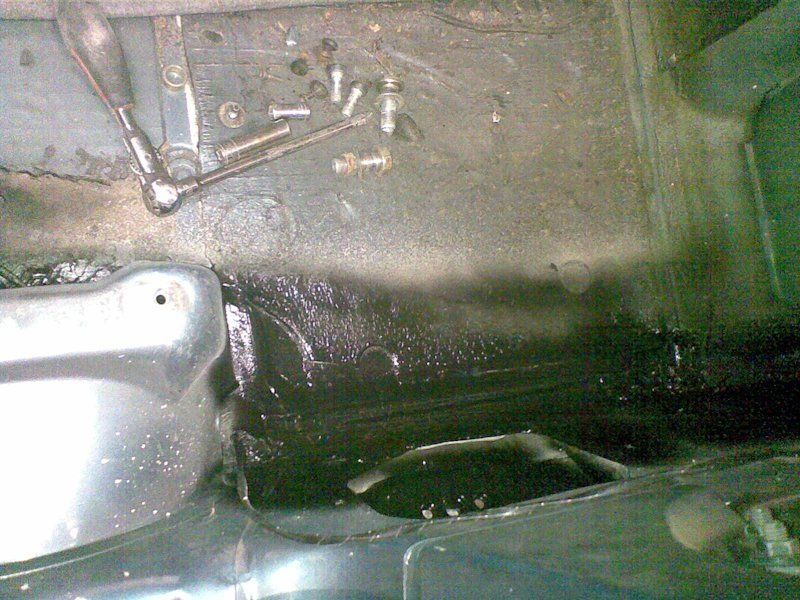
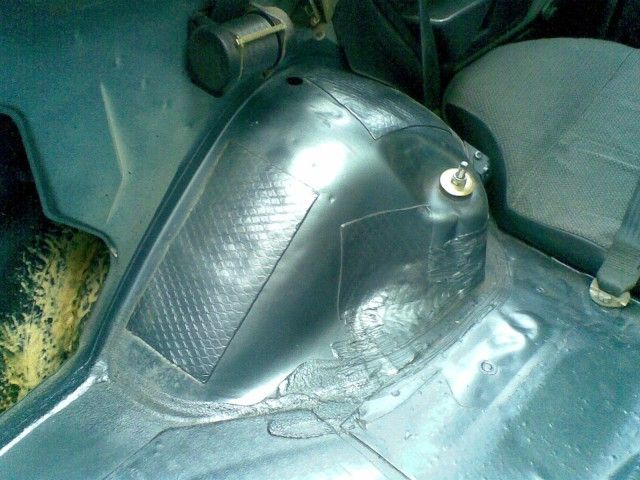
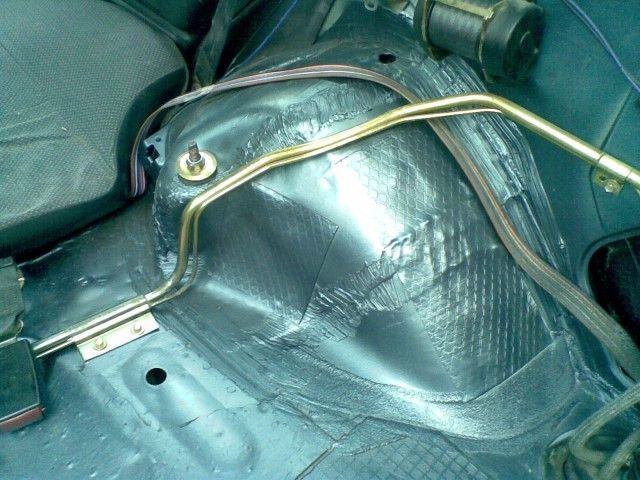
The blue 360 stays at the welder for about 2 weeks - he keeps finding more and more wrong with it but he stays loyal to the cause and repairs the panels inside the boot by seemingly cutting away most of the rear wheel-arches, fabricating many bits and pieces and generally by sheer, undeterred doggedness. I asked him to get an MOT done but this resulted in the car failing on the near-side sill which also needed majorly, massive repairs, as can be seen below. A sill for a 3-door had to be found in the roof and this was delivered and called into action.
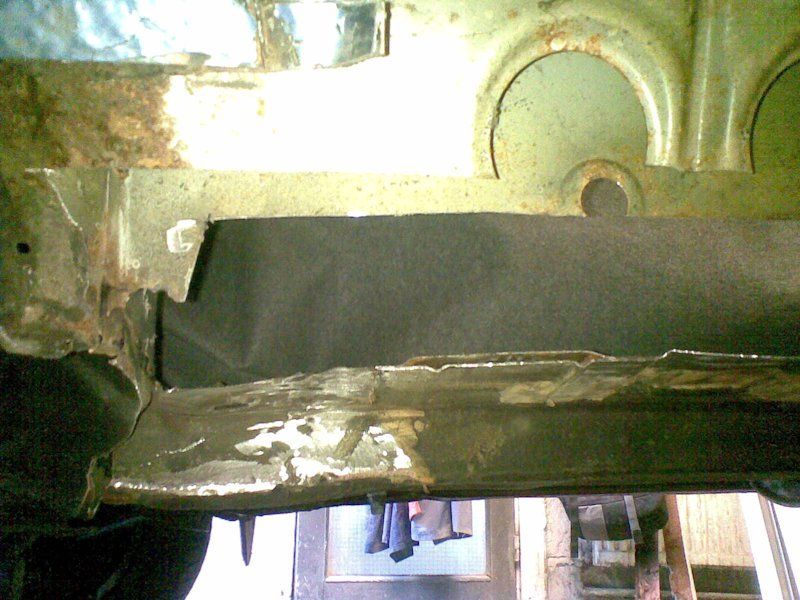
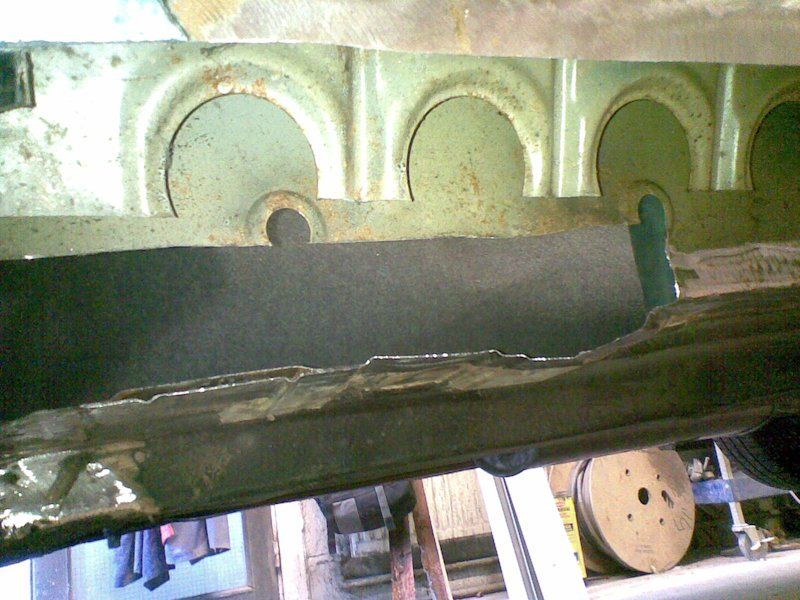
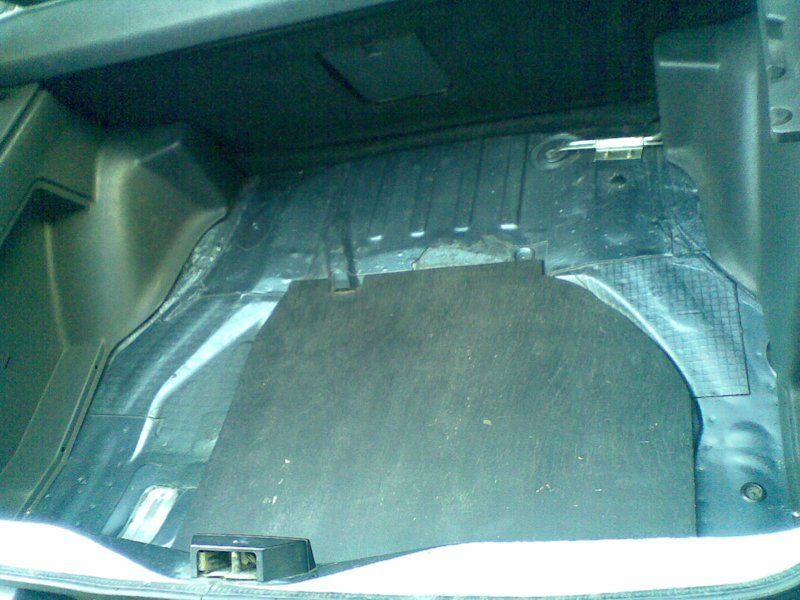
It slowly comes back together and some pictures of it with the floor repairs in place are below.
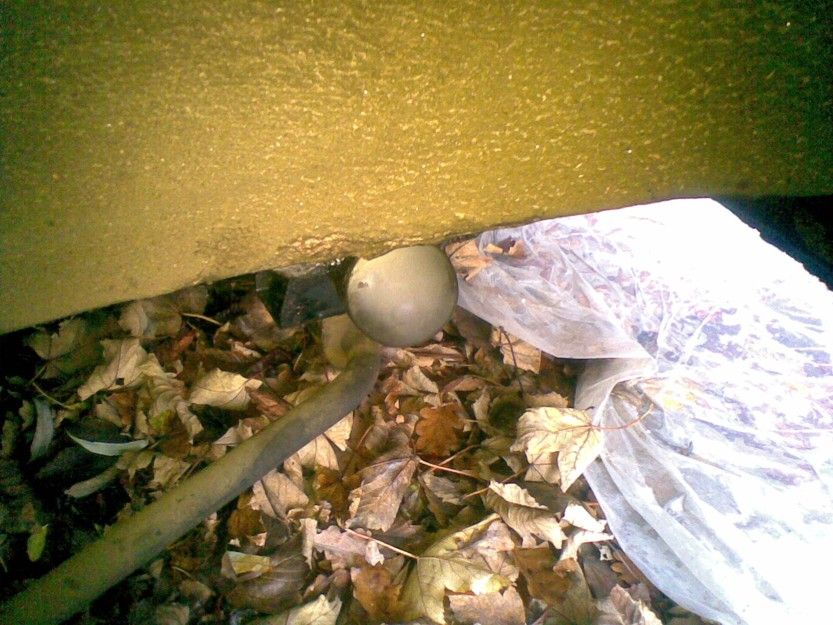
Meanwhile, a new ball-joint is fitted and the final price is about half what I expected it would be (!) so I am pretty happy that, as of mid-Dec 2015, the work is all done and the car is looking like new again!!
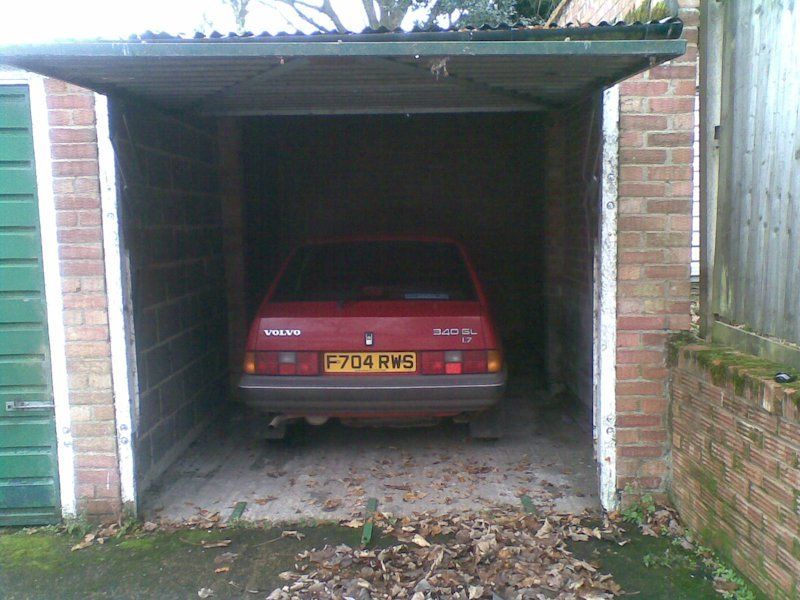
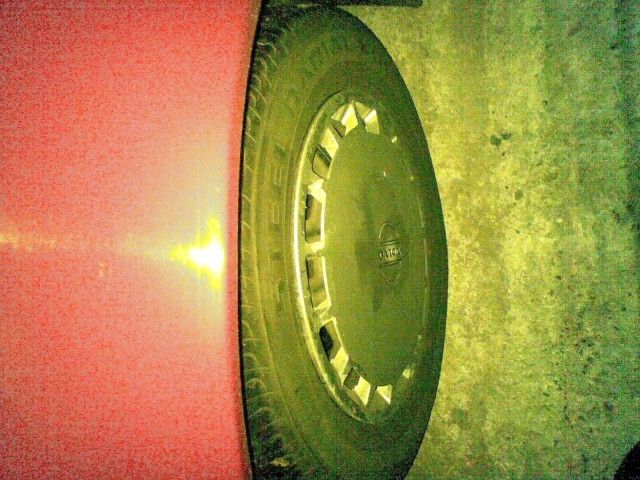
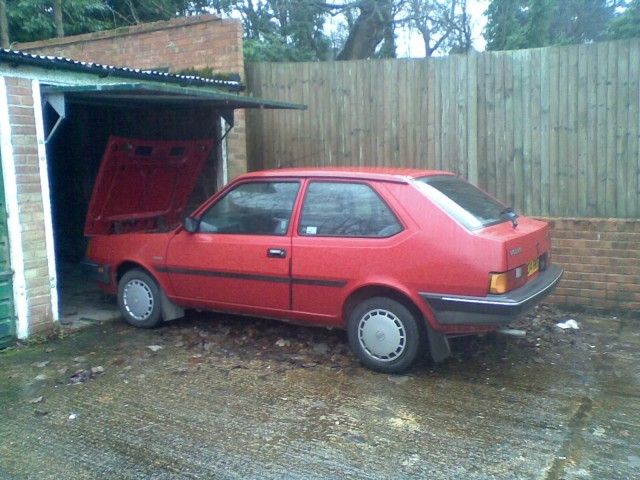
Still not had time to put the boot trim and rear seat back into the 360 and get it running again, due to many annoying problems with another of my wrecks, but on the brighter side, an opportunity to visit Manchester allows me to collect my next little project from the border with Wales on the return journey. It is a great little red 3-door one that has been very meticulously cared for by her previous owners, so I hope that I can live up to the very high standards which have been set by them. Some photos from the journey back, on which she proved to be very capable of overtaking tractors on the narrow roads and a bit of a mile-eater on the wide ones, are below. A new home has been secured for her and it seems to be safe and dry.
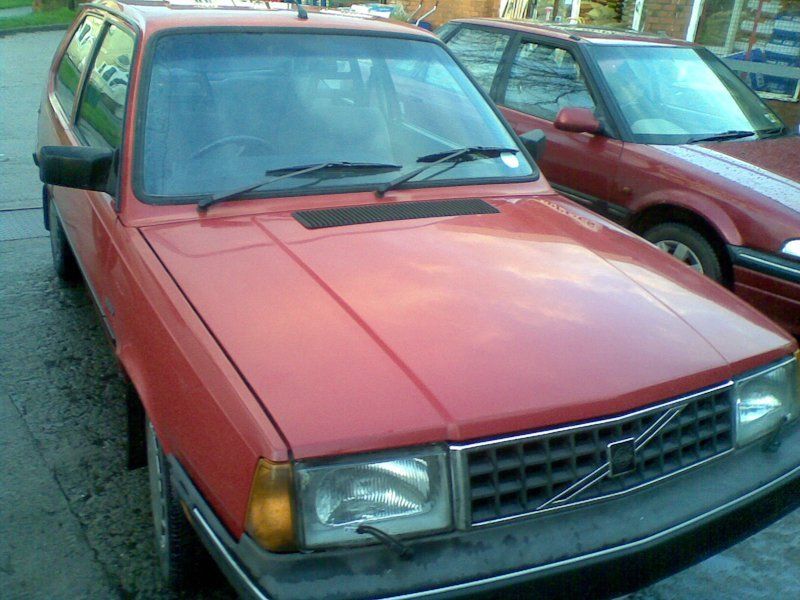
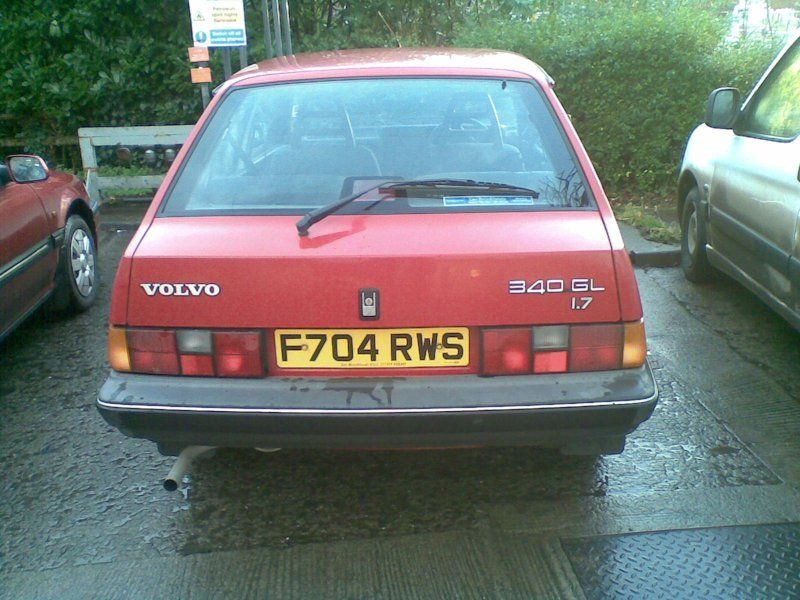
A few new bits and pieces are being procured from the internet to replace the odd missing button, etc, here and there, or the odd wheel trim that fell off once, but my overall impression is that this car is just too complete, perfect and reliable to be true - I must be hallucinating.
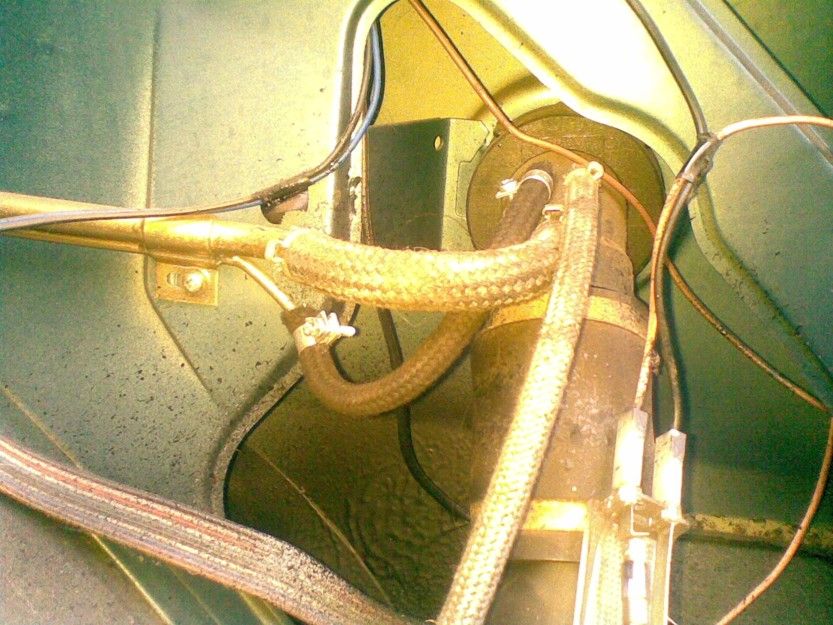
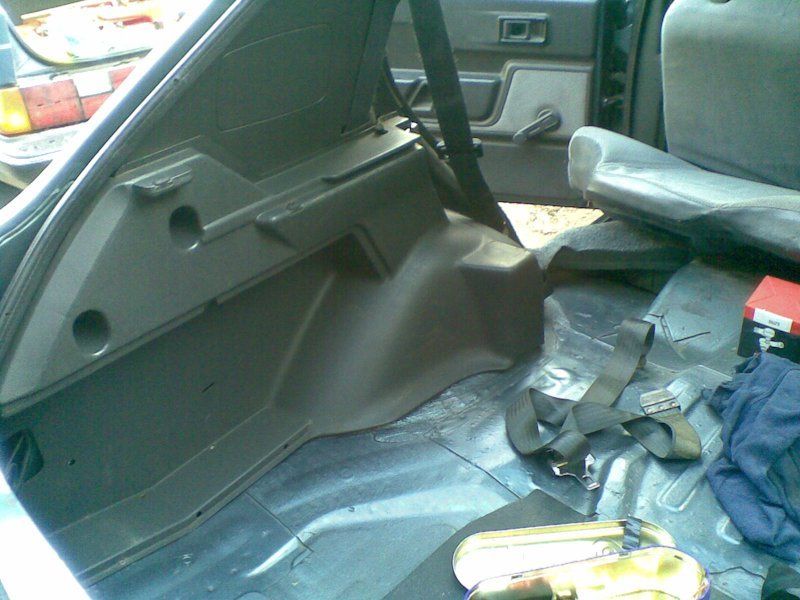
In the general chaos, a logistical bloomer means that I end-up making efforts towards getting the blue 360 going again and this provides an opportunity to photograph the welder's epic work on the rear wheel arches. Currently, I am trying to find all the bits to allow the rear seats and boot trim to be refitted properly and, as can be seen, there are a few holes, here and there, that will need blanking-off.
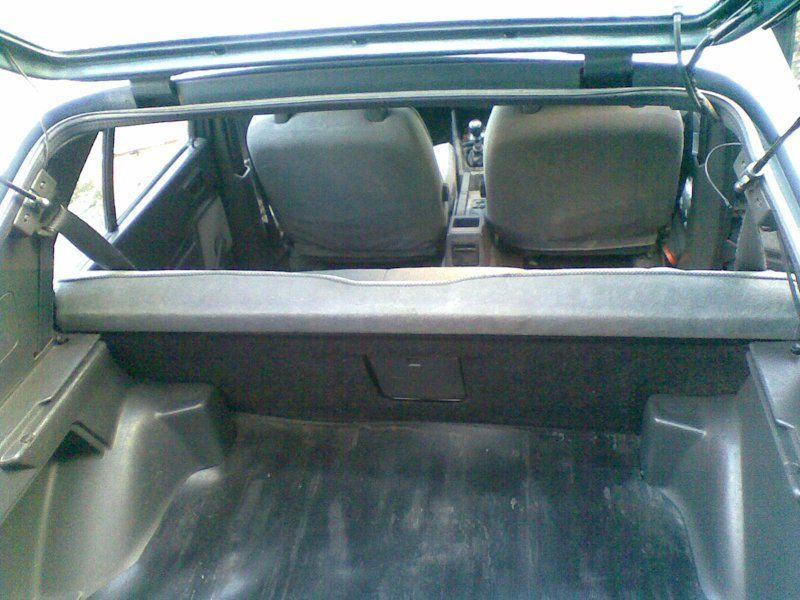
A couple of days close to the end of Dec 2015 have seen the boot trim refitted to the blue 360 and its all clearly starting to look like a properly fitted-out hatchback. I am optimistic that the never-ending, hot-starting problems with my other skeleton-in-the-closet have at last been solved by replacing one of the dodgy rubber-tipped needle valves with a new one. Needless to say, the offending, dodgy old rubber tip was sticking firmly in its receptacle when hot and refusing to come out and allow more petrol into the carburettor, but when cold it was working perfectly. Its great the Volvos don't have these cursed things - whoever invented them and why? There are even patents for them - imagine trying to patent a rubber-tipped needle or methods for manufacturing them!! Give me the Ark.
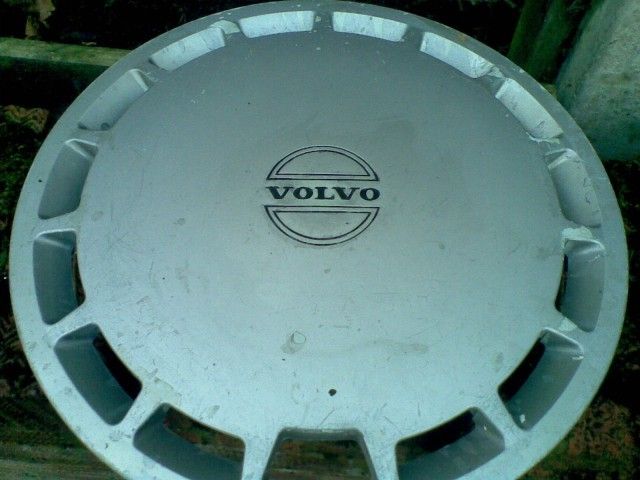
A bit of time was spent re-aligning the steering wheel on the blue 360 and upon starting the car, to return it to its place in the garage, a persistent clicking sound from under the bonnet gave away the fact that the leads were shorting just across the top of the distributor cap. Hence, a new set will have to be fitted and a bit of time was spent tidying-up the lettering on a second-hand wheel trim for Red Ness with a fine paint brush, prior to fitting. It isn't immaculate, but it has just about the right patina of age!!
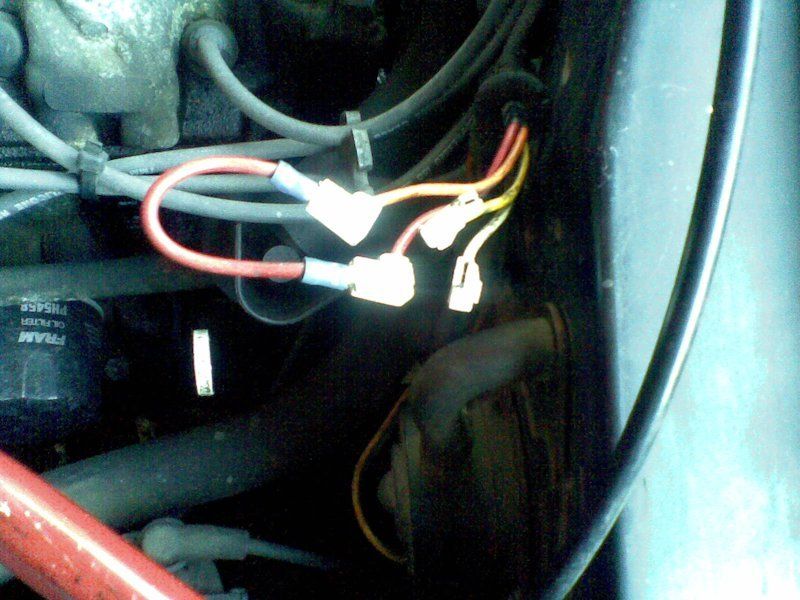
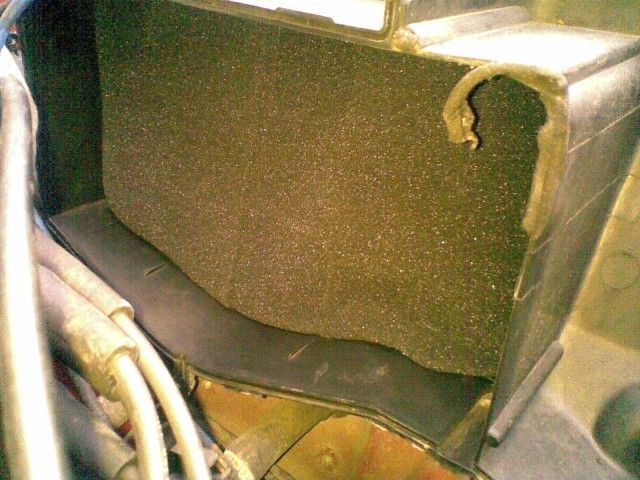
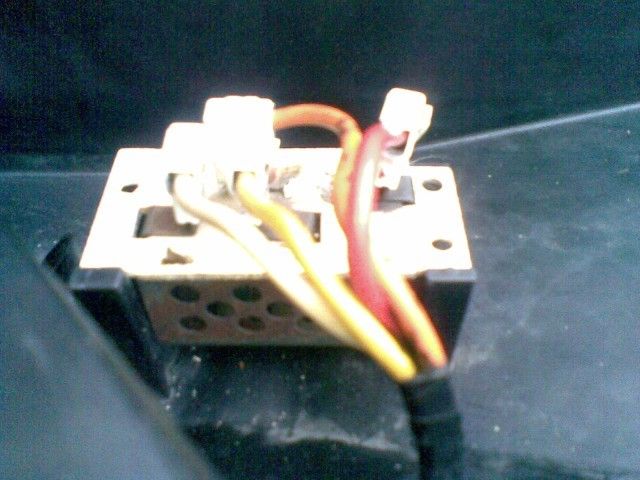
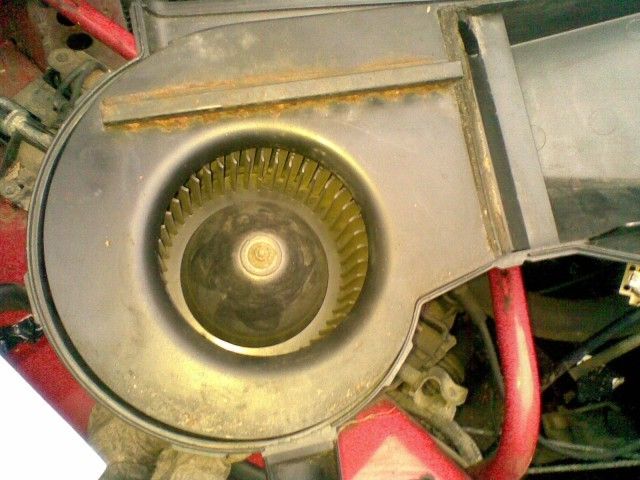
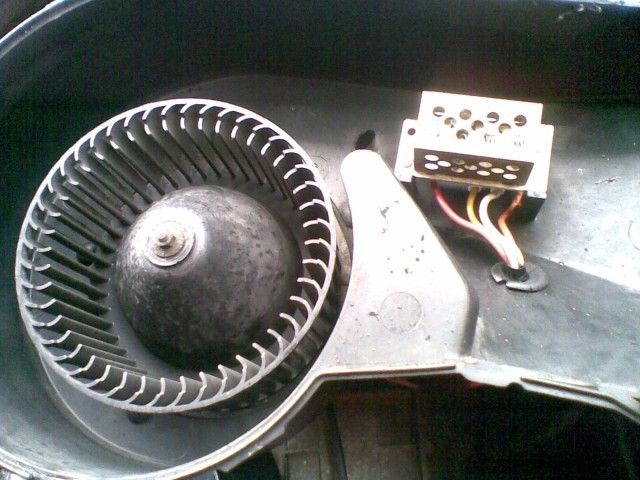
Work on the red 340 continues up to the end of 2015 with some interior dusting done and vinyl care applied. The rubber cushions for the rear parcel shelf are replaced and efforts are underway to replace the heater blower motor speed-controller, which doubles as a thermal cutout device. This has been bypassed, as the photo shows, such that it only runs at top speed. The surrounding heater box has been dismantled and it is clear that the person who bypassed the resistor box did a careful job since everything including the wiring loom is undamaged. A new air filter will be needed for the heater but a fix for that is available, too, thanks to having several spare pieces of filter material left over from doing the same job on the Blues. A look at the volvo300mania web site provides some photos which will allow me to reconnect the wires.
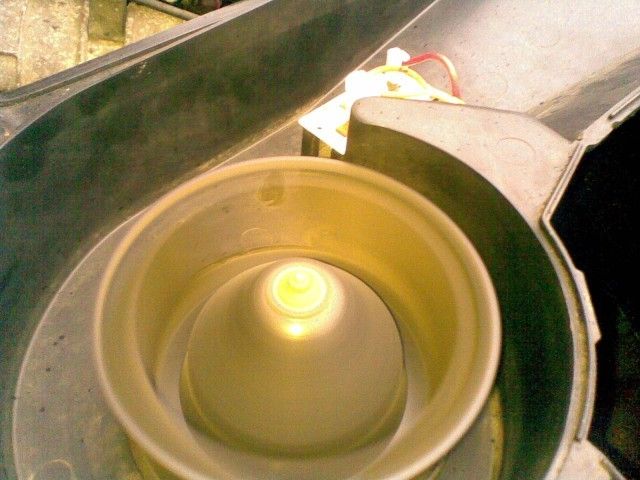
OK, so the following day a bit of a repair to the air-filter eventually seems to almost give a satisfactory result and the repaired heater resistor box is re-connected, as per the volvo300mania website.
A quick test shows that the blower motor works fine at all three speeds, just as it should, so it all has to go back together again and be clipped into place on the bulk head.
However, on putting it back together, I remembered that I had forgotten to replace the screws holding the resistor cage in place, so it all had to come apart and go back together again. Anyhow, second time lucky, but the rain and the clock put a bit of a damper on further work for the moment. Still, I am pretty happy with the car and with progress!
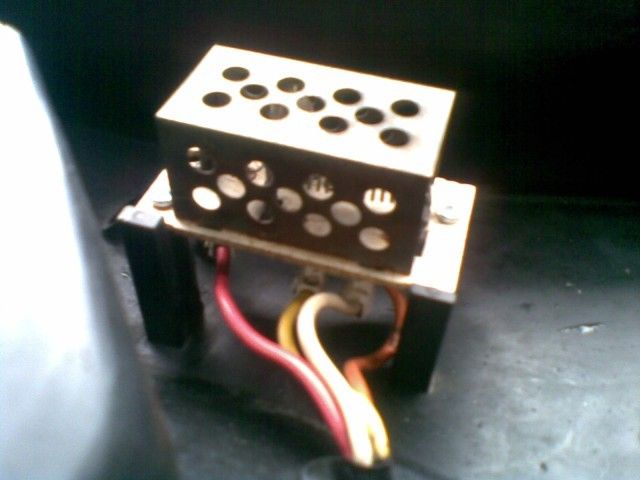
But then I wake-up in a cold-sweat in the middle of the wee-small hours, realising that I have stupidly put the resistor box back in upside-down. Hence the following day, the heater assembly is dismantled once again and everything is put back together the right way round this time (as shown) and it all makes sense, I hope. I can now attach it with two screws rather than one, its less likely to burn the plastic surround and mounting, it should be more effectively cooled by the passing air, it agrees with pictures on the volvo300mania site and it still works.
Yet more of what's next. top