January - December 2011
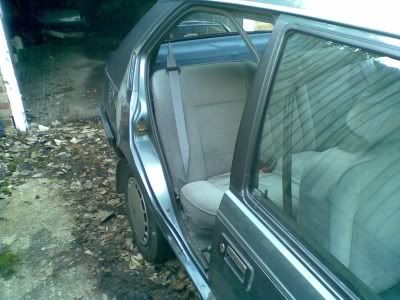
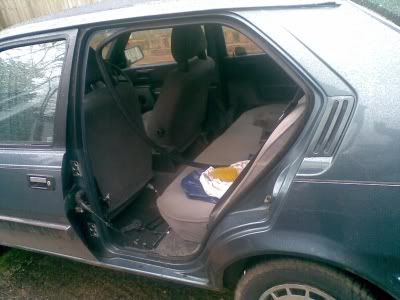
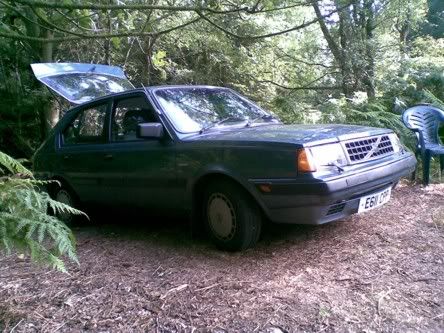
Jan 2011 has seen much progress on clearing the decks for starting the door replacement, not least gracefully parting with a morris minor which I had been looking after for someone for two months while he came to terms with the fact that he had actually bought it. As shown below, the removal for the rear-offside door has begun.
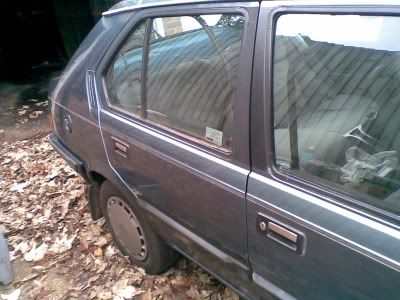
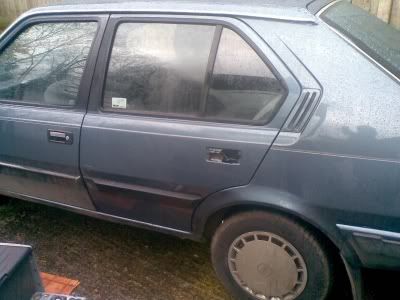
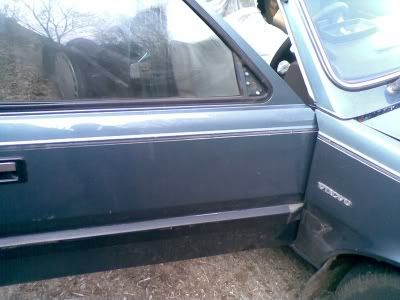
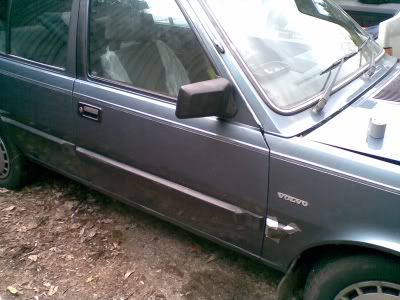
Feb 2011 has seen the rear-offside door replaced. The pin-strip shows that it still needs some realignment to achieve perfection.
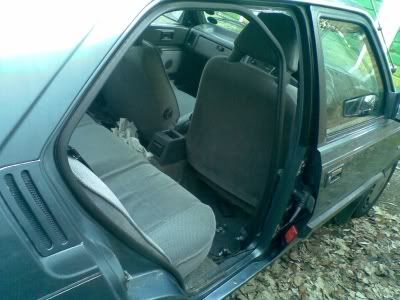
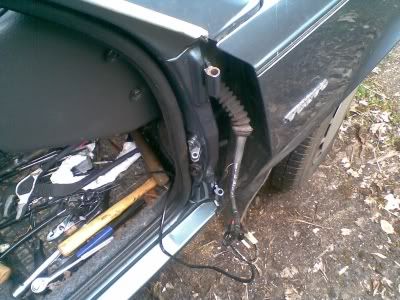
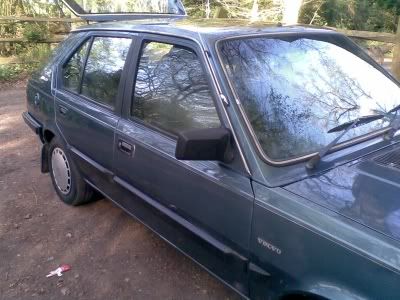
Another couple of weekends in Feb 11 has seen the rear doors replaced and the central locking motors reconnected, passenger side door handle fitted, window winder mechanism greased and generally everthing put back together.
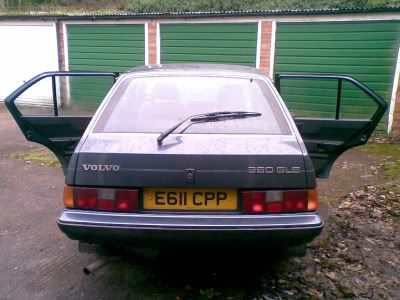
Clearly she has wings ready for lift-off.
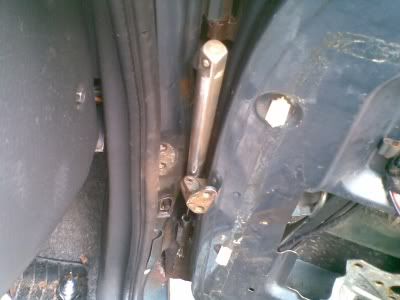
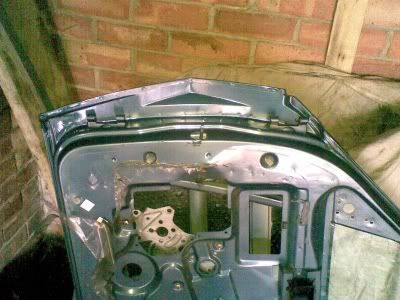
Moving on to the front door has been interesting with the top hinge pin refusing to budge even with a hinge pin extractor. Indeed the punch of the same said extractor became stuck in the hollow pin and this required many efforts to remove it. Eventually by drilling through the jammed-in punch and grinding part of it away with a Dremel, it was possible to use a parallel pin punch to bash it out, and after two weekends I am now back to square one. I think the key to success lies with parallel pin punches and I now have several to try and knock out the hollow pin which is still firmly positioned inside the hinge (see below).
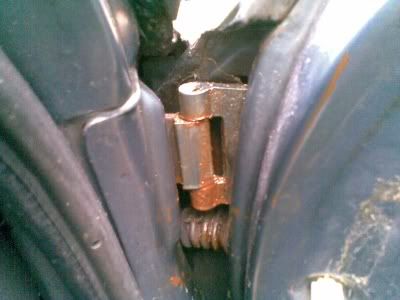
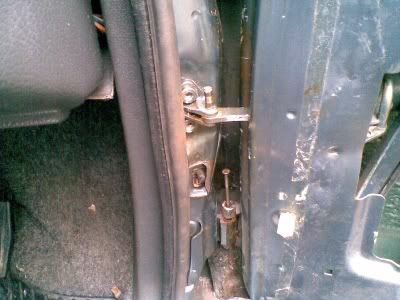
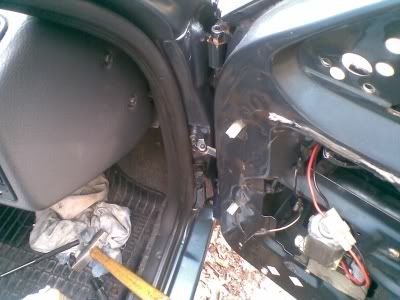
Mid-March 11 has seen the top hinge pin finally removed, a feat which was accomplished by use of an 8mm parallel pin punch (my favorite subject) to push the hinge pin far enough down so that the two halves of the hinge could be separated, although they were temporarily re-connected with a 3 inch nail so that the remainder of the work could be completed. Moving onto the lower hinge proved to be equally catastrophic. This time, using a larger 'bent' hinge pin extractor to pull the hinge pin up (as the manual says) was again completely hopeless. Instead, some success was achieved using the 8mm parallel pin punch (and a new heavy-headed hammer) to push the hinge pin down. However, the lower part of the pin then became snagged against the door itself. This was overcome by use of the dremel to cut off the lower part of the hinge pin that was projecting out from the hinge. Again, the 8mm punch was used to push the pin a bit further down but a point was reached where the lower part of the pin was snagging against the door again and the punch itself was in danger of becoming stuck in the hinge. So again the projecting part of the hinge pin was cut off and one of the 'proper' hinge pin punches was used to try and push the remainder of the hinge pin down. This was completely and utterly hopeless as the same said punch became firmly stuck inside the hinge pin, although after I had broken the punch a couple of times it was sufficiently loose to unscrew from the hinge pin. Meanwhile, by way of diversion from this dilemma, the door restraint was unscrewed at both ends and at this point it became clear that simply waggling the door around on its one remaining hinge pin might allow the broken pin to simply drop out of the hinge by the sheer weight of the door. This is indeed how the lower hinge pin was removed. However, at this juncture it must be remembered that the door restraint had to be split, i.e. the central pin had to be removed so that I could re-use the part which connects with the door post as this part was missing from the new door. Hence, the door had to be rendered in a state that would allow it to be re-attached to the hinges on the car and this necessitated the use of the dremel once again to cut and grind off the part of the lower hinge pin that was projecting from the hinge. Many sparks later, the door was reconnected to the car (this time by the use of two 3 inch nails as surrogate hinge pins) and the door restraint pin was finally removed by tapping it out with a combination of pointy punches and parallel pin punches.

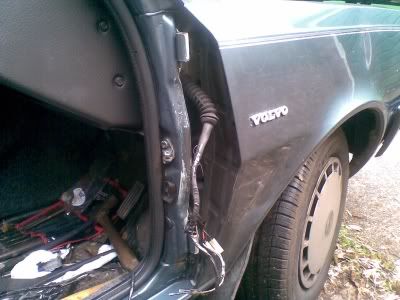
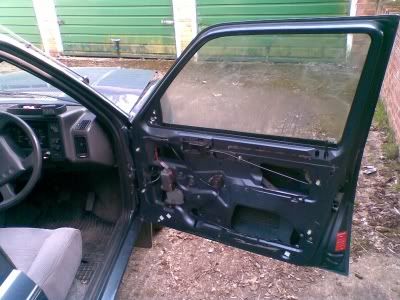
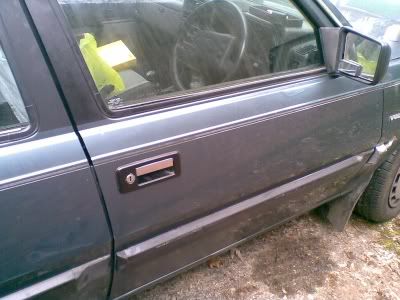
The weekend of 20th Mar 2011 has finally seen the driver's door removed and replaced, albeit with the new one still only attached temporarily by 3" nails. The lock has been swapped (with much swearing) as has the wiring. In fact while tackling these tasks I realised that the flu was leading me to feel a bit more off-colour than usual - needless to say, a quick trip to the local shop for Lucozade and biscuits cured all stress-related maladies. A bit of rust treatment by naval jelly and dremel and then some primer was needed on one tiny patch of the inside-front door bottom. Indeed after this, the inside-leading edge of the 'new' door was given a general light spray-over with citroen fijian blue, as shown below. After removal of the old door, the door frame was given a light coat of very thin touch-in paint, with a broad brush (before and after shown below). Evocative stuff.
The last weekend of March 2011 (yes, its that heavy weekend when the hour changes) has seen the driver's door lock solenoid and window channel re-fitted along with the electric window motor. All tested and working fine and some waxoyl was applied to the door bottom for good measure. A better driver's seat belt has been fitted and general cleaning-up and refitting of trim items has been underway. The glass in the three 'new' doors has been cleaned up, horrible radio code security labels polished off by dremel and efforts were made to polish out the etched-in registration numbers of the previous car from which the doors came, although the latter failed, so these will have to be lived with (I can explain everything, officer). I now have the new door restraint pins so I am just waiting for the hinge pins to arrive. Not sure if the ones from volvo will ever come so I have ordered some 8x70mm roll pins from a tractor outlet! So there we have 3 'new' door almost fully fitted to the car and ready to go. Cosmetically they are only slightly better than the old ones i.e. they still need a bit of touch-in paint here and there, but they have the big advantage of lacking serious rust, which makes it all worthwhile!

The penultimate day of March 2011 and the new tractor roll-pins arrive in the post. I have also finally motivated myself to spend an hour hunting through heaps of Volvo 340 junk in the roof and, embarassingly, this search turns up two new genuine volvo hinge pins in their original wrapping! Exasperating proof that I have been scouring the internet for something that I already had and a sign that having too many spare parts is counterproductive, unless you have the time to organise them and make a proper inventory!
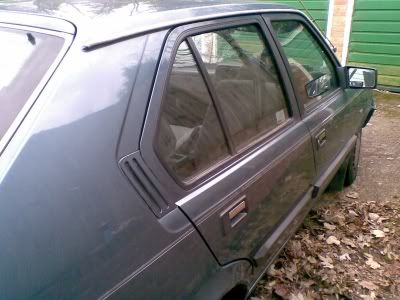
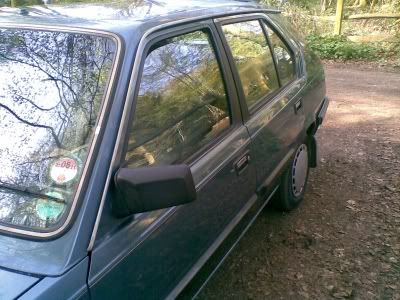
The first weekend of April 11 has seen the driver's door hinge pins and door restraint pin tapped (forcefully!) back into place (see above). Some adjustment to the door catch plate was necessary and since all was found to be working fine, some final touching up around the hinges was done and the trim items were refitted.
The rear offside door was then taken apart to replace the central locking solenoid that was dodgy and the door locking knob that was damaged when I had ground off one of the old stickers on the glass. This was followed by replacing some of the exterior trim items that had fallen off at some stage and a slight re-adjustment to the rear sidelight clusters that seemed to be hanging down in the middle slightly!
Just needs a spring clean and polish now. Indeed the first week
of April 2011 saw the final fiddly bits repaired (e.g. seat back
adjustment knob and silicone-sealing of the rear side lights).
The car was then given a clean out, wash and polish, with a bit
of touching-up to the paintwork where it was scratched or rusty
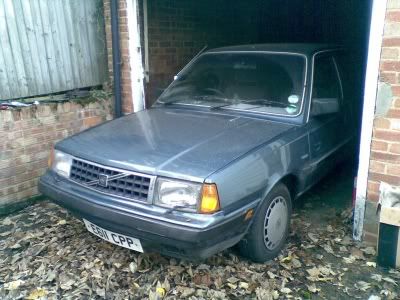
and finally returned to everyday use with an awesome foursome of
nearly rust-free doors.
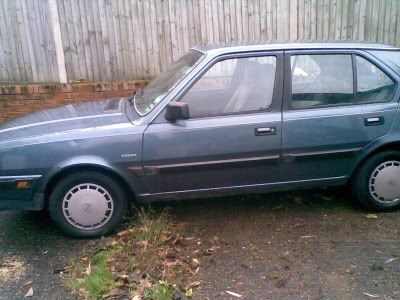
Blue Bess is fully back in action now (early May 2011) and been
given and oil change and air-filter change along with a clean-up
of the leads, distributor parts and the spark plugs. All was
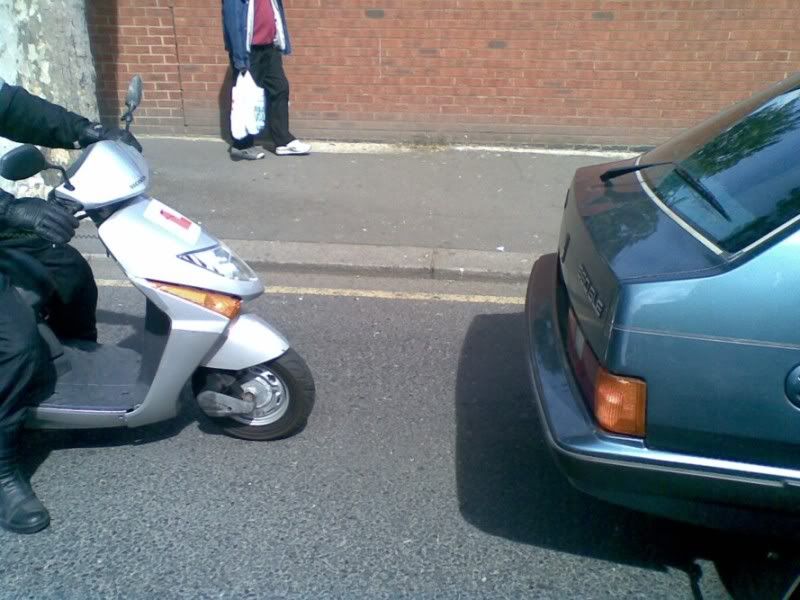
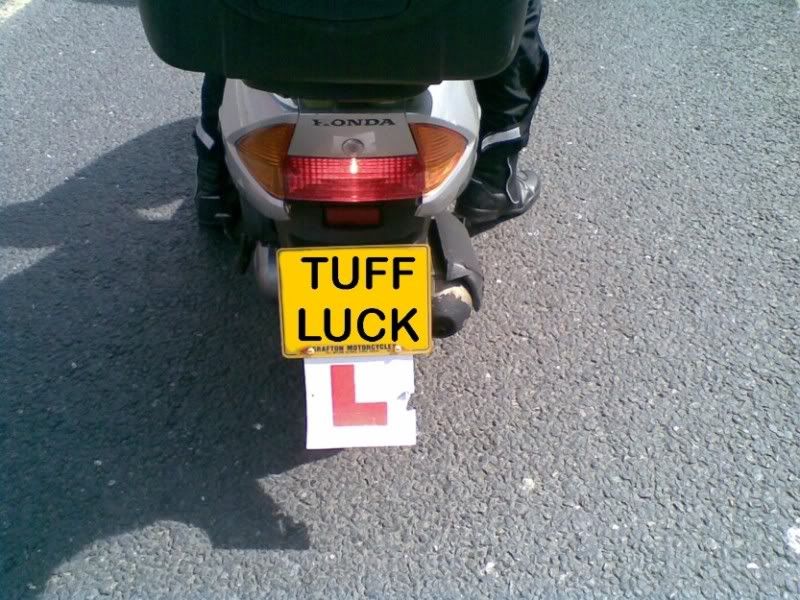
going fine until I had to pull-up fairly quickly behind a
mobility vehicle that decided to stop outside a shop. A naughty
traffic warden was scooting up behind, looking from side-to-side
at parked cars and didn't see me stop. The resulting sound is
one that I instantly recognised and so I decided to take some
photos as a souvenir. At this point the poor traffic warden
decided to yell that I was causing an obstruction but after
several 'How many times do I have to tell you, Sir?' he finally
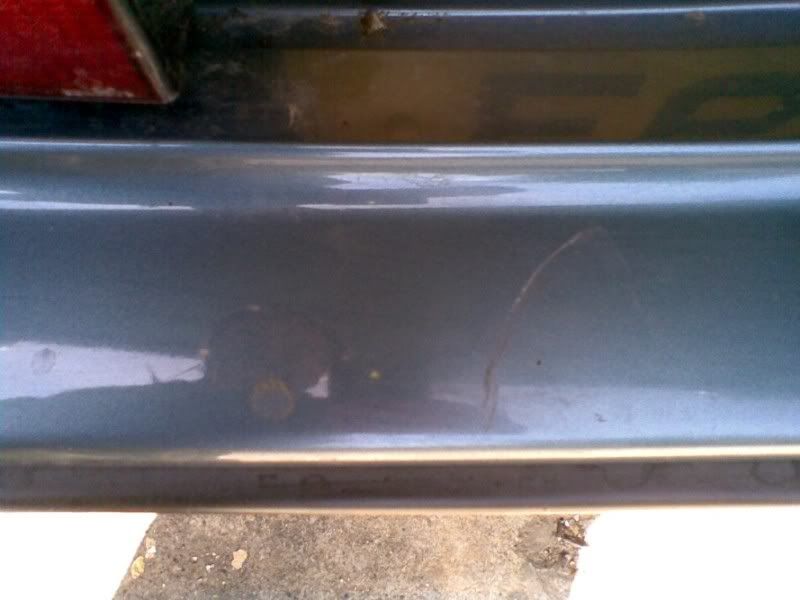
calmed down, a bit. Needless to say, Bess had a scrape on the
bumper, which polished out nicely the following weekend so its
back to making the most of Spring.
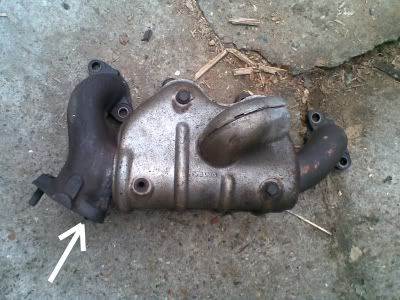
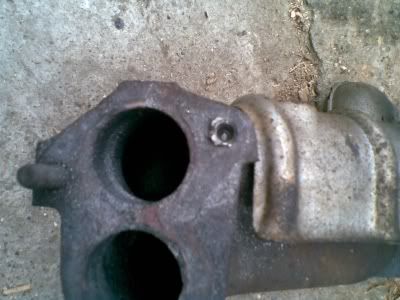
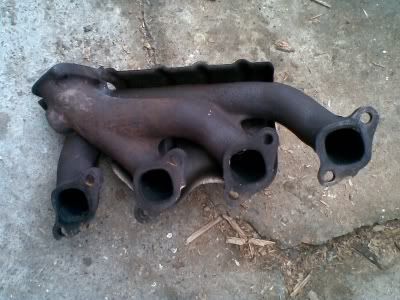
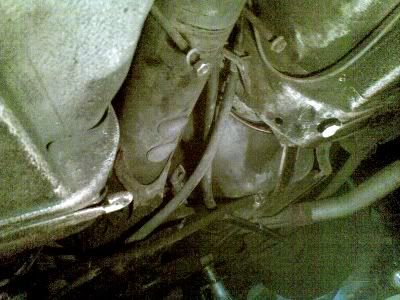
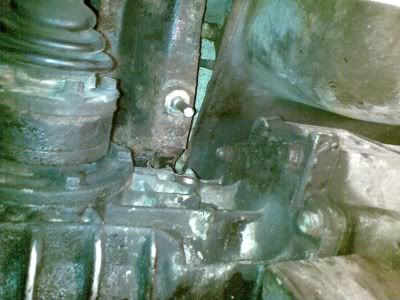
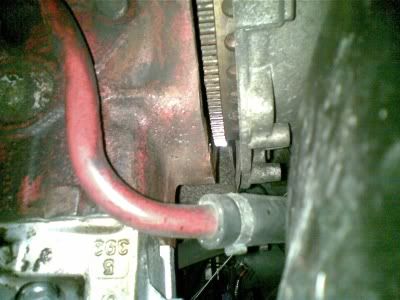
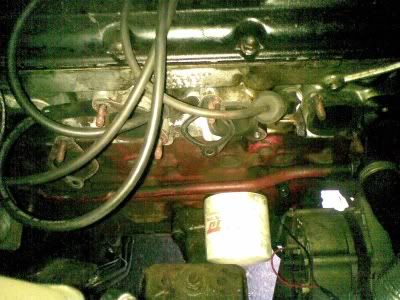
Removing the broken-off stud in early Sept 2011 required removal of the exhaust manifold (see below) which was not too bad a task given that it had just been removed and refitted by the garage only a couple of years before, to replace the head gasket. The stud was attacked with the Dremel to cut a groove or two in it for an impact driver but this didn't allow it to be removed so drilling out was the only option. After many knackered drill bits the same said stud was dispensed with and the thread in the hole was cleaned up nicely with a tap and die set. Some more progress has been made in removing bits of the exhaust system to gain access to the clutch.

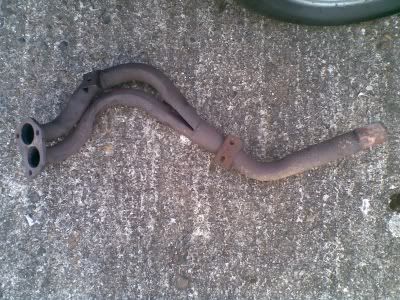
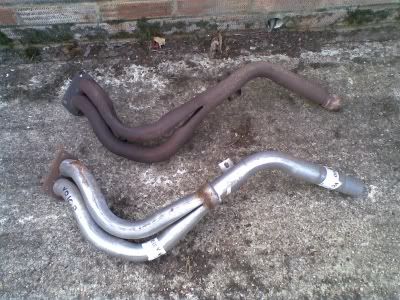
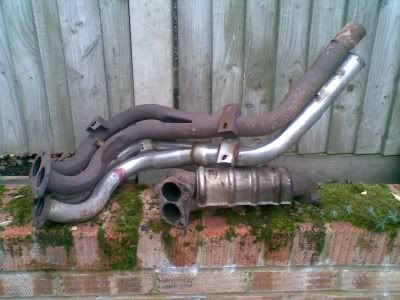
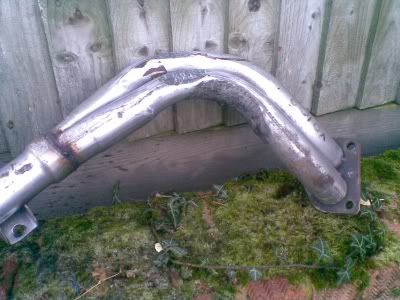
Efforts to remove the rest of the exhaust system lead to breakage of the front downpipe, although a nearly-new one is procured fairly fast from the hinternet (looks about right). Another mid-september weekend spent struggling with removing the damned clutch, such as draining the petrol tank, sort-of reaches a stalemate with my being unable to remove one of the diff mounting bolts. Just couldn't work out whether the gearbox should go above or below the rear axle - lowering it (initially my preferred plan) would require removal of one of the handbrake cables, in addition to draining the tank, whereas raising it requires that at least one of the diff mounting brackets be removed. Both 'ard jobs so will take a 'bit' more time but decide on raising it as I think this will help to disengage the clutch end.
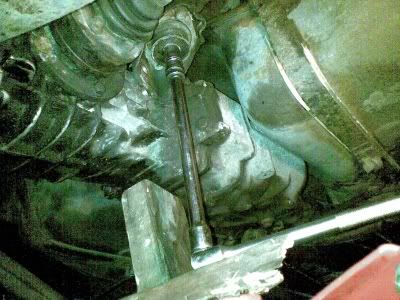
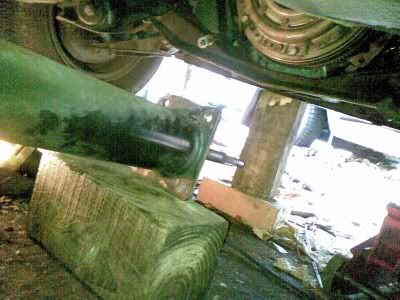
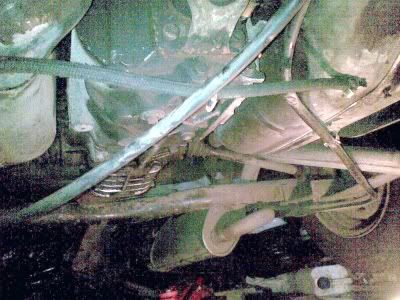
The remaining weeks of September 2011 have seen the gearbox finally disconnected from its mountings by drilling- and cutting-out the main bolt in the diff-mounting bracket. This was necessary because all efforts to undo it in a civilised way (e.g. below left) failed.
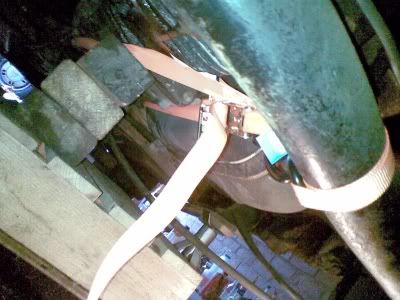
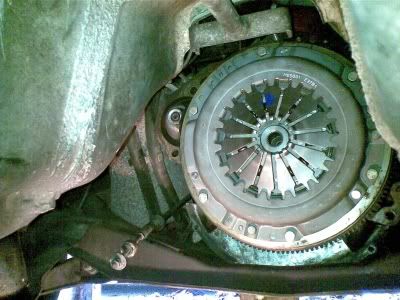
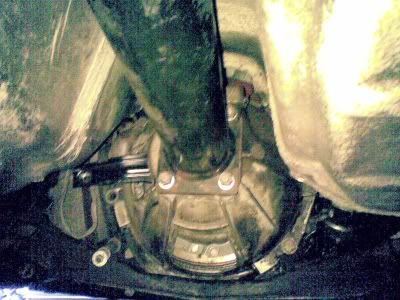
The gearbox/diff/torque-tube assembly was then supported on a trolley-jack and a home-brewed device with castors so that it could be pulled backwards by means of a luggage strap with a ratchet strung over the rear cross-member. The diff was eventually supported on the rear cross-member. This finally exposed the edge of the flywheel and gave a glimmer of hope that this task was do-able.
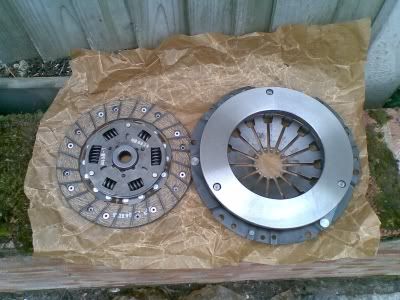
Undoing the bell-housing-to-torque-tube bolts allowed the old clutch itself to be seen and removed.
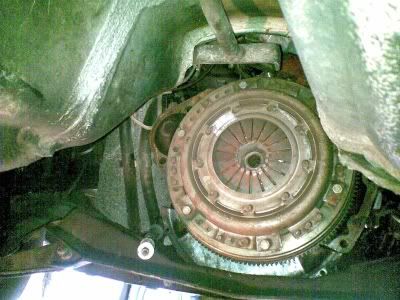
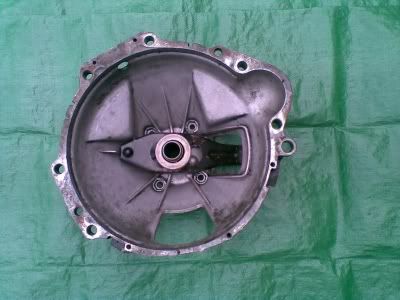
The old clutch plates were in a good state but the diaphragm was clearly knackered. As of mid-October 2011, the clutch bell-housing and release lever have been cleaned-up and re-assembled with the new bearing. The new clutch itself has been bolted loosely in position on the pre-cleaned flywheel and the two have aligned c/o wooden dowelling. The bell-housing has likewise been loosely bolted back onto the torque tube and this has been raised and edged back towards the flywheel to try and get everything to line-up and engage again.
Its early November 2011 and the clutch has started going back together after many step forwards and backwards. Finally got the bell-housing into place and bolted onto the engine and then re-united the torque tube with everything else. Eventually fitted the gearbox back in place and re-connecting the gear-change linkage is in progress.
November and early December 2011 have been a challenging time with the exhaust system put back together and the clutch cable re-connected and adjusted.

The car was lowered back onto the ground and the engine was finally started but a quick test of the new arrangements (see below) showed that the steering wheel was unable to turn in a left-wards direction.
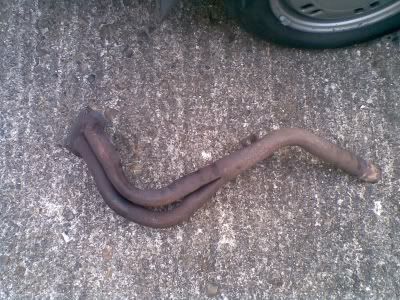
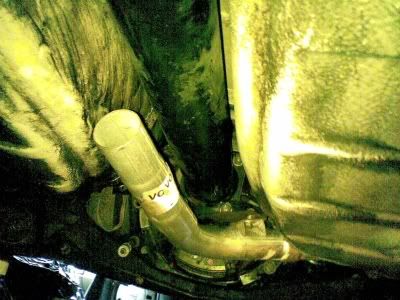
A quick look at the new exhaust downpipe revealed that it was snagging against a bolt on the steering column and so the whole lot (well, the exhaust manifold and front-downpipe) had to be removed again. The new downpipe was taken to a friendly welder and hammered to match the shape of the original where it wraps around the steering column, as shown below.
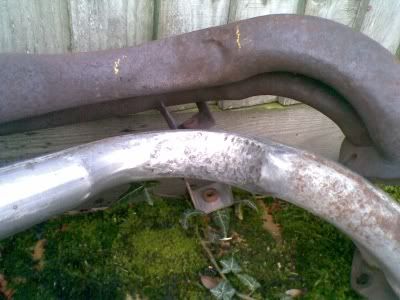
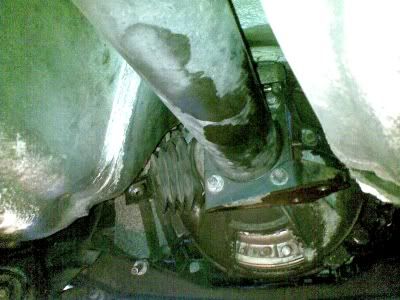
The newly hammered pipe was re-fitted to the car and a smidge was filed off the offending bolt with which the exhaust pipe had previously clashed. The steering was tested and all found to be fine this time so the car was lowered back onto firm ground and taken for a short test run. However, this showed that there was still a bit of a problem with the new pipe.... there was a pronounced thrumming noise at certain engine speeds and a quick look under the car revealed that part of the new downpipe was only about 2 mm above the front cross-member. The plan therefore is to remove the pipe yet again and take it back to the welder for another hammering so that it, hopefully, will not hit the front subframe in future.
The week up to mid-December 2011 has seen Bess's front downpipe removed, returned to the panel-beater for some extra hammering (see below) and then refitted to the car. However, it does not seem to clear the front subframe as much as I wanted, but then it wouldn't would it? Anyhow, it will have to do for the time being since the MOT has been booked, although I am a bit worried about the marked jolt on start-up i.e. is this the downpipe knocking or just a misfire that I never noticed before?? Since Bess duly passes the MOT and the garage say the downpipe clearance is fine, she will now be returned to more regular use and any knocks or thrummings from the exhaust can be monitored over the coming weeks.
Upon passing the MOT, Bess was returned to everyday transport, the second day of which proved to be semi-eventful since crossing a speed-bump resulted in her nearside read half-shaft giving up the ghost. The next day, the garage came and towed her in to have the same said half-shaft replaced and it transpires that this will finally cure jolting from the transmission which I had erroneously attributed to the clutch. Nevertheless there is still a bit of a knock from the exhaust on startup, so off comes the front downpipe once more for a trip to the panel-beating welder-type of person who hammers it in yet again. Refitting it to the car results in a slightly quieter knock on startup, so I am hoping that this will do for now.