January - December 2006
The weeks into January 2006 have seen some progress with the
much-needed strut cups finally procured via the great auction house of
the internet. My long-distance welder (in Anglesey) confirms having
received them and has started to repair the old struts. Meanwhile the
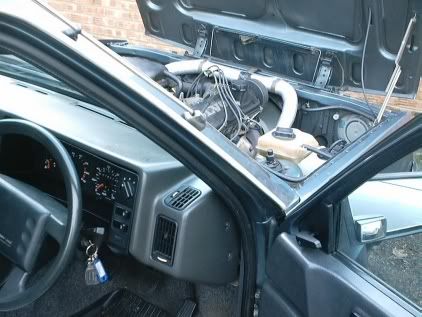
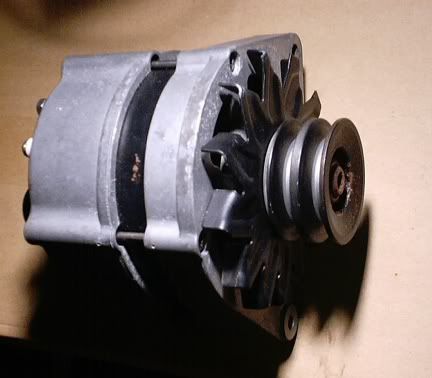
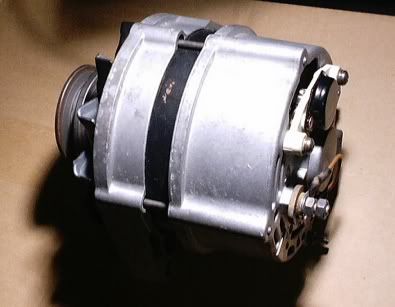
car has received a new (or refurbished) alternator from the same said
auction house and this seems to work fine.
A trip to Halfords has allowed me to get some paint (aerosol and
touch-in) for Bess's superficial defects here and there. All they
needed was Bess's paint code (219-5) to be read from the panel above
the radiator and the resulting colour is an exact match. A sort through
the attic has come up with a front valance repair panel and repair
panels for each sill. Could be handy when we reach that far-off goal of
sending Bess to the local welder for much needed major works. Other
minor trimmy bits needed for the front have been obtained and the
hot air duct connecting the exhaust manifold with the air filter has
been replaced with extentable aluminium tube - not very satisfactory
but hopefully will work for a while.
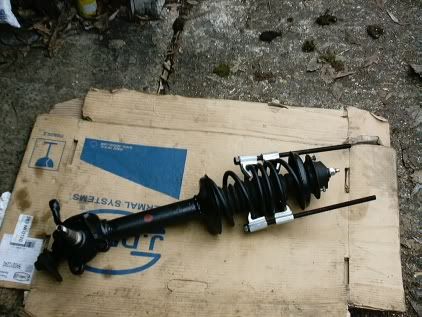
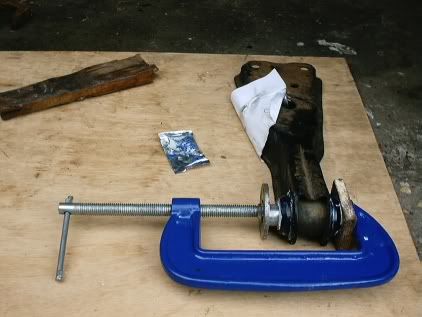
Finally in early February, the repaired struts arrive and
are reassembled with the new shock absorber inserts. The top strut nut
is tightened with the aid of a large vice and a wooden lever held in
place by clamps. So far so good. The struts themselves are then
re-attached to their springs with the help of a coil spring compressor
or two and, after a fair amount of fiddling about, they are ready to go
back on the car. In reality they were fitted, removed and reassembled a
few times to line everything up.

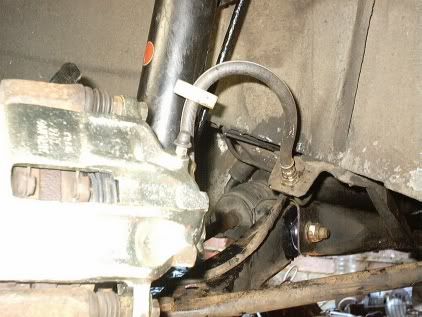
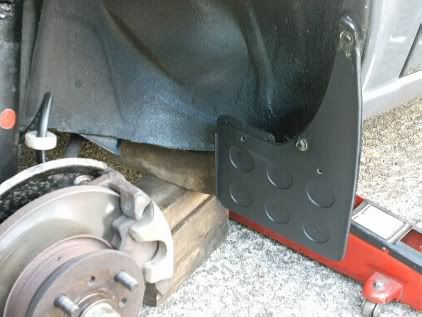
The weeks into Feb 06 have seen the struts refitted to the
car and the radius arm bushes fitted as per photo below. The tie rods,
radius arms etc have been bolted up loosely so that they can be
tightened when the wheels are back on the ground. Unfortunately one of
the brake back plate bolts sheared off in its hole which will
necessitate drilling it out and re-tapping the thread. Needless to say
things are going roughly in the right direction e.g. just beginning to
fit the callipers and wheel hubs back.
The broken bolt has been drilled out and replaced with a
smaller one - alas could not re-tap the hole with my tap-and-die set.
The callipers and disks are going back together more-or-less as they
should.

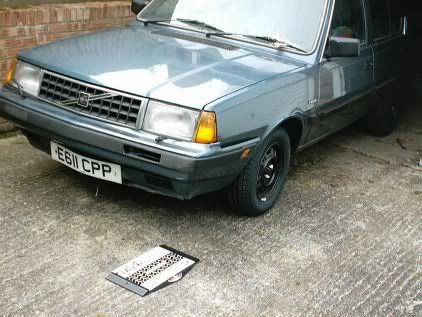
March has seen the front suspension reassembled fully and torqued up as required. The tracking has been set (see below) and now we are ready to move on to the next phase - sorting minor electricals for MOT and/or major welding.

The weeks into April 06 have seen Bess's electrics sorted
- all exterior, dashboard and console light are working. A major
clear-out of rubbish and re-wire to the radio aerial. A better steering
wheel has been fitted (no horrible smooth patches) and a few runs
up-and-down the yard have shown that all is reasonably well with the
steering and suspension. Alas the brakes will need more attention - the
wheels refuse to lock up on full braking.
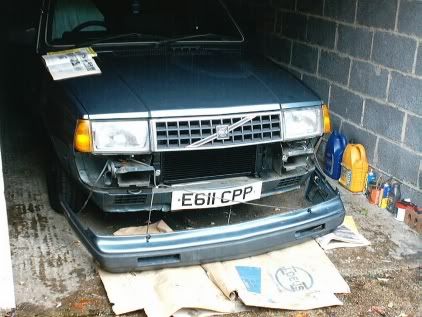
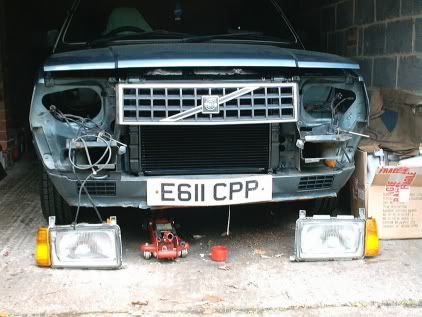
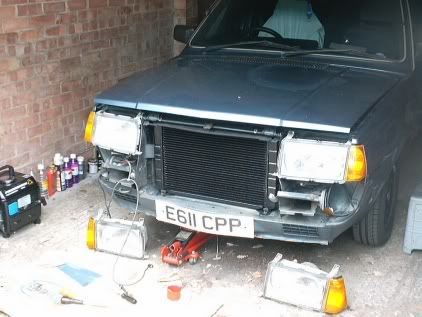
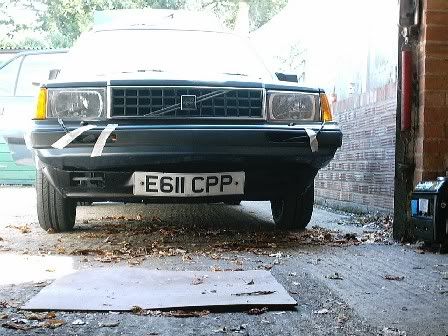
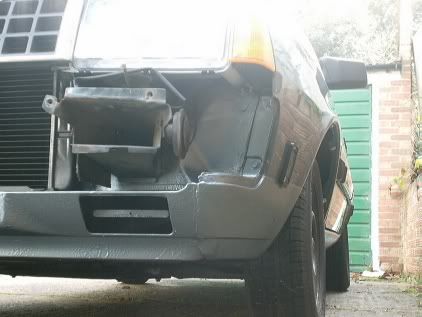
Bess's jaw drops with laughter as she gets a new pair of
mincers. The pictures above and below show efforts to replace Bess's
headlamps and wipers with new units (from the great auction house of
the internet). Everything under the front bumper looks remarkably
rust-free and the headlamp washers and wipers all work. Blowing my own
trumpet again is sure to guarantee another major hitch.
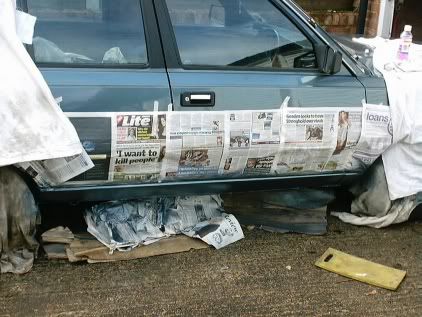
The rear bumper has been removed to inspect for rust and one
rusted-through spot revealed itself (see below) - this will need
welding later on. Removing the bumper bolts was no mean feat with one
bolt breaking, another being bent and the threads on all were badly
jammed up. Anyhow a new set of bolts has been obtained and the bumper
and exhaust refitted. The headlamps and have been aligned and the wheel
trims refitted. Its almost MOT time but a couple of worries crop up
including the appearance of a thin blancmange inside the oil filler
cap. I will make do without a steering lock and will probably chance it
with the brakes in the MOT test, following advice from the
volvo300mania forum.
The next couple of months (May-June 2006) were taken up with sorting
electrical problems on another of my wrecks but the later weeks of July
have seen some progress with Blue Bess. Most importantly the car was
producing a strong smell of petrol whenever the engine had been run and
I eventually found this to be due to fuel leaking from the from
nearside box section which the petrol pipes run through. With help from
the volvo300mania forum, the problem was traced to perished flexible
hoses above and beside the petrol tank which were replaced by removing
the heat shield under the car and lowering the petrol tank. The problem
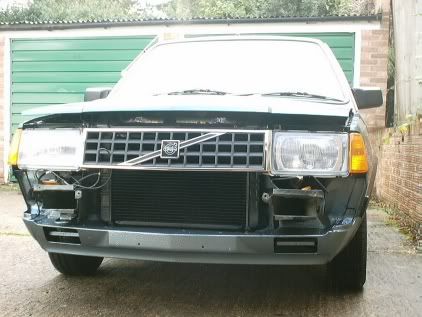
seems to 100% cured (in my unbiased view), the engine seems to be
running well and a nearly new front grille has been fitted with proper
clips! The only niggling worry is a strange shrieking sound from
the top end which comes and goes, but its usually soon after startup,
if at all.
Its Friday 18th August and Blue Bess is booked in for a mid-morning MOT test - I need to find out exactly what's wrong with her from the professionals. I get to the car a bit early and feel nervous at the prospect of crossing one of life's great thresholds. The journey to the test centre is fraught with brakes that hardly seem to work, steering that creaks, groans and hurls me towards parked cars at every turn not to mention the smoke issuing prominently from the exhaust. On arrival at the test centre I am told-off for driving in through the front entrance (I thought that was what front entrances were for) and leave the car for an hour to catch up with my sleep in the local cafe. On returning I see Bess on the ramp and after some time, the MOT tester returns to the reception and says to his colleague 'That 'as 'ad may-jor work! Everyfing on its noo. F***ing crazy!' and a few minutes later, to my horror, they they tell me its passed. £44 later I have no complaints. Now all it needs is new sills, front and rear valance, full welding to underside, painting and undersealing. Back at the garage, the next hour or two are spent starting to remove the front wings for the welder and getting over mixed feelings of jubilation and guilt that my paint-over-rust strategy has duped a poor boy into certifying this heap road-legal.
The work to remove the front wings continues over the next couple of days and a peep behind them reveals a fair amount of rust in the wheel arch which will have to be replaced.

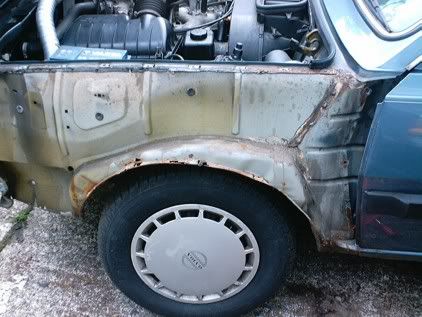
August bank holiday weekend 2006 and the front wings have
been removed and bolted back on loosely for ease of removal by the
welder. The worry about creaks and groans from the steering led me to
suspect that I had previously fitted the strut-top thrust bearings
upside down! Finding one of the old ones in the garage left me in a
cold sweat, convinced that I really had fitted them wrongly. Hence I
decided to do the only thing that could be done...to remove one of the
struts and check. The next couple of hours were spent removing one of
the struts from a car that had just passed its MOT with flying colours.
Dismantling the same said strut confirmed that all was well after all.
The next couple days were then spent putting it all back together
again, setting the nuts and bolts to the correct torque and checking
the wheel alignment. No photos of this episode - its one that I would
rather forget. The rest of the long weekend was spent fitting the front
bumper back, removing odd bits and pieces and clearing the car out for
the welder. Things are happening fast (if that's possible with volvo
300's) - the car has insurance and its going to the welder for a quick
look over soon and he might be able to work on it in the first week of
September.

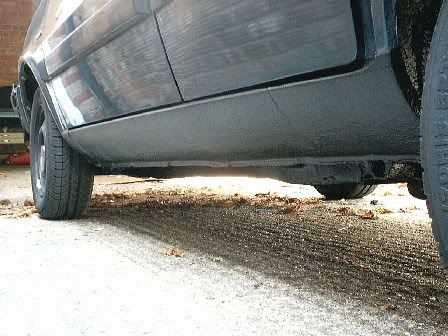
The weekend of 10 Sept 06 has seen the car returned from
the welder with copious amounts of underseal applied to the repaired
sections (as the pictures above and below will show). The poor man had
to spend 32 hours on the job but the price was about what I hoped it
would be - it could have been a lot worse. He seems to have done a good
job all round to the valences, wheel arches and sills along with the
boot floor and other places. Welders have a hard life and a habit of
breaking some things while they repair others - Bess's boot board will
confirm this. Anyhow, the next couple of hours were spent wiping off
the overspray of underseal and lightly brush-painting over the
boot-floor repairs.
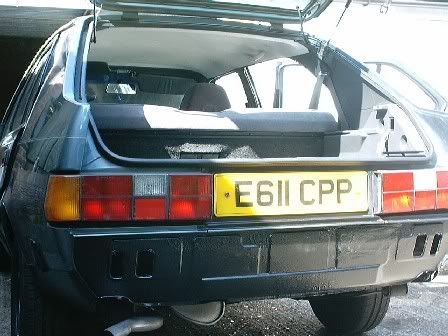
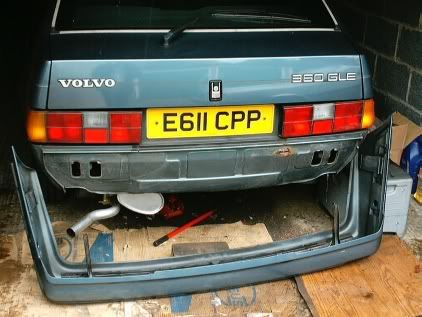
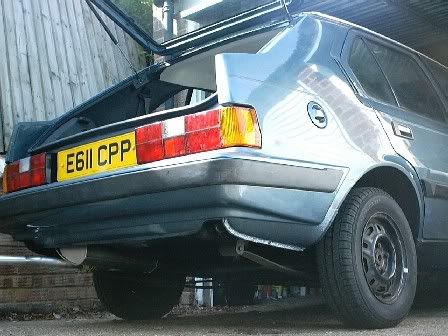
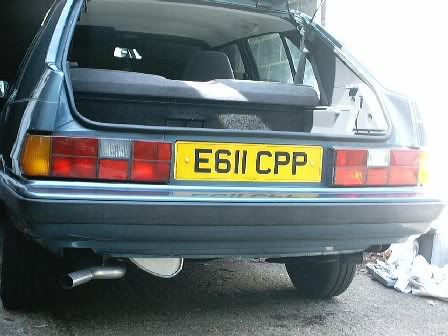
The weekend of 17 Sep 06 has seen the rear valance and
lower edge of rear wings resprayed as well as the area around the rear
number plate. The latter has been refitted with new screws and proper
yellow plastic caps! The rear bumper and sidelights, etc., have been
refitted also and the boot floor given another light coat of paint. The
front offside rear wing has been removed and waxoyled underneath before
being fully bolted up all round. Some progress repairing Bess's broken
parcel shelf but sadly a look under the car reveals that the trusty
welder has missed a substantial bit of rust so I know the car is going
to be on its way back to him soon. It had to happen. Nevertheless, the
back end of the car is looking quite posh now.


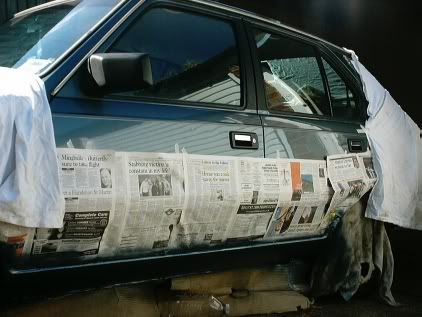
The weekend of 1 Oct 06 has seen the nearside sill sprayed up and the front bumper refitted to the car (second time lucky; the first time I forgot the plastic trim bits that are clipped onto the front valance). The repair under the windscreen washer reservoir has had the underseal removed and has been primed up for proper painting.
The weekend of 8 Oct 06 has seen the repair under the windscreen
washer reservoir repainted and the exterior paintwork of the car has
been touched up with a fine brush. Starting to remove rust on the
battery tray, the front number plate has been replaced and the plastic
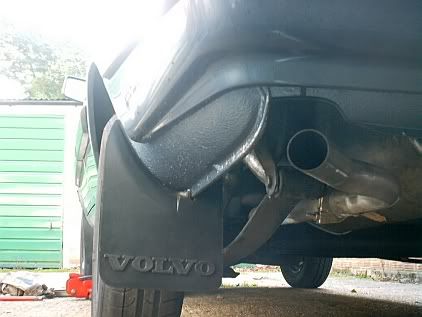
trim in the front valance refitted! Next week the plan is to start on
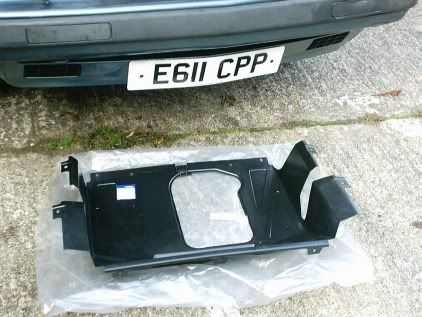
fitting the mudflaps and waxoyling the underside.
The weeks up to the end of 2006 have seen Blue Bess used as daily transport without major faults apart from rear indicators misbehaving sporadically. The latter was cured by cleaning the contacts on the bulbs. The steering is very light but the brakes seem a bit heavy although so far have proved to be OK. Lots of wierd noise from the exhaust was traced to loose rusty bolts which will be replaced eventually. Below the final finishing touch to the boot: a new old (and not very focussed) jack. The engine seems a tad noisier than I would like but beggars can't be...